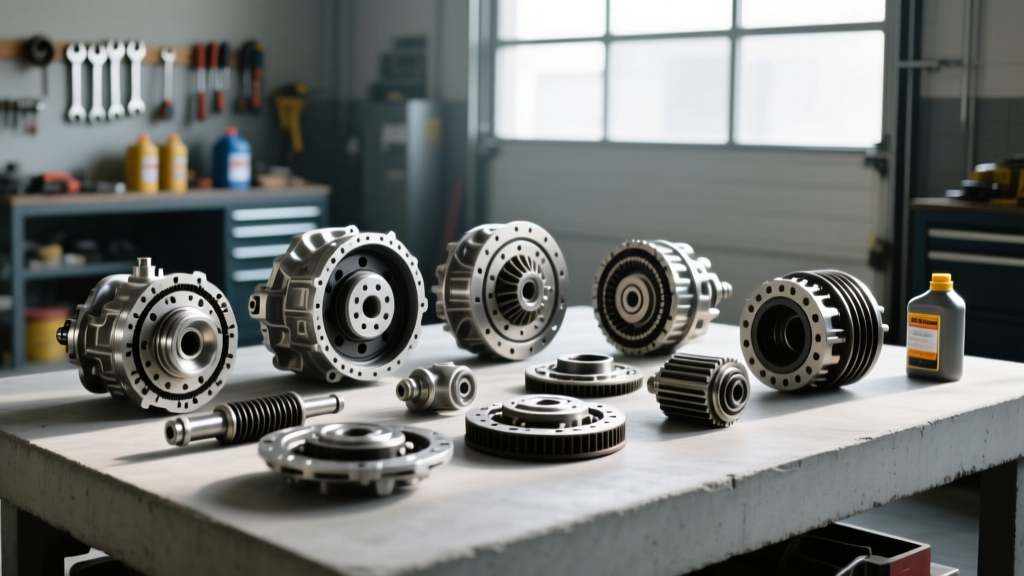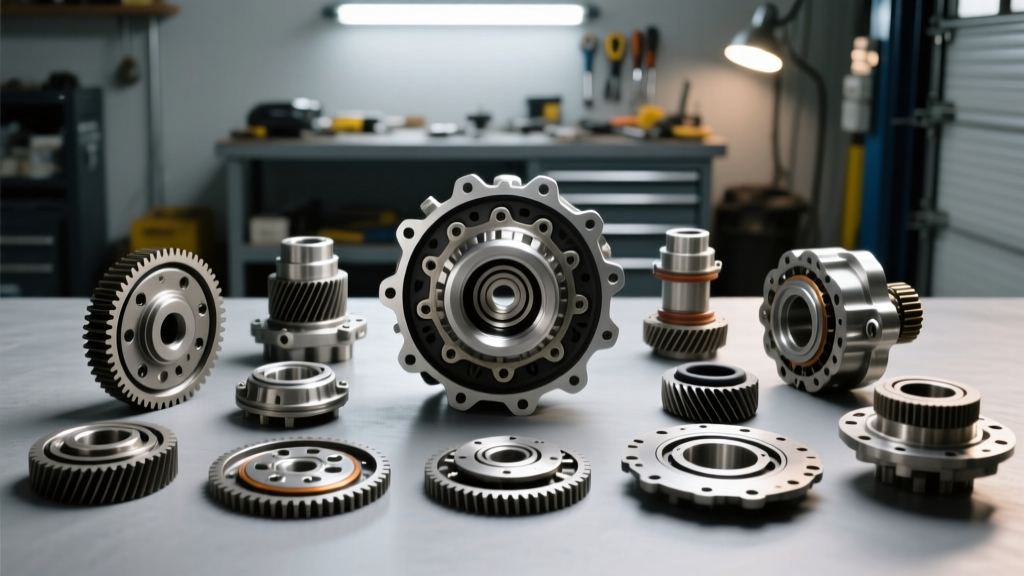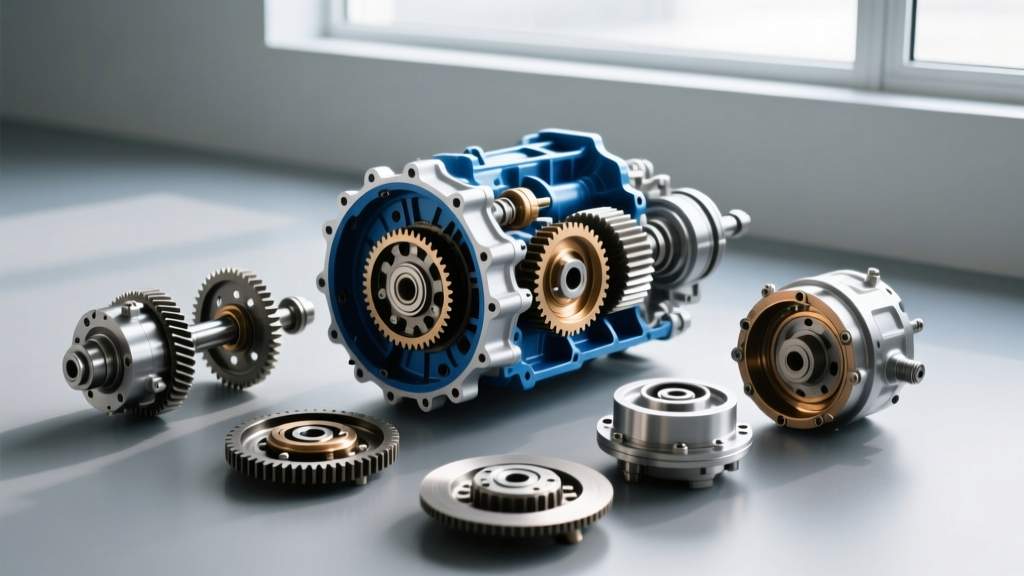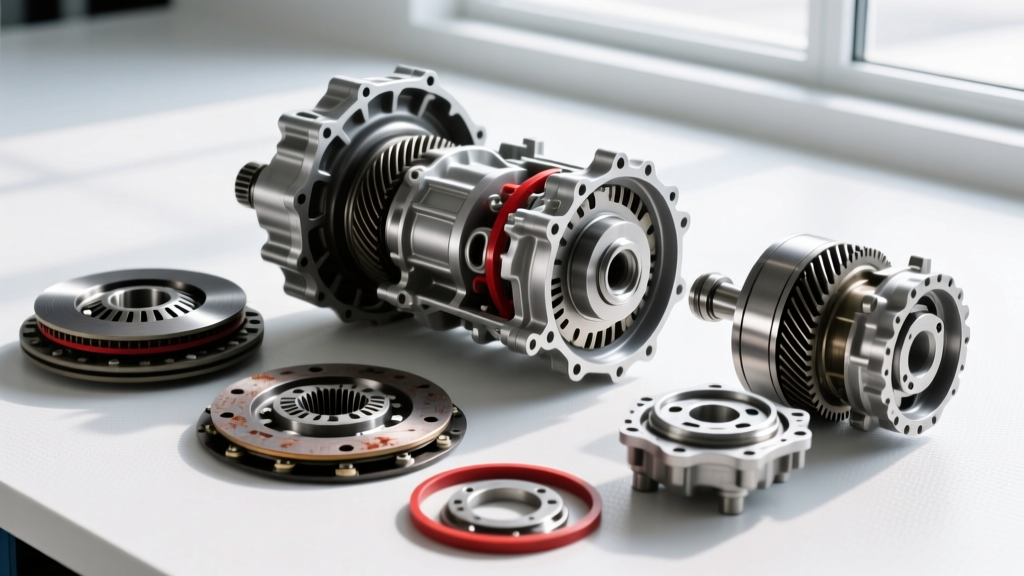
The Core Dilemma: Rebuilding Transmission vs Replacing for Performance
When a drivetrain fails or you are looking to support forced induction and high-stall torque converters, enthusiasts and mechanics face a critical crossroads: rebuilding transmission vs replacing it with a crate unit. If your goal is pure reliability for a stock daily driver, a remanufactured replacement might suffice. However, from a Performance & Upgrade Guide perspective, dropping in a stock replacement is a massive missed opportunity. Stock replacements are bound by original equipment manufacturer (OEM) limitations, meaning they will fail again under increased torque loads.
A step-by-step transmission overhaul allows you to systematically eliminate factory weak points. By selectively upgrading hard parts, recalibrating the valve body, and utilizing high-energy friction materials, you can transform a fragile stock automatic into a bulletproof performance unit. In this guide, we break down the exact step-by-step process of a performance-oriented rebuild, using the ubiquitous GM 4L60E and 6L80 platforms as our primary benchmarks.
Cost & Value Matrix: Rebuild vs. Replace vs. Remanufactured
Before tearing into the bellhousing, it is vital to understand the financial and performance implications of your choice. The debate of rebuilding transmission vs replacing often comes down to upfront cost versus long-term torque capacity.
| Option | Avg Cost (2026) | Max Torque Capacity | Performance Potential | Warranty |
|---|---|---|---|---|
| Stock Replacement (Used) | $800 - $1,500 | 350 lb-ft | None (OEM Spec) | 30-90 Days |
| Remanufactured Crate | $2,200 - $3,500 | 400 lb-ft | Low (Minor Upgrades) | 1-3 Years |
| Performance Rebuild (DIY/Shop) | $1,800 - $4,500 | 600 - 1,000+ lb-ft | High (Custom Tailored) | Shop Dependent |
As the data illustrates, a custom performance rebuild offers the highest torque ceiling. By sourcing specific upgrade kits, you keep costs comparable to a remanufactured unit while doubling the torque capacity.
Step-by-Step Performance Transmission Overhaul
A true performance overhaul is not just about swapping soft parts; it is a meticulous process of measuring, clearancing, and upgrading. Here is the step-by-step methodology for a high-horsepower build.
Step 1: Teardown, Cleaning, and Core Inspection
The teardown phase dictates the success of the build. As you disassemble the unit, every component must be cataloged and cleaned in a solvent tank. For a 4L60E, pay immediate attention to the stator support tube and the pump rotor. Performance builds generate immense heat and pressure; if the pump casting is scored, it must be replaced or machined.
- Inspection Point: Check the 3-4 clutch piston for hairline cracks. High line pressure from performance tuning often fractures stock aluminum pistons. Upgrade to a billet aluminum or reinforced steel piston.
- Measurement: Measure the sun shell for splines wear. The factory stamped-steel sun shell is a notorious failure point. Discard it immediately in favor of a billet or heavy-duty reinforced shell.
Step 2: Upgrading the Weak Links (Billet Shafts & Servos)
When analyzing rebuilding transmission vs replacing, the ability to install billet hard parts is the rebuild's biggest advantage. The factory input shaft on a 4L60E is prone to twisting and snapping at the spline root when subjected to torque loads exceeding 400 lb-ft.
Install a 300M Billet Input Shaft (such as those offered by Sonnax). This shaft features a larger diameter and revised spline geometry that eliminates the stress riser found on OEM shafts. Next, replace the 2-4 band servo. A high-performance build requires a larger servo apply area to clamp the band instantly, preventing flare shifts during the 1-2 and 2-3 transitions under wide-open throttle (WOT).
Step 3: Clutch Pack Assembly and Clearancing
The friction materials are the heart of any performance transmission. Standard OEM paper-based clutches will glaze and burn up under the heat of a high-stall converter. For this step, we utilize advanced friction modules like the Raybestos Powertrain Z-Pak or GPZ clutch packs.
Pro-Tip: The Z-Pak utilizes a thinner, high-energy friction material that allows you to fit an extra friction and steel plate into the same drum space. This increases the total friction surface area by up to 20%, drastically improving torque holding capacity without requiring a custom drum.
Clearancing Protocol: Proper clutch pack clearance is non-negotiable. Using a feeler gauge and a dial indicator, measure the clearance between the pressure plate and the snap ring. For performance applications running synthetic fluids like Dexron VI or AMSOIL Signature, target a clearance of 0.040" to 0.060" per friction surface. Too tight, and the clutch will drag and overheat; too loose, and you will experience delayed, mushy shifts that burn the frictions.
Step 4: Valve Body Recalibration and ZIP Kits
The valve body is the brain of the transmission. In high-mileage cores, the Pressure Regulator (PR) valve bore experiences severe wear due to the constant oscillation of the steel valve against the aluminum casting. This wear causes pressure leaks, resulting in low line pressure and slipped clutches under heavy load.
To resolve this, install a comprehensive recalibration kit, such as the Sonnax ZIP Kit. The step-by-step process for this upgrade involves:
- Using a specialized reaming tool to bore out the worn aluminum PR valve bore.
- Installing a hardened steel sleeve and an oversized, anodized aluminum PR valve.
- Upgrading the accumulator pistons from plastic to billet aluminum with heavy-duty springs to prevent accumulator blowout during high-pressure WOT shifts.
This step ensures that line pressure scales aggressively with throttle position, delivering the firm, instantaneous shifts required for performance driving.
Step 5: Final Assembly, Torque Specs, and Endplay
Final assembly requires strict adherence to torque specifications and endplay measurements. Endplay (the lateral movement of the geartrain) must be tightly controlled in a performance build to prevent planetary gear misalignment under high torque.
- Target Endplay: 0.010" to 0.015". Use selective thrust washers (e.g., the #14 selective washer located behind the front sun gear) to dial in this exact specification.
- Pump to Case Bolts: Torque to 11 Nm (97 in-lbs). Over-torquing will distort the pump stator and bind the gears.
- Bellhousing to Engine Block: Torque to 35 ft-lbs using the proper GM thread pitch.
- Torque Converter to Flexplate: Torque to 35 ft-lbs, applying a medium-strength threadlocker (e.g., Loctite 243) to prevent backing out under harmonic vibration.
Once assembled, fill the unit with the manufacturer-recommended performance fluid. For modern GM units, this is typically Dexron VI, which offers superior shear stability compared to older Dexron III formulations.
Final Verdict: When to Rebuild and When to Replace
The decision of rebuilding transmission vs replacing ultimately hinges on your performance goals and budget. If you are building a track car, a towing rig, or a boosted street machine, a step-by-step performance overhaul is the only logical choice. Replacing the unit with a stock remanufactured transmission will only result in a repeat failure the first time you launch the vehicle on sticky tires. By taking the time to upgrade billet shafts, install high-energy Z-Pak clutches, and ream the valve body bores, you engineer a drivetrain component that doesn't just survive increased horsepower—it thrives on it.