The Critical First 500 Miles: Why TH350 Break-In Matters
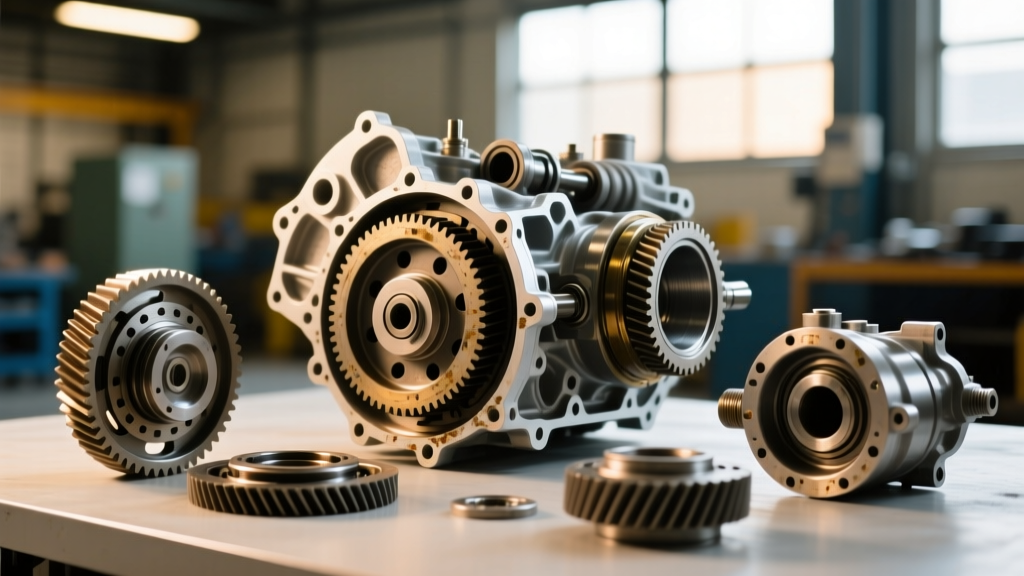
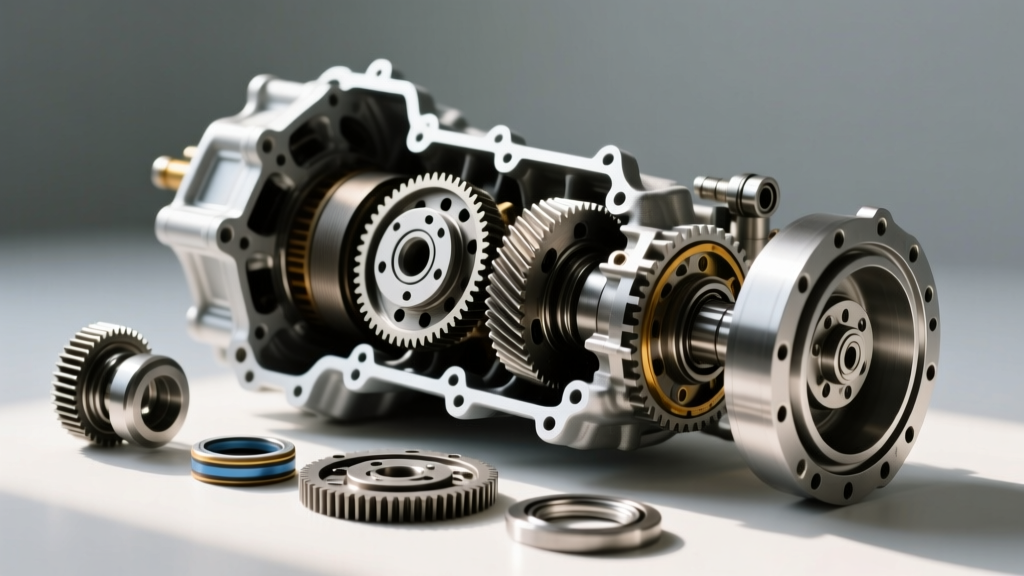
When you finally finish installing your rebuild kit for turbo 350 transmission assemblies, the physical work might be complete, but the engineering process is only halfway done. The General Motors Turbo-Hydramatic 350 (TH350) is legendary for its robust planetary gearsets and lightweight aluminum case, but a fresh rebuild introduces new friction materials, steel plates, and sealing rings that require a precise thermal and mechanical break-in cycle.
Skip the break-in procedure, and you risk glazing the new cellulose or Kevlar friction clutches, shock-loading the low roller sprag, or burning the intermediate band. A proper break-in ensures the microscopic resins in the friction material cure correctly, the lip seals seat into their respective drums, and the transmission fluid fully saturates the porous surfaces of the clutch plates. This technical deep-dive will walk you through the exact procedures, torque specs, and diagnostic milestones required to guarantee the longevity of your freshly rebuilt TH350.
Pre-Fire Checklist: Fluids, Vacuum, and Torque Specs
Before you even turn the ignition key, you must verify the supporting systems. The TH350 relies heavily on engine vacuum to modulate line pressure. If your supporting hardware is flawed, the transmission will destroy itself during the break-in phase.
- Fluid Selection and Capacity: While older manuals call for Dexron III, modern Dexron VI (such as ACDelco 10-9243) offers vastly superior shear stability and friction modifiers for older GM clutches. A standard TH350 with a 9.5-inch torque converter and a stock shallow pan requires approximately 11 to 11.5 quarts for a total system fill.
- Vacuum Modulator Verification: The TH350 uses a vacuum modulator (not a TV cable) to control shift points and line pressure. Connect a vacuum gauge to the modulator line. You must see a steady 15-18 inches of Mercury (Hg) at idle. A leaking or unhooked vacuum line will cause maximum line pressure at idle, resulting in harsh, shock-loading shifts that can instantly flip the low-roller sprag.
- Kickdown Solenoid Check: Verify that the carburetor-mounted kickdown switch actuates the transmission case solenoid only at wide-open throttle (WOT). Premature activation will cause erratic downshifts during the seating phase.
- Cooler Line Torque: When connecting the 1/2-inch-20 inverted flare cooler line fittings to the transmission case, torque them to exactly 15-18 lb-ft using a flare-nut wrench. Overtightening will crack the thin aluminum case near the rear lube circuit.
Break-In Data Matrix: Milestones and Expectations
Use the following matrix to monitor your TH350 during the critical first 500 miles. Keep a logbook in the vehicle to track fluid temperatures and shift behaviors.
| Milestone | Action Required | Target Fluid Temp | Expected Shift Behavior | Fluid Condition |
|---|---|---|---|---|
| 0 - 10 Miles | Idle, cycle gears, light neighborhood driving | 120°F - 140°F | Slightly delayed 1-2 shift; firm 2-3 | Clear, bright red |
| 10 - 100 Miles | Suburban driving, varied throttle (20-40%) | 150°F - 170°F | Shifts smoothing out; clutches beginning to seat | Slight darkening to light pink |
| 100 - 300 Miles | Highway cruising, mild incline load testing | 160°F - 185°F | Crisp, predictable shifts; no flaring on 2-3 | Pink/Red, slight friction odor is normal |
| 300 - 500 Miles | Normal driving, brief moderate acceleration | 160°F - 190°F | Factory-spec shift points and firmness | Dark red, ready for final pan drop |
Step-by-Step TH350 Break-In Procedure
Phase 1: The Initial Prime and Idle (0-10 Miles)
Start the engine and immediately check the fluid level. The torque converter will rapidly draw fluid from the pan. Keep adding Dexron VI until the dipstick registers on the "ADD" mark, then let the engine idle in Park for 15 minutes. This allows the front pump to circulate fluid through the cooler lines and the lube circuit in the tail shaft. Never rev the engine in Neutral to "pump up" the transmission; this starves the rear lube circuit and can gall the output shaft bushings.
Cycle the shifter through every gear, pausing in Reverse and Drive for 10 seconds each to fill the respective clutch drums. Take the vehicle for a gentle 5-mile loop. Keep speeds under 35 MPH and throttle input below 20%.
Phase 2: Seating the Clutches and Bands (10-200 Miles)
The friction materials included in your rebuild kit—whether they are standard Raybestos paper-based frictions or high-performance BorgWarner High Energy clutches—have a microscopic rough surface. If you subject them to WOT immediately, they will slip, generate extreme localized heat, and glaze over, permanently ruining their coefficient of friction.
During this phase, drive with a "rolling throttle" technique. Accelerate gently to 40 MPH, let off the gas, and accelerate again. This varying load applies and releases the direct clutch pack and intermediate band repeatedly, allowing the friction material to mate perfectly with the steel separator plates. According to transmission rebuilding experts at Bowtie Overdrives, varying the load is the single most important factor in preventing premature clutch burnout during the seating phase.
Phase 3: Thermal Cycling and Load Testing (200-500 Miles)
Now you must introduce thermal cycling to cure the binding resins in the clutch packs. Take the vehicle on the highway and maintain speeds between 60-70 MPH. If you encounter a grade, allow the transmission to downshift to second gear and pull the incline under moderate load (approx. 40-50% throttle). This safely raises the transmission fluid temperature into the 170°F-185°F range, which is the optimal thermal window for the friction materials to finalize their mating process. Monitor the trans temp gauge closely; if it exceeds 200°F, back off immediately to prevent fluid degradation.
Common Break-In Failures Linked to Rebuild Kit Components
Even with a premium master rebuild kit, improper break-in techniques can expose assembly errors or cause component failure. Watch for these specific red flags:
- 2-3 Shift Flaring: If the transmission revs freely before engaging third gear, the direct clutch pack is slipping. This is often caused by a cut O-ring on the direct clutch piston during assembly, or glazing from aggressive WOT testing before the 200-mile mark.
- Harsh, Banging 1-2 Shifts: This indicates excessive line pressure. Check the vacuum modulator hose for cracks or engine manifold vacuum leaks. It can also be caused by a stuck pressure regulator valve in the pump assembly.
- Loss of Forward Motion in Manual Low (L1): The low-reverse clutch pack is failing to hold. This is frequently traced back to the machined aluminum apply pin in the case wearing out, which is not always addressed in standard rebuild kits. Always inspect the case bore for the low-reverse clutch apply pin.
The 500-Mile Final Service: Dropping the Pan
Once you have completed 500 miles of varied driving, the break-in process is officially complete. However, the fluid is now contaminated with microscopic metallic dust from the planetary gears, clutch facing residue, and leftover assembly lube.
Drop the transmission pan and inspect the debris. A fine, grey paste on the magnets is perfectly normal and expected. However, if you find brass-colored flakes (indicating bushing failure) or large chunks of friction material, the transmission must be pulled and torn down for warranty inspection.
Replace the filter. The TH350 uses a simple pickup filter (such as the WIX 51362 or ACDelco TF187). Ensure the filter neck O-ring is lubricated with fresh ATF and fully seated into the valve body. Clean the pan with brake cleaner, reinstall it using a high-quality cork or rubber gasket (avoiding liquid RTV sealants, which can squeeze inward and block the filter pickup), and torque the 13 pan bolts to 10-12 lb-ft in a crisscross pattern.
For further technical guidance on GM transmission assembly and testing protocols, consult the resources available through the TCI Automotive Tech Articles database and the Summit Racing Expert Advice center. By respecting the thermal and mechanical limits of the TH350 during the break-in phase, your fresh rebuild will deliver tens of thousands of miles of flawless, crisp shifting.