The Hidden Danger of Contaminated Cooling Circuits
When rebuilding or performing heavy preventive maintenance on a classic GM 4-speed automatic, the transmission cooling system flush is often the most neglected step. A freshly rebuilt 700R4 can be destroyed in under 500 miles if debris from a failed torque converter or burnt clutch friction material is left trapped inside the cooling circuit. While modern transmissions like the ZF 8HP or GM 6L80 feature complex thermal bypass valves and integrated filter screens, the legendary 700R4 (and its electronic successor, the 4L60E) relies on a raw, unrestricted flow loop. This means any particulate matter lurking in the 700R4 transmission cooler lines or the radiator's internal tank will be fed directly back into the valve body and governor assembly.
In this 2026 preventive maintenance guide, we detail the exact procedures, chemical compatibilities, and torque specifications required to properly flush the cooling system of a 700R4-equipped vehicle, ensuring your transmission operates within the optimal 160°F to 180°F temperature window.
Why the 700R4 Architecture Demands Special Attention
The 700R4 routes hot fluid out of the top of the transmission case, through the radiator's bottom tank, and returns it via the bottom case fitting. Because this transmission was designed in the early 1980s, the internal clearances in the valve body and the 3-4 clutch pack apply orifices are highly sensitive to varnish and micro-debris. If the 700R4 transmission cooler lines are not thoroughly purged, restricted flow will cause a pressure drop. This drop leads to delayed 3-4 clutch engagement, slip, and catastrophic overheating—the exact failure mode that plagues poorly maintained GM 4-speeds.
Common 700R4 Cooler Line Failure Modes
- Galvanic Corrosion: The steel hard lines meeting the aluminum transmission case or aluminum radiator tanks often suffer from galvanic corrosion, creating internal scale that breaks off under high flow rates.
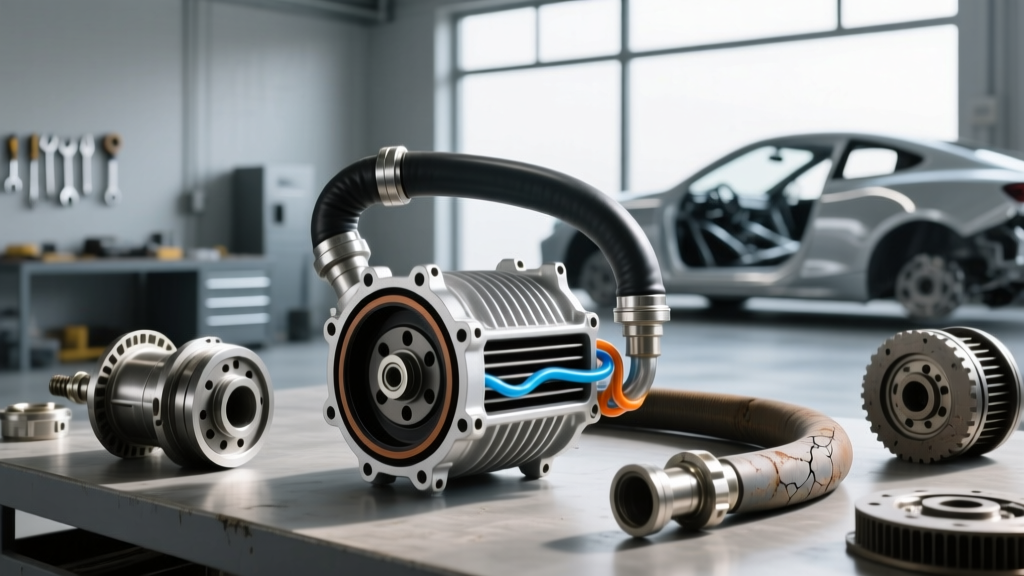
- Rubber Hose Delamination: Many older restomods use standard fuel-injection hose for the return loop. Standard fuel hose degrades when exposed to modern Dexron VI synthetic ATF, shedding black rubber particles directly into the lube circuit.
- Radiator Tank Traps: The lower radiator tank acts as a natural debris trap. Flushing the lines without addressing the radiator tank renders the procedure useless.
Tools and Materials for a Proper Flush
Using the wrong chemicals is a fast track to transmission failure. Chlorinated solvents and harsh brake cleaners leave a residue that strips the friction modifiers off the 700R4's clutch plates, causing immediate slipping upon reassembly.
| Chemical Type | Brand Example | Safety for 700R4 Clutches | Residue Risk |
|---|---|---|---|
| Dedicated ATF Flush | Lubegard Kooler Kleen | 100% Safe | None (Evaporates cleanly) |
| Brake Parts Cleaner | CRC Brakleen | UNSAFE | High (Strips friction material) |
| Compressed Air Only | Shop Air (120 PSI) | Safe | N/A (Fails to remove varnish) |
| Mineral Spirits | Generic Varsol | Conditionally Safe | Moderate (Requires thorough air purge) |
According to the Automatic Transmission Rebuilders Association (ATRA), dedicated solvent flushes designed specifically for automatic transmission fluid are the only approved chemicals for warranty-covered rebuilds.
Step-by-Step 700R4 Transmission Cooler Lines Flush Procedure
Step 1: Line Depressurization and Disconnection
Before breaking any fittings, ensure the transmission is at ambient temperature. Place a drain pan beneath the radiator and transmission case. Using a 5/8-inch flare nut wrench (crowfoot wrenches are acceptable if space is tight), loosen the 3/8-inch inverted flare fittings at the transmission case. Critical Warning: The 700R4 case is cast aluminum. The factory torque specification for the cooler line adapter fittings is just 15 to 20 lb-ft. Overtightening or using an open-end wrench that rounds the fitting will strip the case threads, requiring a helicoil or timesert repair.
Step 2: The Bidirectional Flush Method
Debris settles in the low points of the hard lines and the radiator tank. You must flush in both directions.
- Disconnect both lines at the transmission and the radiator.
- Inject the dedicated flush solvent (e.g., Lubegard Kooler Kleen) into the return line (the line that feeds back into the bottom of the transmission) using a pressurized canister.
- Follow the solvent with 120 PSI compressed air until the mist exiting the radiator side is completely clear and dry.
- Repeat the process in reverse, flushing from the transmission side toward the radiator to dislodge any heavy metallic particles trapped in the radiator's lower tank baffles.
Step 3: Air Purge and Reconnection
Moisture and solvent residue are the enemies of ATF. After flushing, use a rubber-tipped air blowgun to seal against the hard lines and blast them with dry shop air for a minimum of 60 seconds per line. Inspect the flare seats on the hard lines; if they are pitted or cracked, replace them with pre-bent stainless steel 700R4 transmission cooler lines (typically $80-$130 for a complete OEM-style kit).
Expert Warning: Never use PTFE (Teflon) tape or liquid thread sealant on the 700R4 cooler line fittings. These are inverted flare connections; the seal is made by the metal-to-metal contact of the flare and the seat, not the pipe threads. Tape shreds will enter the valve body and jam the pressure regulator valve.
Post-Flush Verification and Thermal Cycling
Once the lines are reconnected and torqued to 15 lb-ft, refill the 700R4 with the correct fluid. While early 700R4s called for Dexron II, modern preventive maintenance dictates using a full synthetic Dexron VI (such as ACDelco or AMSOIL Signature Series). Dexron VI offers superior shear stability and oxidation resistance, critical for keeping the cooler lines free of future varnish buildup.
Start the vehicle and allow it to idle. The 700R4 holds approximately 11 to 12 quarts total, but the cooler and lines hold roughly 1.5 quarts. Cycle the shifter through all gears to fill the torque converter and cooler circuit. Using an infrared thermometer, monitor the transmission pan and the cooler lines. You should see the temperature of the return line rise steadily, confirming that the thermostat (if equipped in the radiator) has opened and fluid is circulating. For deeper diagnostic insights on GM 4-speed flow dynamics, refer to the Sonnax Transmission Tech Resources library.
When to Replace Instead of Flush
While a thorough transmission cooling system flush is standard preventive maintenance, there are scenarios where flushing the 700R4 transmission cooler lines is a waste of time and money. If the transmission suffered a catastrophic failure (e.g., a shattered planetary gearset or melted torque converter clutch), the sheer volume of metallic debris and Kevlar/friction material will permanently embed itself in the porous walls of older rubber hoses and the baffles of the radiator. In these edge cases, replacing the hard lines, the flexible hoses, and installing an auxiliary stacked-plate transmission cooler bypassing the radiator entirely is the only reliable method to guarantee a debris-free cooling circuit. As noted by experts at Transmission Digest, attempting to salvage a cooling circuit after a major mechanical failure is the leading cause of premature warranty comebacks in the transmission repair industry.