Why Your Transmission Needs an Auxiliary Cooler
Heat is the undisputed number one killer of automatic transmissions. Whether you are daily driving a GM Silverado with a 6L80, towing a camper with a Ford F-150 equipped with a 10R80, or wheeling a Jeep Wrangler running the ZF 8HP, keeping your transmission fluid temperature below 200°F is critical. Once fluid exceeds 220°F, it begins to break down, losing its lubricating properties and friction modifiers, which leads to clutch glazing and eventual catastrophic failure.
While your vehicle's factory radiator houses an internal transmission cooler, it is often undersized for heavy loads or stop-and-go traffic. Installing an external auxiliary cooler is one of the most cost-effective upgrades you can perform (typically costing between $45 and $120 for the cooler itself). However, the most intimidating part for beginners isn't mounting the cooler—it is dealing with the factory radiator transmission cooler fittings. This guide will demystify those connections and walk you through a bulletproof installation process.
Decoding Radiator Transmission Cooler Fittings
The factory transmission lines route hot fluid from the gearbox to the radiator's internal heat exchanger, and then back to the transmission. To install an auxiliary cooler, you must intercept the 'return' line. To do this, you need to understand the type of fittings your radiator uses. As of 2026, automakers primarily use two distinct styles of radiator transmission cooler fittings:
1. Threaded / Inverted Flare Fittings
Common on older vehicles, heavy-duty commercial trucks, and many import vehicles, these fittings feature a threaded nut that compresses a flared metal tube into a brass or steel seat on the radiator. They are highly reliable, rarely leak, and are very beginner-friendly because you simply use a line wrench to unthread them and install a brass adapter.
2. Push-Lock / Snap-In Quick Connects
Popularized by GM (4L60E, 6L80, 8L90) and adopted by Ford and Chrysler, these fittings use a plastic collar and a metal retaining clip (often a U-clip or E-clip) to secure the line to the radiator. While they speed up assembly line production, they are a notorious weak point. When transmission fluid gets hot and line pressure spikes during a heavy tow, the brittle plastic collars can shatter, or the metal clips can dislodge, dumping your entire fluid capacity onto the highway in seconds.
Expert Insight: If your vehicle uses plastic snap-in radiator transmission cooler fittings, we strongly recommend replacing them with brass thread-in adapters during your cooler installation. This eliminates the plastic failure point entirely and provides a secure, leak-free threaded connection for your new rubber hoses.
Fitting Types & Adapter Solutions by Transmission
| Transmission Model | Factory Fitting Type | Common Failure Mode | Recommended Adapter Kit (Part #) | Est. Cost |
|---|---|---|---|---|
| GM 4L60E / 4L65E | Snap-In (Plastic Collar) | Collar cracks under heat/vibration | Derale 13018 (Brass Thread-In) | $18 - $24 |
| GM 6L80 / 8L90 | Snap-In (Metal Retaining Clip) | Clip dislodges under high line pressure | Hayden 397 or GM 15593474 Clips | $15 - $22 |
| Ford 10R80 / 6R80 | Threaded / Inverted Flare | Galvanic corrosion seizes nut | Use existing threads (No adapter needed) | $0 |
| Chrysler ZF 8HP (Jeep/Dodge) | Push-Lock Quick Connect | O-ring degradation causes weeping | Custom brass flare adapters | $25 - $35 |
Essential Tools and Parts Checklist
Before you crawl under the vehicle, gather the following supplies. Sourcing high-quality components prevents headaches later.
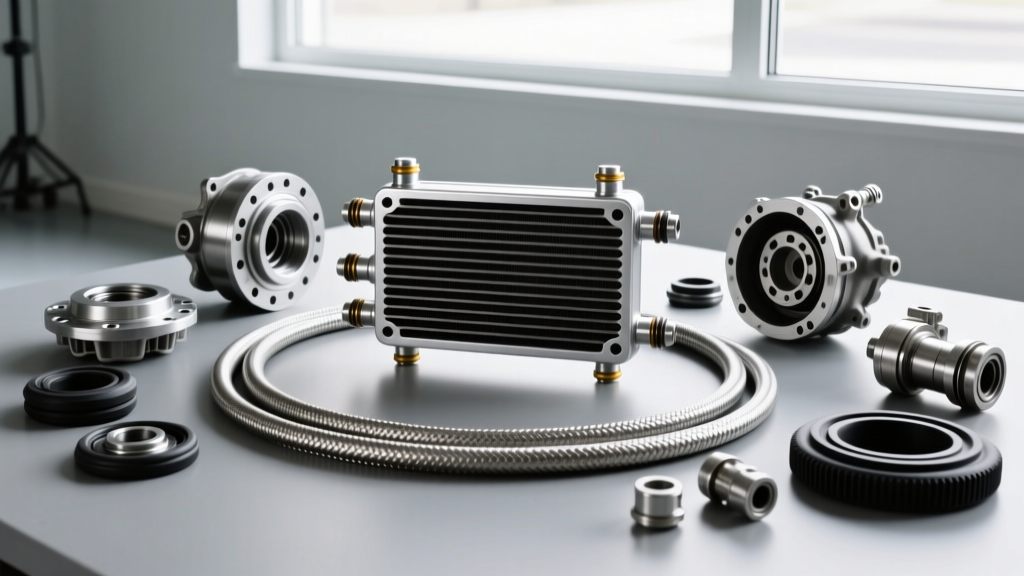
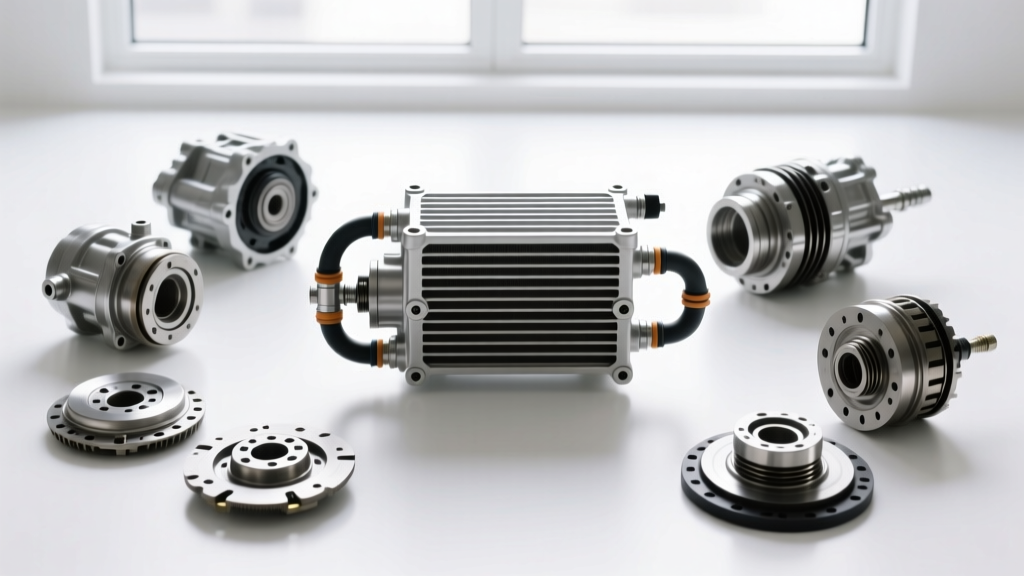
- Auxiliary Transmission Cooler: Plate-and-fin or stacked-plate designs (e.g., Hayden Rapid-Cool or Mishimoto) offer superior heat dissipation compared to older tube-and-fin styles.
- Brass Adapter Fittings: Specific to your radiator (see table above).
- Transmission Hose: Must be rated for hot oil and high pressure. Do not use standard fuel line or coolant hose; they will swell and burst. Look for Gates 27093 or equivalent SAE J1532 rated hose.
- Clamps: Use constant-tension (spring) clamps or high-quality stainless steel worm-gear clamps.
- Line Cutter & Flaring Tool: For cleanly severing the factory steel return line.
- Zip-Ties & Rubber Isolators: For mounting the cooler to the A/C condenser without damaging the delicate cooling fins.
Step-by-Step Installation Guide
Step 1: Identify the Return Line
This is the most critical step. You must install the auxiliary cooler on the return line (the line carrying fluid from the radiator back to the transmission). Why? Because modern transmissions (especially the GM 8-speed and Ford 10-speed) feature internal thermal bypass valves. If you put the aux cooler on the feed line, cold fluid might bypass the radiator entirely, leading to 'cold fluid shudder' and delayed shifting. By placing the aux cooler on the return line, fluid is cooled by the radiator first, then sub-cooled by the aux cooler, ensuring optimal operating temperatures.
How to test: With the vehicle cold, start the engine and let it run for 30 seconds. Feel the two metal lines near the radiator. The one that is warm/hot is the feed line. The one that remains cool is the return line.
Step 2: Mount the Cooler
Position the new cooler directly in front of the A/C condenser and radiator stack. This ensures maximum airflow. Use the provided rubber isolator pads to prevent the metal cooler brackets from vibrating against the condenser tubes. Secure it using heavy-duty nylon zip-ties. Pro-Tip: Do not overtighten the zip-ties, as you can easily crush the delicate aluminum fins of the A/C condenser, leading to expensive refrigerant leaks.
Step 3: Modify the Radiator Transmission Cooler Fittings
If you have threaded fittings, use a flare-nut wrench (usually 14mm or 5/8') to unthread the return line from the radiator. Wrap your new brass adapter in Teflon tape (only on the NPT threads, never on the flare seat) and thread it into the radiator. Torque Spec: For 1/4' NPT brass fittings, torque to 15-18 lb-ft. For 3/8' inverted flare, torque to 20-25 lb-ft. Over-tightening will crack the radiator end-tank.
If you have GM snap-in fittings, use a small pick tool to carefully pry out the metal retaining clip, then pull the line out. Clean the port and thread in your brass adapter (like the Derale 13018) using a deep well socket.
Step 4: Cut the Factory Line and Route Hoses
Cut the factory steel return line about 6 to 12 inches from the radiator using a dedicated tubing cutter to ensure a perfectly square edge. Slide two hose clamps onto the factory steel line, then push your new SAE-rated rubber transmission hose over the steel line. Tighten the clamps to 25-35 in-lbs. Route this hose to the outlet of your new auxiliary cooler.
Next, run a second length of hose from the inlet of the auxiliary cooler directly to the brass adapter you just installed on the radiator. Ensure all hoses are routed away from exhaust manifolds, steering shafts, and suspension components. Use split-loom tubing if a hose must pass near a heat source.
Step 5: Top Off and Test
Because you removed lines and added a cooler, you will have lost some fluid. According to ATRA (Automatic Transmission Rebuilders Association), running a cooler dry for even a few seconds can introduce air into the valve body, causing harsh shifts. Add the exact manufacturer-specified fluid (e.g., Dexron ULV, Mercon LV, or ZF 8HP fluid) through the dipstick tube or fill plug until it reaches the correct level.
Start the vehicle, cycle through the gears (Park to Low and back), and let it idle. Inspect your newly installed radiator transmission cooler fittings and hose clamps for weeping. Take the vehicle for a 10-mile drive, then re-check the fluid level with the transmission at operating temperature (typically 180°F-200°F).
Final Thoughts on Thermal Management
Upgrading your cooling system is a weekend project that can add tens of thousands of miles to your transmission's lifespan. By taking the extra time to replace fragile factory plastic clips with robust brass adapters, you ensure that your cooling system is as reliable as the rest of your drivetrain. For more detailed specifications on fluid capacities and thermal bypass thresholds, always consult your vehicle's factory service manual or resources from Hayden Automotive and Derale Performance.