The Critical Role of Cooler Hoses in Modern Drivetrains
If your transmission is the heart of your vehicle's drivetrain, the transmission cooler is its lungs, and the cooler hoses are the veins. While enthusiasts often obsess over internal clutch packs or valve body upgrades, the humble flexible hose connecting your transmission to the radiator or auxiliary cooler is frequently ignored. A catastrophic failure here doesn't just mean a messy driveway; it means a total loss of hydraulic pressure, leading to immediate clutch slippage and a $3,000+ rebuild bill. As we navigate the automotive landscape in 2026, with modern 8-speed and 10-speed transmissions running hotter and relying on ultra-low viscosity fluids, understanding transmission oil cooler hose replacement and routine cooler maintenance is no longer optional—it is essential for drivetrain longevity.
This beginner-friendly explainer will demystify the cooling circuit, teach you how to identify failing hoses, and provide a comprehensive, step-by-step guide to replacing and maintaining your transmission cooler lines safely and effectively.
Anatomy of a Transmission Cooling Circuit
Before grabbing a wrench, you need to understand what you are working on. A typical automatic transmission cooling circuit consists of three main components:
- Hard Lines: Usually made of steel or aluminum, these rigid tubes route fluid from the transmission pan/case to the front of the vehicle.
- Flexible Hoses: Because the engine and transmission rock on their mounts under torque, a solid metal line would snap. A short section of flexible rubber or PTFE hose is spliced into the hard lines to absorb this movement.
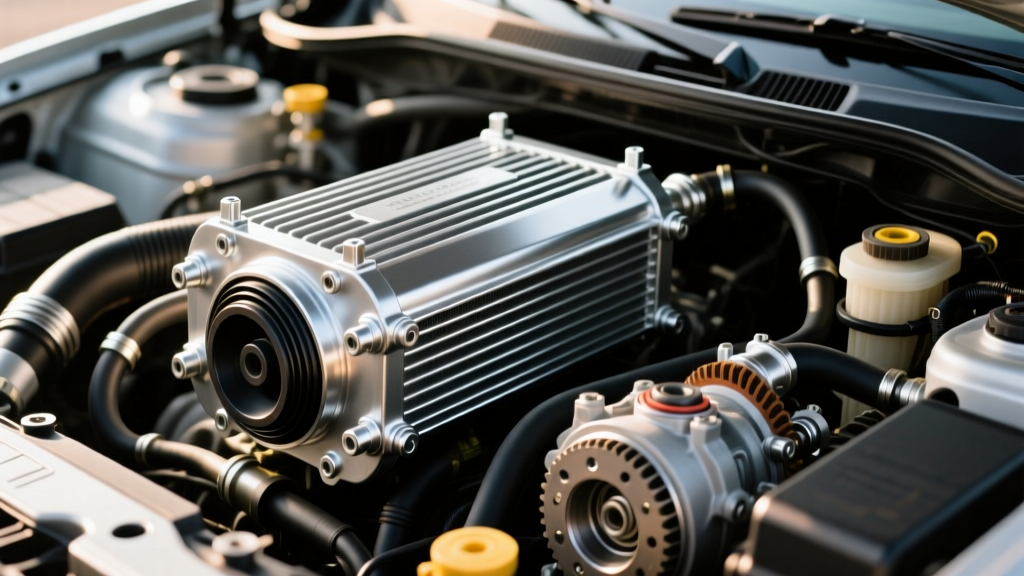
- The Heat Exchanger: This is either a tube-and-fin auxiliary cooler mounted in front of the A/C condenser, or a plate-and-fin cooler integrated inside the engine radiator (often called a "toaster").
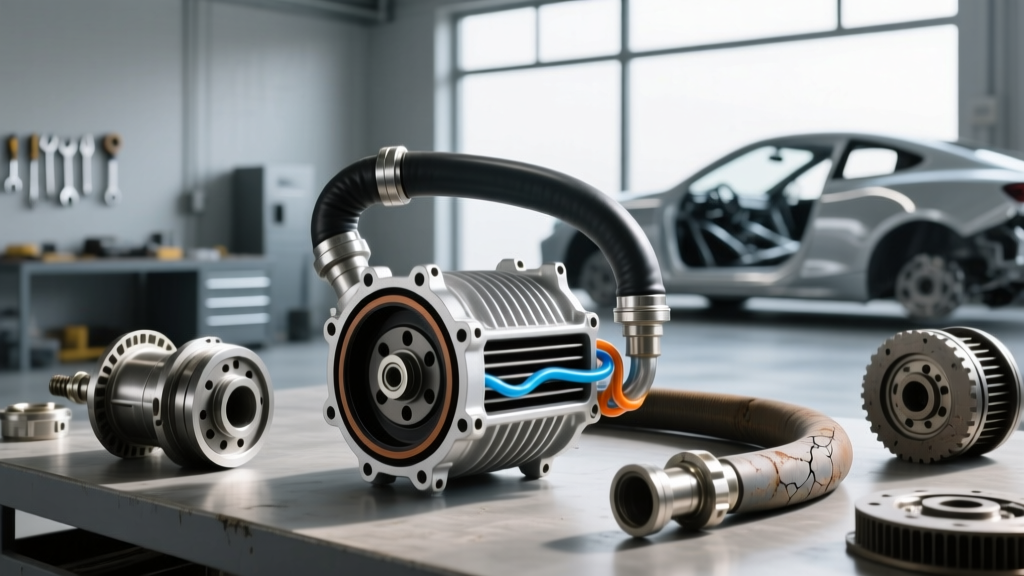
The flexible hose section is the most common failure point. Over time, heat cycles, ozone exposure, and petroleum-based ATF (Automatic Transmission Fluid) cause the inner lining of standard rubber hoses to degrade, swell, or blister, eventually leading to leaks or internal blockages.
4 Warning Signs You Need a Transmission Oil Cooler Hose Replacement
Catching a failing hose early is the difference between a $20 DIY fix and a tow-truck bill. Look out for these symptoms:
- Red or Brown Puddles: ATF is distinctly red when new, turning brown or black as it ages. Puddles near the front crossmember or directly below the radiator indicate a cooler line leak.
- Burning Sweet Odor: If a hose sprays a fine mist of ATF onto a hot exhaust manifold or catalytic converter, you will smell a distinct, acrid, sweet burning odor inside the cabin.
- Slipping or Delayed Engagements: A pinhole leak might not leave a massive puddle, but it will introduce air into the system (aeration) or drop the overall fluid volume, causing the transmission to slip or hesitate when shifting from Park to Drive.
- Spongy or Blistered Hose Texture: During a visual inspection, squeeze the rubber hose. If it feels excessively mushy, or if you see visible bubbles/blisters under the rubber surface, the inner tube has failed.
Step-by-Step Beginner Replacement Guide
Performing a transmission oil cooler hose replacement is highly accessible for beginners, provided you use the correct clamps and follow proper depressurization steps.
Tools and Materials Required
- SAE J1508 Fuel Injection Clamps: Never use standard worm-gear (hose) clamps. They cut into soft rubber under heat cycles. Fuel injection clamps distribute pressure evenly and are rated for high-temperature fluid immersion.
- Replacement Hose: Must be rated specifically for ATF and oil (e.g., Gates TransGard or equivalent PTFE-lined hose).
- Line Wrench (Flare Nut Wrench): To prevent rounding off soft brass or aluminum inverted flare nuts.
- Hose Cutter or Razor Blade: For clean, square cuts.
- Emery Cloth or Fine Sandpaper: To clean the metal hard lines.
- Catch Pan and Funnel: For fluid recovery and top-off.
The Removal and Installation Process
Step 1: Depressurize and Drain. Unlike power steering lines, transmission cooler lines operate at relatively low pressure (typically 20-45 PSI). However, they hold a significant volume of fluid. Place a catch pan beneath the hose connection. If your vehicle has a transmission dipstick, removing it will break the vacuum and allow fluid to drain faster.
Step 2: Remove the Old Hose. Use a flathead screwdriver to gently pry off the old clamps. Slice the old rubber hose lengthwise with a razor blade to avoid bending or kinking the delicate metal hard lines when pulling the rubber off.
Step 3: Prep the Hard Line. This is the most skipped step by amateurs. The metal barb must be perfectly clean. Use emery cloth to sand away any rust, old rubber residue, or corrosion until the metal is shiny. Wipe it down with brake cleaner. If the metal is deeply pitted, the hard line must be replaced, or the new hose will leak.
Step 4: Install Clamps and New Hose. Slide two SAE J1508 clamps onto the new hose before pushing it onto the metal barb. Push the hose onto the barb until it bottoms out against the flare. Ensure the hose is not twisted.
Step 5: Secure and Torque. Position the clamps roughly 1/4 inch from the end of the hose, staggered 180 degrees from each other. Tighten them securely. If using inverted flare nuts to reconnect hard lines to the transmission case, the standard torque spec for most GM 1/2"-20 or 5/8"-18 fittings is 18 to 22 lb-ft. Do not overtighten, or you will crack the aluminum transmission case.
Step 6: Refill and Bleed. Top off the transmission with the exact specified fluid. Start the engine, cycle through all gears with your foot on the brake, and check for leaks while the system pressurizes.
Material Science: Choosing the Right Hose
Not all hoses are created equal. According to the Gates Rubber Company Knowledge Center, using a standard power steering or fuel hose for ATF will result in rapid degradation, as modern synthetic ATFs contain aggressive friction modifiers and detergents that eat standard rubber compounds.
| Hose Material | Max Working PSI | Temp Limit | Est. Cost (per ft) | Best Application |
|---|---|---|---|---|
| Standard Rubber (ATF Rated) | 150 PSI | 250°F (121°C) | $3.00 - $5.00 | OEM replacements, older 4-speed automatics |
| PTFE (Teflon) Lined | 500+ PSI | 400°F (204°C) | $8.00 - $12.00 | High-performance, towing, modern 8/10-speeds |
| Stainless Braided over PTFE | 1,000+ PSI | 450°F (232°C) | $20.00 - $35.00 | Off-road, track vehicles, exposed routing |
Transmission-Specific Nuances
Different transmission families handle cooling flow and pressure differently. Here is what you need to know based on your drivetrain:
GM 4L60E / 4L80E (The Classics)
These legendary transmissions use traditional inverted flare hard lines (typically 14mm or 5/8"). They are incredibly forgiving. Cooler line pressure rarely exceeds 30 PSI. Standard ATF-rated rubber hose with fuel injection clamps is perfectly adequate for daily driving and light towing.
GM 6L80 / 8L90 / 10L90 (Modern Quick-Connects)
GM moved away from threaded flare nuts in favor of quick-connect fittings (usually 3/8" or 1/2"). These require a specialized quick-connect disconnect tool (available for about $10 at any auto parts store). Warning: Never pull on these lines without disengaging the internal plastic retaining clips, or you will snap the radiator cooler nipple. When replacing hoses on these, it is often easier to buy a complete pre-assembled hose with the quick-connect ends already molded on.
ZF 8HP Series (Chrysler, BMW, Audi)
The ZF 8-speed is a masterpiece of engineering but is highly sensitive to fluid pressure drops. It uses specialized O-ring sealed hardlines and specific SAE International Standards for fluid flow. If you are adapting an auxiliary cooler to a ZF 8HP, you must use proper AN-fitting adapters rather than hacking the hardlines and using hose clamps. A pressure drop across a poorly adapted hose can trigger the ZF's "Gearbox Malfunction" limp mode.
Long-Term Transmission Cooler Maintenance
Replacing a hose is only half the battle. True drivetrain preservation requires proactive cooler maintenance.
- Annual Clamp Inspection: Heat cycles cause metal to expand and contract. Inspect your SAE J1508 clamps every 12 months or 15,000 miles. Give the screw a slight quarter-turn to ensure they haven't backed off.
- Prevent Chafing: Ensure hoses are routed away from exhaust headers, steering shafts, and engine cooling fans. Use split-loom tubing or high-temp silicone wrap to protect hoses that must pass near heat sources.
- Flush the Cooler During Rebuilds: As noted by experts at Transmission Digest, up to 40% of premature transmission failures after a rebuild are caused by debris left in the cooler lines. Always use an inline cooler flush kit or compressed air to clear the heat exchanger before hooking up new hoses.
- Fluid Compatibility: Never mix fluids. If your vehicle calls for Dexron ULV (Ultra Low Viscosity) or ZF LifeguardFluid 8, use exactly that. The wrong fluid can cause the inner lining of older rubber hoses to delaminate from the inside out, creating a hidden blockage that starves the transmission of fluid while the outside of the hose looks perfectly fine.
Summary
A transmission oil cooler hose replacement is one of the most cost-effective, high-reward maintenance tasks a DIYer can perform. By understanding the specific requirements of your transmission family, investing in high-quality PTFE or ATF-rated hoses, and strictly using SAE J1508 fuel injection clamps, you can ensure your drivetrain stays cool, pressurized, and reliable for hundreds of thousands of miles. Don't wait for a slip or a puddle—inspect your cooler lines today.