The Anatomy of Clutch Lever Symptoms: Vibration, Noise, and Feel
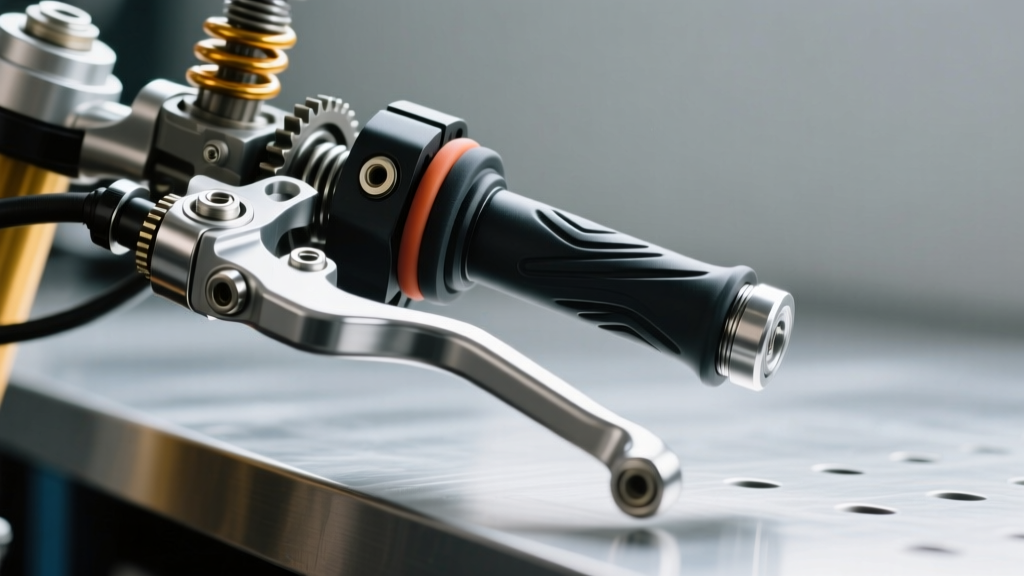
The left-hand controls on a motorcycle are your primary interface with the transmission. When the clutch system begins to degrade, the earliest warnings rarely come from the clutch basket or the friction plates themselves; they manifest at the lever pivot. In modern 2026 diagnostics, separating a failing clutch cable from a worn lever assembly is a critical first step. When diagnosing left-hand control issues, understanding how to replace motorcycle clutch lever components is only half the battle; the other half is accurately reading the tactile and auditory symptoms to ensure you are replacing the correct part.
1. Vibration and Lever Play
Vibration isolated to the clutch lever is frequently misdiagnosed as engine harmonic resonance, particularly on high-compression parallel-twins like the Yamaha MT-07 (CP2 platform) or the Honda CB500X. However, if the vibration is accompanied by lateral 'wobble' or free-play at the lever tip, the pivot bore is compromised. OEM levers are typically manufactured from die-cast aluminum. Over tens of thousands of miles, the constant friction of the steel pivot bolt ovalizes the aluminum bore. This microscopic slop allows high-frequency engine vibrations to rattle the lever blade against the perch. If you can wiggle the lever tip more than 2mm laterally without pulling the cable, the lever bore is worn and requires immediate replacement.
2. Notchy Engagement and Grinding Sensations
A smooth clutch pull should feel linear. If your lever exhibits a 'notchy' or grinding feel mid-pull, the issue is almost always localized to the cable nipple seating area or the pivot bolt lubrication. The cable nipple (the small cylindrical swage at the end of the inner clutch wire) seats into a machined slot on the lever. If dirt, oxidized grease, or metal shavings accumulate in this slot, the nipple will bind and skip as the lever rotates through its arc. Furthermore, a lack of molybdenum disulfide grease on the pivot bolt will cause steel-on-aluminum galling, creating a distinct grinding sensation transmitted directly to your fingers.
3. Squeaking and Clicking Noises
Audible symptoms are highly diagnostic. A high-pitched squeak during lever actuation points directly to a dry pivot bolt or a dry cable nipple. Conversely, a sharp metallic 'click' upon releasing the lever is a severe warning sign. This clicking occurs when the swaged cable nipple is unseating from the lever slot, often due to a fraying inner wire just below the swage. If you hear this click, inspect the cable immediately; a snapped clutch cable in stop-and-go traffic is a major safety hazard.
Lever Material Science: OEM Cast vs. CNC Billet
Before executing the replacement, you must choose the right hardware. The aftermarket has heavily shifted toward CNC-machined 6061-T6 billet aluminum levers, which offer vastly superior tensile strength and pivot bore tolerances compared to OEM cast aluminum.
| Feature | OEM Cast Aluminum (e.g., Yamaha, Honda) | CNC Billet 6061-T6 (e.g., ASV F3, Pazzo) | Carbon Fiber / Composite |
|---|---|---|---|
| Pivot Bore Tolerance | Standard (Prone to ovalization over time) | Precision Machined (Maintains circularity) | Requires Steel Insert Bushing |
| Impact Resistance | Low (Snaps or bends at the pivot in a tip-over) | High (Folds or bends, rarely snaps) | Medium (Can splinter under sharp impact) |
| Average Price Range | $45 - $85 USD | $130 - $170 USD | $180 - $250 USD |
| Adjustability | Fixed Reach | Multi-position Reach & Length | Fixed Reach |
According to engineering data from ASV Inventions, their patented Pro-Pak billet levers utilize stainless steel bushings at the pivot point, entirely eliminating the aluminum-on-steel wear that plagues OEM setups. For riders who frequently drop their bikes off-road or ride in heavy urban traffic, upgrading to a billet adjustable lever is a highly recommended preventative measure.
Step-by-Step Guide: How to Replace Motorcycle Clutch Lever
Replacing a mechanical cable-actuated clutch lever is a straightforward procedure, but it requires precision to avoid cross-threading the perch or inducing internal cable fraying. Below is the professional workflow used by master technicians.
Tools and Materials Required
- T-Handle Torque Wrench (Inch-pound and Newton-meter capable)
- JIS (Japanese Industrial Standard) Screwdrivers - Critical for Japanese motorcycles to prevent stripping Phillips-head screws on the perch.
- Needle-nose pliers
- Molybdenum Disulfide Grease (e.g., Honda Moly 60 or Motion Pro Cable Luber)
- Shop rags and isopropyl alcohol
Step 1: Relieve Cable Tension
Locate the inline barrel adjuster on the clutch cable, usually situated just below the handlebar perch. Turn the barrel adjuster clockwise (threading it inward) until it stops. This collapses the adjuster, creating maximum slack in the clutch cable and relieving all tension on the lever blade. Lock the adjuster nut in place.
Step 2: Extract the Pivot Bolt and Cable Nipple
Using the correct size socket or Allen key (typically 10mm hex or 4mm/5mm Allen depending on the manufacturer), unthread the pivot bolt. As the bolt withdraws, support the lever blade. Once the bolt is clear, rotate the lever outward to expose the cable routing slot. Carefully slide the cable out of the slot and unhook the brass or steel nipple from its seating hole. Pro-Tip: Never bend the inner wire at a sharp angle to free the nipple; doing so will compromise the wire's structural integrity and lead to premature fraying.
Step 3: Clean and Inspect the Perch
Before installing the new lever, spray the handlebar perch and the pivot bolt threads with isopropyl alcohol. Wipe away old, blackened grease and metal particulates. Inspect the pivot bolt threads for galling. If the bolt is scored, it must be replaced (OEM part numbers for pivot bolts are typically under $5 and should never be reused if damaged).
Step 4: Lubricate and Seat the New Lever
Apply a generous but clean layer of Moly 60 grease to the pivot bolt shaft and the seating hole where the cable nipple rests. If you are installing a billet lever with a separate bushing, ensure the bushing is flush and greased on its outer diameter. Hook the cable nipple into the new lever's slot, ensuring it is fully seated and oriented correctly so the cable flows in a straight line toward the adjuster.
Step 5: Torque to Exact Specifications
Slide the pivot bolt through the lever and into the perch. Thread it in by hand for the first three turns to guarantee you do not cross-thread the aluminum perch. Once hand-tight, use your torque wrench to secure it. Refer to the specific service manual, but general industry standards for Japanese and European motorcycles dictate:
- M6 Pivot Bolts: 8 - 10 Nm (71 - 88 in-lbs)
- M8 Pivot Bolts: 22 - 25 Nm (16 - 18 ft-lbs)
Overtightening an M6 bolt will stretch the steel, leading to eventual fatigue failure, while undertightening allows the lever to wobble and accelerate bore wear.
Step 6: Re-establish Free Play (The 10-15mm Rule)
Unlock the inline barrel adjuster and turn it counter-clockwise to introduce tension back into the system. The goal is to achieve exactly 10mm to 15mm of free play measured at the very tip of the lever blade before you feel resistance from the clutch spring. According to Cycle World maintenance archives, insufficient free play (less than 5mm) prevents the clutch from fully engaging, causing the friction plates to slip, overheat, and glaze. Excessive free play (over 25mm) prevents full disengagement, leading to grinding gears during shifts and premature wear on the transmission input shaft bearing.
Hydraulic Master Cylinder Nuances
If your motorcycle utilizes a hydraulic clutch system (common on modern Ducati, BMW, and KTM models), the replacement process differs slightly. There is no cable nipple to unhook. Instead, the lever pushes a master cylinder pushrod via a clevis pin or direct contact. When removing a hydraulic lever, you must be extremely careful not to pull the lever too far outward once it is detached, as this can allow the master cylinder piston to pop out of its bore, instantly contaminating the brake/clutch fluid and requiring a full system bleed. Always secure the master cylinder reservoir and avoid squeezing the lever while the pivot bolt is removed. For hydraulic pivots, torque specs are generally identical to M6 cable setups (8-10 Nm), but always utilize a new copper or aluminum crush washer if the pivot bolt features a banjo-style fluid passage.
Preventative Maintenance for Longevity
To ensure your new clutch lever and cable assembly lasts well beyond 50,000 miles, implement a bi-annual lubrication schedule. Using a tool like the Motion Pro Cable Luber forces aerosol or liquid cable lube past the inner Teflon liner, drastically reducing friction at the lever nipple. Additionally, wiping the pivot bolt clean and reapplying a thin film of moly grease every 10,000 miles will prevent the aluminum bore wear that causes the dreaded lever vibration. By treating the lever assembly as a precision diagnostic tool rather than a simple piece of metal, you ensure crisp, predictable transmission engagement every time you pull the lever.