Understanding Air Compressor Clutch Drag and Release Failures
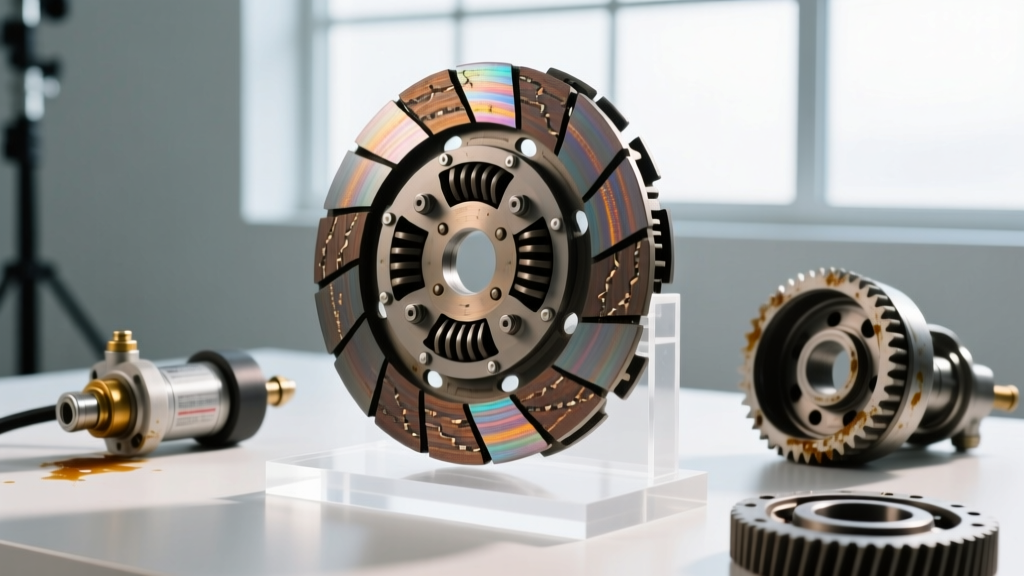
When an automotive A/C or onboard air compressor clutch fails to disengage or slips during engagement, you are dealing with a classic drag and release problem. Whether you are troubleshooting a Denso 10S17C, a Sanden SD7V16, or a heavy-duty PTO-driven onboard air compressor clutch, the electromagnetic principles remain identical. A clutch that drags when the system is powered down wastes engine horsepower, generates excessive heat, and accelerates belt wear. Conversely, a clutch that fails to release fully (slipping) will glaze the friction surfaces, melt the pulley bearing, and eventually destroy the compressor's front seal. In this 2026 diagnostic guide, we break down the exact step-by-step procedure to isolate electrical, mechanical, and magnetic faults causing these specific failures.
Essential Tools and Safety Protocols
Before unbolting the center hub, gather the following precision tools. Guessing the air gap or coil resistance is the leading cause of repeat clutch failures.
- Feeler Gauge Set: Metric and SAE (specifically 0.3mm to 0.8mm blades).
- Digital Multimeter (DMM): Capable of measuring DC voltage down to 0.1V and resistance (Ohms) to two decimal places.
- Clutch Puller Tool: Specific to your compressor family (e.g., Sanden 3-jaw puller or Denso threaded puller).
- Infrared Thermometer: For checking pulley bearing and coil surface temperatures.
- Snap Ring Pliers: For retaining ring removal on the pulley assembly.
Safety Note: Always disconnect the negative battery terminal before probing the clutch coil wiring to prevent accidental PCM short-circuits.
Step 1: Visual Inspection and Symptom Verification
Start the engine and turn the A/C or onboard air system completely off. Observe the air compressor clutch hub. If the center hub is spinning while the outer pulley remains stationary, the clutch has released correctly. However, if you hear a metallic scraping noise, smell burning friction material, or notice the center hub rotating intermittently, you have a drag issue.
Next, command the clutch ON. The hub should lock to the pulley instantly with a solid 'click'. If it chatters, slips, or emits a high-pitched squeal, the air gap is likely too wide, or the coil is suffering from thermal degradation. Use your infrared thermometer to check the coil housing; temperatures exceeding 220°F (104°C) indicate internal coil winding breakdown or excessive friction drag.
Step 2: Testing the Electrical Release Circuit
A clutch that refuses to release (stays engaged when turned off) is almost always an electrical fault, not a mechanical one. The PCM or HVAC control module grounds the clutch relay to engage the coil. If the relay contacts weld together due to arcing, the clutch receives continuous 12V power.
Multimeter Diagnostics Table
| Test Point | Expected Reading (System OFF) | Expected Reading (System ON) | Fault Indication |
|---|---|---|---|
| Clutch Power Wire | 0.0V | 12.5V - 14.2V | Voltage present when OFF = Welded relay or short to power. |
| Clutch Ground | OL (Open Loop) | Continuity to Ground | Always grounded = Chafed wire or PCM driver failure. |
| Coil Resistance | 3.0Ω - 5.0Ω (at 68°F) | N/A | Below 2.5Ω = Internal short; Above 6.0Ω = Open circuit. |
If the power wire shows 12V with the system off, immediately swap the A/C compressor relay in the under-hood fuse box. According to the Mobile Air Climate Systems Association (MACS), relay welding accounts for over 40% of 'failure to release' complaints in modern multiplexed HVAC systems.
Step 3: Measuring and Adjusting the Air Gap
If the electrical circuit tests perfectly, but the clutch drags mechanically or slips, the air gap between the friction plate and the pulley rotor is incorrect. Over time, the friction surface wears down, widening the gap and causing slip. Conversely, if a previous technician installed the wrong shim, the gap may be too tight, causing the clutch to drag even when the magnetic field collapses.
- Remove the Center Bolt: Use a strap wrench or impact gun to remove the center hub retaining bolt (typically 10mm or 13mm head).
- Pull the Hub: Thread the appropriate puller tool into the hub and extract it from the compressor shaft. Do not pry with a screwdriver, as this will warp the friction plate.
- Measure the Gap: Place a straight edge across the pulley face and use your feeler gauges to measure the distance to the friction plate. The universal specification for most Denso, Sanden, and Harrison air compressor clutch assemblies is 0.3mm to 0.6mm (0.012' to 0.024').
- Adjust Shims: Inside the hub bore, you will find spacer shims. Remove a shim to decrease the gap (fixing slip), or add a shim to increase the gap (fixing drag). Reinstall the hub and re-measure at three equidistant points around the circumference to ensure the plate is not warped.
For a deeper dive into OEM shim specifications and tolerance stacking, the technical bulletins at Austin Climate Control (ACKits) provide excellent model-specific breakdowns for late-model variable displacement compressors.
Step 4: Evaluating the Electromagnetic Coil
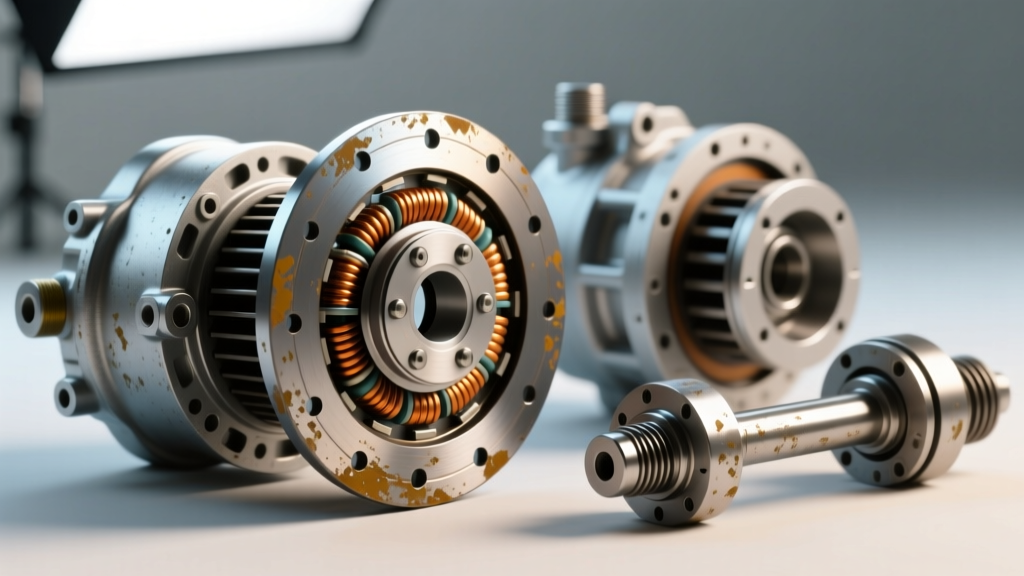
If the air gap is set perfectly to 0.4mm, the voltage is a solid 13.8V, but the clutch still slips when hot, your electromagnetic coil is failing. Coils are encapsulated in epoxy resin. When subjected to years of engine bay heat cycles, micro-fractures form in the epoxy, allowing moisture ingress. This causes the copper windings to corrode, increasing electrical resistance. As resistance climbs, amperage drops (Ohm's Law: I = V/R), resulting in a weaker magnetic field that cannot overcome the air gap when the compressor is under high head pressure.
To test, unplug the coil connector and measure resistance across the pins. If your reading drifts upward as you heat the coil with a heat gun, the coil has internal thermal breakdown and must be replaced. Do not attempt to rewind automotive clutch coils; replacement is the only reliable fix.
Step 5: Inspecting the Compressor Pulley Bearing
Sometimes, what feels like 'clutch drag' is actually a seized pulley bearing. The pulley rides on a double-row angular contact bearing (often a 35BD5520 or 35BD6224 size). If this bearing lacks grease or suffers cage failure, it creates immense rotational drag. To isolate this, remove the serpentine belt and spin the pulley by hand. It should rotate smoothly with a slight viscous drag. If it feels gritty, binds, or makes a rumbling noise, the bearing is destroyed. Note that replacing this bearing requires a hydraulic press and specialized bearing drivers; attempting to hammer it out will crack the aluminum compressor front head.
Real-World Cost and Replacement Framework
Deciding whether to replace just the clutch assembly or the entire compressor depends on the compressor's internal health and mileage. Below is a 2026 market pricing framework for common OEM and aftermarket components.
| Component | Average Part Cost | Labor Time | When to Replace |
|---|---|---|---|
| Clutch Hub & Shim Kit | $25 - $45 | 0.5 hrs | Hub is warped, splines are stripped, or shims are missing. |
| Electromagnetic Coil | $40 - $85 | 1.0 hrs | Resistance is out of spec, epoxy is cracked, or coil is burnt. |
| Complete Clutch Assembly | $90 - $160 | 1.5 hrs | Friction plate is glazed, pulley bearing is noisy, coil is bad. |
| Full Compressor w/ Clutch | $220 - $450 | 2.5 - 4.0 hrs | Front seal is leaking, internal valving is failed, or shaft is snapped. |
Final Torque Specs and Reassembly
When reinstalling the clutch hub onto the compressor shaft, thread engagement is critical. Always apply a medium-strength threadlocker (e.g., Loctite 243) to the center bolt threads to prevent it from backing out due to harmonic vibration. The standard torque specification for most air compressor clutch center bolts is 11 to 15 lb-ft (15 to 20 Nm). Over-torquing this bolt will stretch the threads inside the soft aluminum compressor shaft, requiring a costly helicoil repair or total compressor replacement. Finally, cycle the clutch manually via a jumper wire at the relay socket five times to verify crisp engagement and complete release before reinstalling the serpentine belt.