The Hidden Weak Point in Your F-150's Cooling System
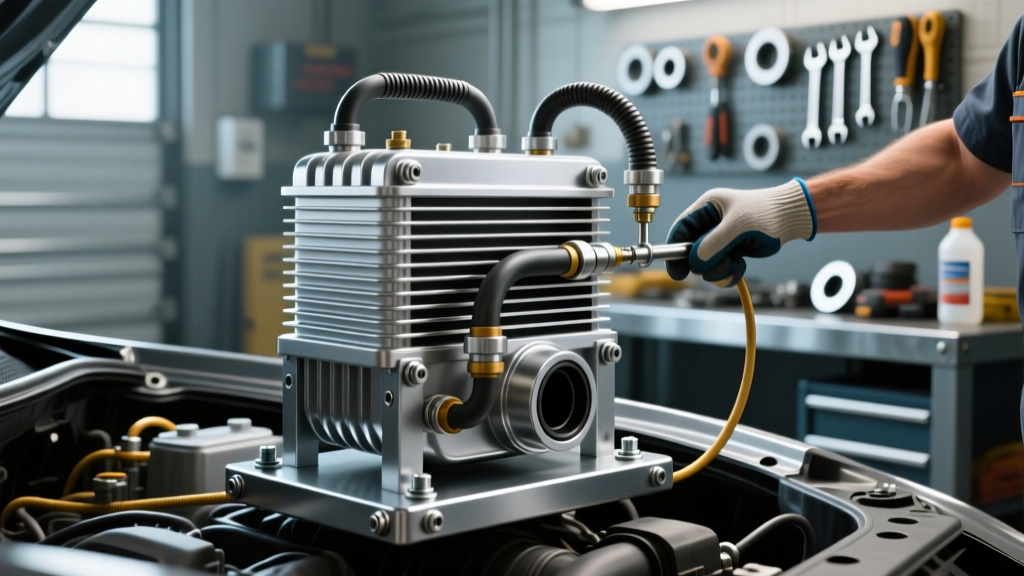
As we navigate the roads in 2026, the 2007 Ford F-150 remains a legendary workhorse. However, trucks equipped with the venerable 4R75E and 4R75W 4-speed automatic transmissions share a notorious vulnerability: the factory transmission cooler line fittings. If you are planning an auxiliary cooler upgrade or simply fixing a leak, understanding the 2007 Ford F150 transmission cooler line quick connector is mandatory. These plastic-retained push-lock fittings are designed for rapid assembly on the factory floor, but after nearly two decades of engine bay heat cycles and exposure to hot automatic transmission fluid (ATF), the internal polymer collets become incredibly brittle.
Attempting to yank these lines apart without the proper technique or tools will almost certainly shatter the retaining clip, tear the internal O-rings, or worse, crack the radiator's integrated transmission cooler tank. This beginner-friendly installation guide will walk you through the exact procedure to safely disconnect, replace, and integrate new quick connectors, ensuring your transmission stays cool and your driveway stays dry.
Why the Factory Quick Connectors Fail
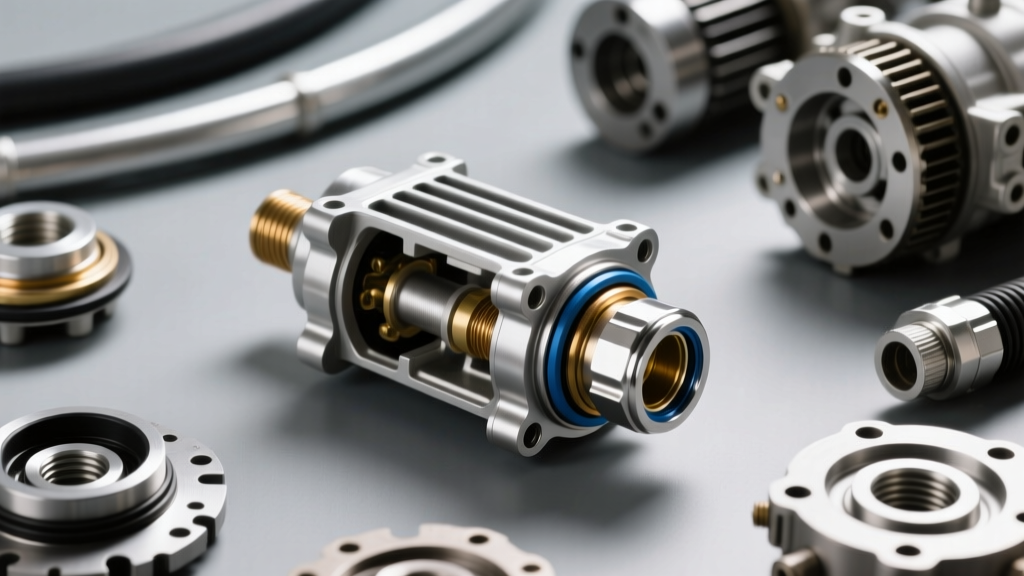
The quick connect system relies on a metal housing, an internal plastic collet (the 'teeth' that grab the line), and two rubber O-rings that seal the fluid. Over time, the O-rings flatten and lose their elasticity, leading to a slow weep. Many owners mistake this for a failing transmission pan gasket or a leaking rear main seal. Furthermore, the plastic collet degrades from UV exposure and radiant heat from the exhaust manifolds. When the collet fails, the line can blow off under high line pressure (which can exceed 150 PSI under heavy towing or torque converter clutch lockup), dumping your MERCON V fluid onto the hot exhaust and creating a severe fire hazard.
Tools and Parts Required for the Job
Before you slide under the truck, gather the correct components. Using generic hardware store fittings will result in immediate failure; you must use automotive-specific quick connectors rated for ATF and high pressure.
| Item | Part Number / Spec | Est. Price (2026) | Notes |
|---|---|---|---|
| Quick Connect Fitting (3/8") | Dorman 800-604 / Motorcraft W72148 | $12 - $22 | Verify line diameter; 3/8" is standard for 4R75E cooler lines. |
| Line Disconnect Tool Set | Lisle 39400 or OTC 4739 | $15 - $28 | Must include the 3/8" (white/red) scissor or collar tool. |
| ATF Fluid (Top-Off) | Valvoline MaxLife / OEM MERCON V | $10 - $15 / Qt | Check dipstick; 2007 4-speeds require MERCON V, not LV. |
| Line Wrench | Crowfoot or 18mm Flare Nut | $10 | Prevents rounding the soft aluminum fittings. |
Step 1: Depressurize and Prepare the Work Area
Transmission cooler lines are not under extreme pressure when the engine is off, but residual fluid will drain out once the seal is broken.
- Cool Down: Allow the truck to sit for at least 4 hours. The 4R75E transmission holds roughly 13.9 quarts of fluid, and the cooler lines can retain fluid at over 200°F immediately after a drive.
- Clean the Fittings: Use a wire brush and brake cleaner to remove caked-on mud, rust, and road grime from the quick connector housing. Debris pushed into the open line will travel directly into the transmission valve body and destroy the solenoids.
- Position a Catch Pan: Place a wide drain pan directly beneath the radiator cross-member. You will lose roughly 0.5 to 1 quart of ATF when separating the lines.
Step 2: Disconnecting the Stubborn Quick Connectors
This is where most DIYers cause expensive damage. Do not use pliers to squeeze the plastic housing. You must use a dedicated Ford quick connect disconnect tool, available from Lisle Corporation or similar brands.
The 'Push-Pull-Spread' Technique
- Push IN: Push the steel transmission line into the quick connector housing. This relieves the tension on the internal plastic teeth.
- Insert Tool: Slide the correct-sized disconnect tool (usually the 3/8" size for the 2007 F-150) over the steel line and push it firmly into the face of the quick connector. You should feel or hear a distinct 'click' as the tool spreads the internal collet teeth outward.
- Pull OUT: While keeping the tool fully seated, pull the steel line out of the housing. If it resists, twist the line slightly while pulling. Never pry with a screwdriver.
Pro-Tip: If the plastic collet is completely fused or shattered, you will need to carefully cut the metal housing off the steel line using a rotary tool or mini-hacksaw, then replace the entire hard-line section or use a compression union repair kit.
Integrating an Auxiliary Cooler During Reassembly
If you are replacing these connectors as part of a broader transmission cooler installation guide protocol—such as adding a Hayden Automotive or Derale auxiliary cooler for towing—understanding the fluid routing is critical. The 4R75E transmission relies on a specific flow sequence to prevent torque converter ballooning and ensure proper lubrication.
- Factory Flow: Transmission OUT (Pressure/Supply) → Radiator Integrated Cooler → Transmission IN (Return).
- Upgraded Flow: Transmission OUT → Radiator Integrated Cooler → Auxiliary Cooler IN → Auxiliary Cooler OUT → Transmission IN (Return).
When rerouting the return line to your new auxiliary cooler, you will likely need to cut the factory hard line and use a barb-to-quick-connect adapter. Ensure you use high-pressure EFI hose clamps (minimum 50 PSI rating) rather than standard worm-gear clamps, which can slice through the rubber hose under thermal expansion.
Step 3: Installing the New Quick Connectors
Whether you are reinstalling the factory hard lines into a new radiator, or connecting new rubber lines to an auxiliary cooler, the installation process requires precision.
- Lubricate the O-Rings: Dip your finger in fresh MERCON V ATF and coat the two rubber O-rings on the new quick connector. Never install them dry. A dry O-ring will roll, pinch, and tear the moment the metal line is inserted, guaranteeing a leak.
- Inspect the Steel Line: Run your fingers over the end of the steel hard line. It must be perfectly smooth. If there are rust pits, scratches, or a flared edge from a previous botched removal, the O-rings will not seal. Use 400-grit sandpaper to polish the last inch of the steel line until it is smooth to the touch.
- Insert the Line: Push the steel line straight into the quick connector. You will feel it pass through the first O-ring, then the plastic collet, and finally seat against the internal stop. Give the line a firm tug backward to ensure the plastic teeth have locked onto the steel tube.
- Secure the Brackets: Reattach the line to the radiator support bracket. The 8mm retaining bolts should be torqued to approximately 89 lb-in (10 Nm). Overtightening will strip the thin aluminum radiator support.
Step 4: Reassembly, Fluid Top-Off, and Bleeding
Because you lost fluid during the disconnect, the 4R75E's internal pump will draw air if you start the truck dry. This can cause immediate clutch pack glazing or pump cavitation.
- Pre-Fill: Add 1 full quart of MERCON V (or a compatible multi-vehicle synthetic approved for MERCON V) through the transmission dipstick tube using a long-neck funnel.
- Start and Idle: Start the engine and let it idle in Park. The transmission pump will begin moving fluid. Do not rev the engine.
- Check for Leaks: Immediately crawl under the front bumper with a flashlight. Inspect the newly installed quick connectors. A slight dampness is normal as residual cleaner burns off, but active dripping means the O-ring is pinched or the collet didn't lock.
- Cycle the Gears: With your foot firmly on the brake, slowly shift through PRNDL, pausing for 3 seconds in each gear. This fills the valve body and clutch apply circuits.
- Final Level Check: With the truck on level ground, the engine idling, and the transmission at normal operating temperature (after a 15-minute drive), check the dipstick. Add fluid in 0.25-quart increments until it reaches the cross-hatched 'HOT' zone.
Troubleshooting Common Post-Install Leaks
If you find ATF weeping from the 2007 Ford F150 transmission cooler line quick connector after your test drive, do not immediately assume the part is defective. Consult this diagnostic checklist:
- Leak at the threads (where the connector screws into the radiator): You likely cross-threaded the fitting or failed to use a proper liquid thread sealant (like Loctite 565 or a dedicated ATF-safe pipe dope). Teflon tape is not recommended as shredded pieces can enter the cooling circuit.
- Leak at the line insertion point: The steel line has pitting/corrosion preventing the O-ring from sealing, OR the plastic collet failed to engage, allowing the line to back out slightly under pressure.
- Balloon/Hose swelling: If you used cheap rubber hose to bridge a gap to an auxiliary cooler, standard fuel line hose will degrade rapidly when exposed to the synthetic detergents in modern ATF. Always use dedicated ATF/Transmission cooler hose (SAE J1532 standard).
By taking your time, using the correct disconnect tools, and verifying your line routing, you can easily extend the life of your F-150's drivetrain. For further reading on compatible fluids and aftermarket cooler specs, referencing the RockAuto catalog is an excellent way to cross-reference OEM Motorcraft part numbers with high-quality aftermarket alternatives like Dorman or ACDelco.