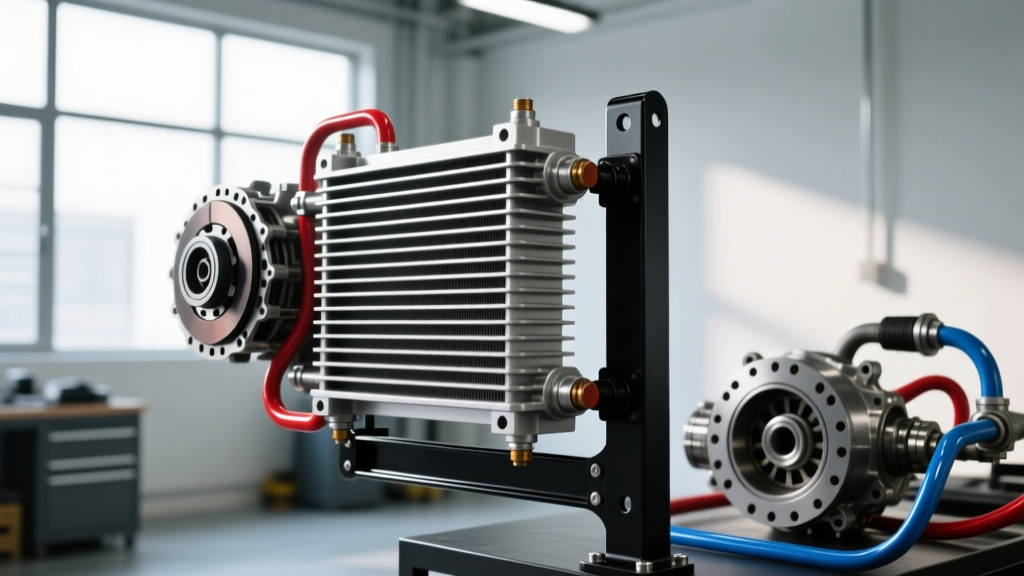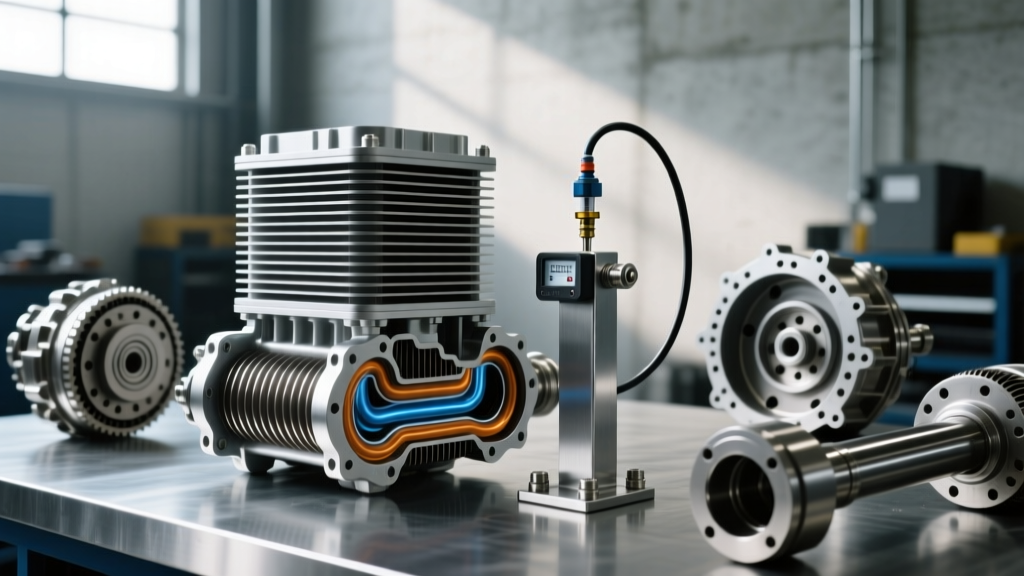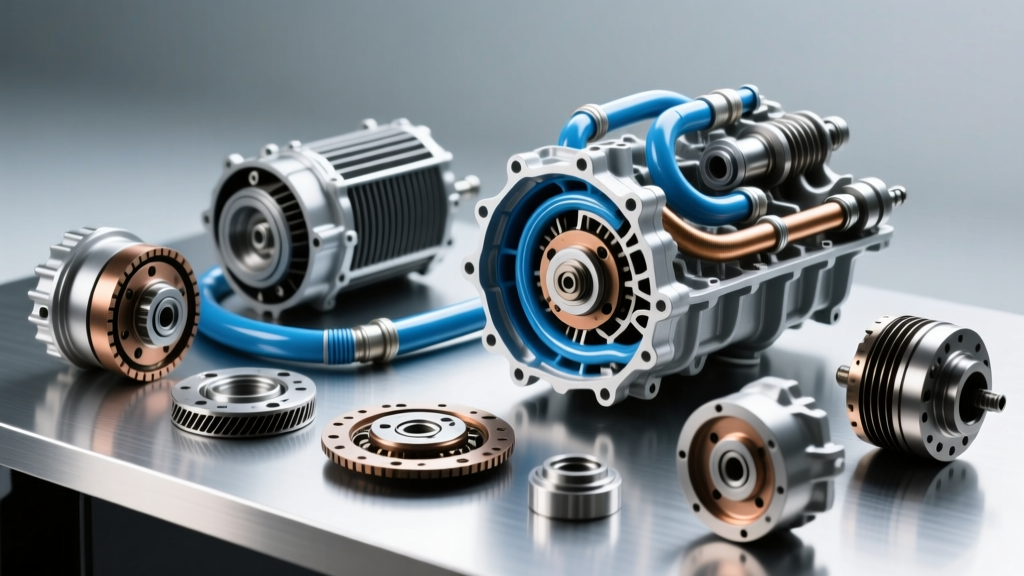
The Critical Link Between Cooler Lines and Transmission Overheating
Transmission overheating remains the leading cause of premature automatic transmission failure, accounting for nearly 90% of all rebuilt units according to the Automatic Transmission Rebuilders Association (ATRA). While many enthusiasts immediately blame the radiator or the transmission fluid itself, the cooler lines—the vital arteries of the cooling circuit—are frequently the hidden culprits. When learning how to remove transmission cooler lines, you are not just performing a routine maintenance task; you are executing the first critical step in diagnosing and preventing catastrophic thermal failure.
As of 2026, modern transmissions like the GM 10L80 and ZF 8HP operate with incredibly tight thermal tolerances. A restriction in the cooler lines, a failing thermal bypass valve, or a collapsing rubber hose section can starve the cooler of fluid flow. This results in fluid temperatures exceeding 240°F (115°C), which rapidly degrades the friction modifiers in synthetic ATF and glazes the clutch packs. This step-by-step guide will walk you through the safe removal of transmission cooler lines to facilitate flushing, inspection, and auxiliary cooler upgrades.
Why Failing Cooler Lines Cause Thermal Runaway
Before turning a single wrench, it is essential to understand the failure modes of transmission cooling circuits. Overheating caused by cooler line issues typically falls into three categories:
- Internal Delamination: Older rubber flex hoses can delaminate internally. The inner liner peels back, creating a one-way flap valve that restricts return flow from the radiator to the transmission, causing fluid starvation and immediate overheating.
- Thermal Bypass Valve Stiction: Transmissions like the GM 6L80 and 8L90 utilize a thermal bypass valve to keep fluid out of the cooler until it reaches operating temperature (usually around 185°F). If debris from a failing torque converter lodges in this valve, it sticks in the closed position, completely bypassing the cooler.
- Galvanic Corrosion and Scaling: In regions using heavy road salt, steel hard lines corrode at the crimp joints. Additionally, internal scaling from neglected Dexron VI or ATF+4 fluid can reduce the inner diameter of the 3/8-inch lines by up to 40%, severely limiting flow volume.
Required Tools and Materials
Attempting to remove cooler lines with standard open-end wrenches is a guaranteed way to round off soft brass fittings or snap brittle hard lines. Assemble the following specialized tools before beginning:
- Quick-Disconnect Tool Set: The Lisle Corporation 37000 Transmission Line Disconnect Tool set is mandatory for modern GM and Ford quick-connect fittings.
- Crowfoot Wrench Set: 14mm, 15mm, and 17mm crowfoot attachments for tight transmission case clearances.
- Tubing Cutter and Flaring Tool: For replacing damaged hard-line sections.
- Evacuation Pans: Minimum 15-quart capacity to catch the sudden dump of cooler fluid.
- Safety Gear: Nitrile gloves and ANSI Z87.1 safety glasses (ATF is a known skin irritant and carcinogen with prolonged exposure).
Expert Warning: Never attempt to disconnect cooler lines while the transmission is hot. Pressurized ATF can exceed 100 PSI during thermal expansion and cause severe burns. Allow the transmission pan temperature to drop below 110°F before starting.
Step-by-Step: How to Remove Transmission Cooler Lines
Step 1: Vehicle Elevation and Fluid Evacuation
Safely lift the vehicle using a two-post lift or high-capacity jack stands placed on the manufacturer-designated pinch welds or frame pads. Place a 15-quart drain pan directly beneath the transmission pan and the radiator cooler connections. While draining the pan is not strictly required to remove the lines, dropping the pan relieves hydrostatic pressure in the system, preventing a massive fluid spill when the lines are disconnected.
Step 2: Disconnecting at the Radiator (The Outlet Side)
Locate the cooler line connections at the base of the radiator. You will encounter one of two fitting types:
- Threaded Fittings (Common on GM 4L60E / older models): Use a 14mm or 15mm crowfoot wrench on a torque wrench extension. Apply steady counter-pressure with a backup wrench on the radiator adapter to prevent twisting the adapter out of the radiator tank. Torque spec for reinstallation is typically 15-18 lb-ft.
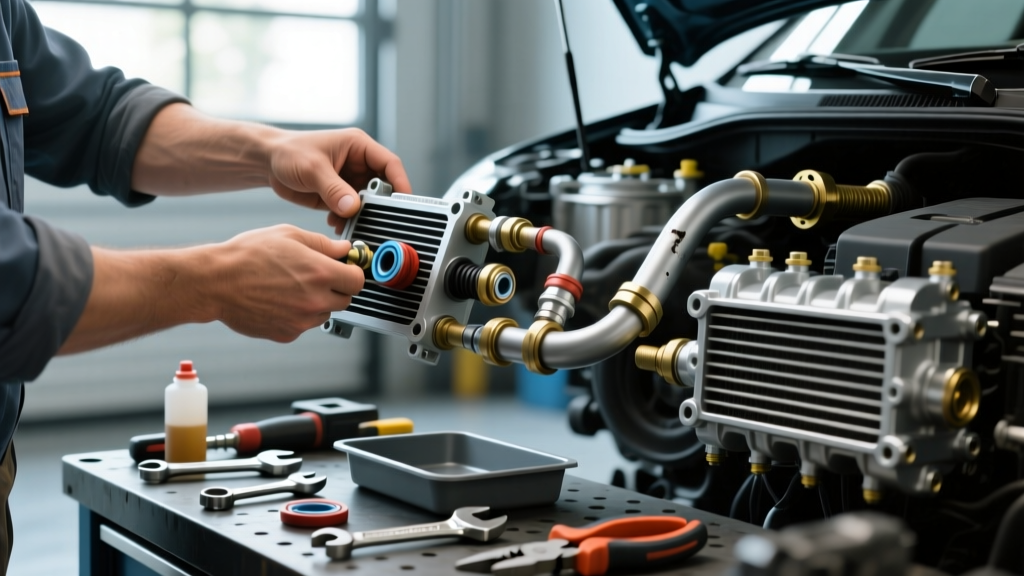
- Quick-Connect Fittings (Common on Ford, modern GM 6L80/8L90): Wipe the fitting clean. Select the correct collet from your Lisle disconnect tool set, push it into the fitting until it bottoms out, and pull the line straight out. Note: Always inspect the retaining clip inside the female fitting. If it is missing or bent, the fitting must be replaced.
Step 3: Disconnecting at the Transmission Case (The Return Side)
Follow the lines back to the transmission case. On rear-wheel-drive applications, the lines typically thread directly into the case or into a rear-adapter housing. Use a 17mm or 18mm line wrench (flare nut wrench) to break the fitting loose. If the lines feature a rubber flex-hose section bolted to the crossmember, unbolt the bracket (usually a 13mm or 15mm bolt) to free the line from the chassis before attempting to unscrew it from the transmission.
Step 4: Line Extraction and Inspection
Once both ends are free, carefully maneuver the lines out of the engine bay or chassis routing. Inspect the entire length for kinks, crushed sections, or heavy external corrosion. Pay special attention to the rubber flex couplers; squeeze them firmly. If they feel spongy or excessively hard and cracked, they must be replaced.
Transmission-Specific Line Removal Nuances
Different transmission families utilize vastly different cooling architectures. Consult the table below for model-specific removal data and common overheating pitfalls.
| Transmission Model | Line Type & Diameter | Common Overheating Failure Mode | Removal Tool / Spec |
|---|---|---|---|
| GM 4L60E / 4L65E | 5/16' Steel Hard Line / Flare Nut | Radiator adapter O-ring failure causing external leaks and low fluid volume. | 14mm Crowfoot; 18 lb-ft torque. |
| GM 6L80 / 6L90 | 3/8' Quick-Connect with Thermal Bypass | Thermal bypass valve stiction in the closed position, blocking all cooler flow. | Lisle 37000 Disconnect; 15mm backup. |
| ZF 8HP (BMW / FCA) | Plastic Quick-Connect with Integrated Thermostat | Brittle plastic tabs snap during removal; air ingestion causing cooler cavitation. | Specialized ZF collar-release tool; Do not pry. |
| Ford 6R80 / 10R80 | Steel Hard Line to Rubber Flex Coupler | Internal rubber delamination acting as a check-valve, starving the cooler return. | 16mm Line Wrench; Replace flex hose. |
Preventing Future Overheating: Flushing and Upgrading
Removing the lines is only half the battle. To truly address transmission overheating, you must ensure the cooling circuit is optimized for your specific use case, especially if you tow or operate in high-ambient-temperature environments.
1. Perform a Bi-Directional Cooler Flush
With the lines removed, use a dedicated transmission cooler flush machine or a pressurized solvent tank to flush the radiator's internal cooler and any auxiliary coolers. Flush in the reverse direction of normal fluid flow to dislodge trapped clutch material and torque converter debris. A flow test should yield a minimum of 1.5 to 2 gallons per minute (GPM) at 30 PSI for most heavy-duty applications.
2. Install an Auxiliary Stacked-Plate Cooler
If your vehicle suffers from chronic overheating, bypass the factory radiator cooler entirely (or plumb an auxiliary cooler in series after it). Stacked-plate coolers, such as the Derale Series 8000 or Hayden Rapid-Cool lines, offer vastly superior heat dissipation compared to tube-and-fin designs. When installing, use high-quality ANSI-rated hose clamps and ensure the auxiliary cooler is mounted in front of the A/C condenser for maximum ambient airflow.
3. Delete the Thermal Bypass Valve (Off-Road / Towing Only)
For dedicated towing vehicles equipped with the GM 6L80/8L90, consider installing a thermal bypass delete kit (available for $35-$60 via retailers like RockAuto). This forces 100% of the fluid through the cooler at all times, eliminating the risk of the valve sticking closed. Note: This is not recommended for daily drivers in freezing climates, as it will significantly increase transmission warm-up times.
Final Reinstallation and Torque Verification
When reinstalling the cooler lines, always use new O-rings or copper crush washers where applicable. Lubricate O-rings with fresh ATF before seating them to prevent pinching. Thread all fittings by hand for the first three turns to avoid cross-threading soft aluminum transmission cases. Torque all transmission case fittings to 20-25 lb-ft, and radiator adapters to 15-18 lb-ft. After reassembly, fill the transmission to the correct level, start the engine, and cycle the shifter through all gears to purge air from the cooler circuit before verifying the final fluid level at operating temperature.