Why Installing a Transmission Cooler is the Best Mod for Your Drivetrain
If there is one universal truth in the automotive world, it is that heat is the absolute enemy of automatic transmissions. Whether you are daily driving a work truck, towing a camper on the weekend, or navigating stop-and-go traffic in the Southwest, your factory cooling system is likely working at its absolute limit. In fact, Transmission Digest frequently notes that for every 20°F increase in operating temperature above 200°F, the lifespan of your automatic transmission fluid (ATF) is cut in half. Once ATF exceeds 240°F, it begins to oxidize, varnish forms on the valve body, and clutch packs begin to slip and burn.
For beginners and seasoned gearheads alike, installing a transmission cooler is one of the most cost-effective, high-impact upgrades you can perform. In this comprehensive 2026 guide, we will walk you through the exact steps to select, mount, and plumb an auxiliary transmission cooler, ensuring your gearbox survives the long haul.
Choosing the Right Cooler: Tube, Plate, or Stacked?
Before you grab a wrench, you need to buy the right hardware. Not all coolers are created equal. The market is dominated by three primary designs, each suited for different Gross Vehicle Weight Ratings (GVWR) and towing demands.
| Cooler Type | Best Application | Example Model (2026) | Avg. Price Range |
|---|---|---|---|
| Tube-and-Fin | Light duty, daily driving, older vehicles | Hayden 676 Rapid-Cool | $35 - $45 |
| Plate-and-Fin | Medium duty, light towing, SUVs | Derale Series 8000 | $45 - $60 |
| Stacked-Plate | Heavy towing, RVs, off-road, high-stress | Hayden 678 Ultra-Cool | $65 - $85 |
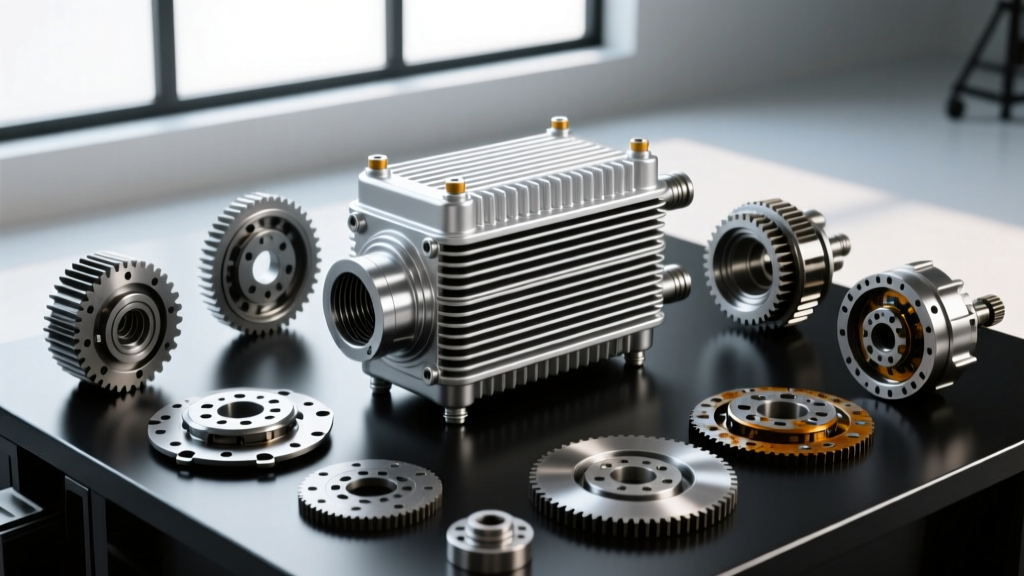
For 90% of modern truck and SUV owners doing any real towing, a stacked-plate cooler is the only logical choice. Stacked-plate designs offer the highest surface-area-to-volume ratio, providing superior heat dissensation without requiring massive physical dimensions that block airflow to your radiator.
The Thermal Bypass Valve Trap: What Beginners Must Know
Here is a piece of expert knowledge that most generic tutorials miss: many modern transmissions feature a Thermal Bypass Valve in the cooling lines. Transmissions like the GM 6L80/6L90, Ford 6R80, and the ubiquitous ZF 8HP (found in Ram 1500s and many European imports) use these valves to block fluid flow to the cooler until the ATF reaches roughly 180°F to 190°F. The engineering logic is to help the transmission warm up quickly for emissions and efficiency.
However, when you are towing a heavy trailer up a 6% grade, the fluid can spike in temperature before the valve fully opens, or the valve may restrict flow just enough to cause a heat soak. According to technical bulletins from Sonnax, a leading transmission component manufacturer, deleting or modifying this thermal bypass valve is a common and highly recommended procedure for dedicated tow vehicles. Before installing your new cooler, research your specific transmission model to see if a bypass valve delete kit is necessary to guarantee full-time cooling flow.
Tools and Materials Required
Do not cut corners on materials. A blown cooler line on the highway will drain your transmission in seconds and leave you stranded. Gather the following:
- SAE J1532 or J1019 Transmission Oil Cooler Hose: Never use standard fuel line or windshield washer hose. ATF additives and high heat will cause cheap rubber to swell, soften, and burst.
- Fuel Injection (FI) Clamps: Avoid standard worm-gear clamps. The slotted screw housing on worm-gear clamps acts like a cheese grater on soft rubber hoses during heat cycles. FI clamps feature a solid band that grips evenly.
- Line Wrenches (Flare Nut Wrenches): To avoid rounding off the soft brass or aluminum fittings on your transmission.
- Heavy-Duty Zip Ties & Rubber Isolators: For mounting the cooler to the A/C condenser.
- Hose Cutters or a Razor Blade: For clean, square cuts on the rubber hose.
Step 1: Mounting the Auxiliary Cooler
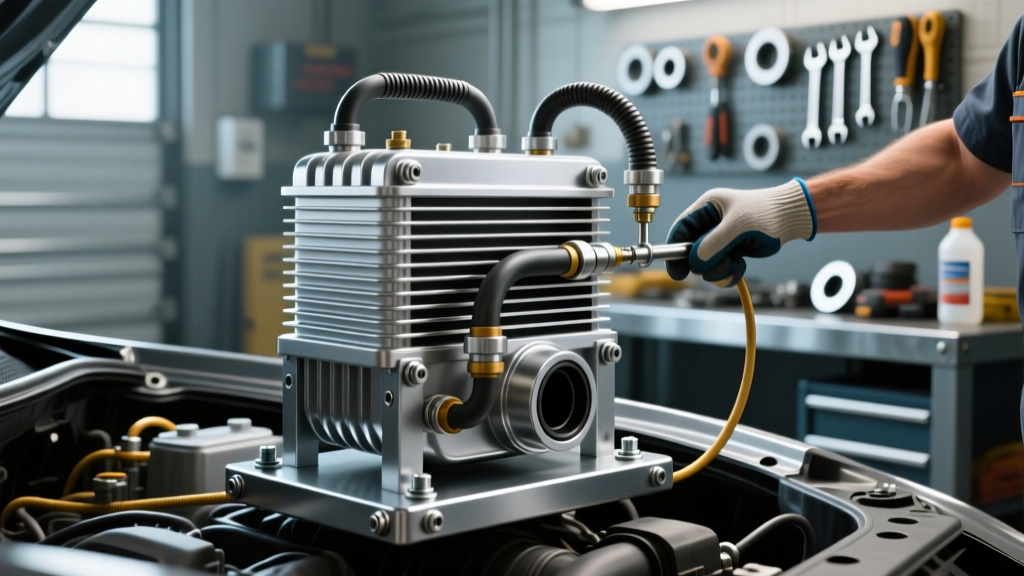
The ideal location for your new cooler is directly in front of the A/C condenser and the factory radiator. You want the coolest, most unobstructed ambient air hitting the cooler fins. Most stacked-plate coolers come with a mounting kit featuring long zip ties and small rubber spacer blocks.
Expert Tip: Never push the zip ties through the delicate aluminum fins of your A/C condenser without the rubber isolators protecting the back side. A slipped zip tie can easily puncture an A/C tube, turning a $75 cooler install into a $600 A/C repair. If your vehicle has a plastic shroud or bracket in front of the condenser, use self-tapping screws or bolt-through brackets for a more permanent, vibration-free mount.
Step 2: The Golden Rule of Routing Lines
This is where most beginners make a critical mistake. How you route the fluid dictates how well the system cools. The Golden Rule of transmission cooling is: Transmission Hot Out → Factory Radiator Cooler → Auxiliary Cooler → Transmission Return.
Why route it this way? Your factory radiator cooler uses engine coolant (which sits around 195°F) to pull the initial massive heat load out of the transmission. If you route the auxiliary cooler first, the factory radiator will actually act as a heater, transferring engine heat back into the ATF on the way back to the transmission. By putting the auxiliary cooler after the radiator, the ambient air passing through the stacked plates can drop the fluid temperature well below the engine coolant temperature, often down to 140°F-160°F on the highway.
Finding the Lines: Locate the two metal lines running from the transmission to the radiator. To identify the 'Hot Out' and 'Return' lines without a diagram, start the truck cold, shift into Drive for exactly three seconds, and put it back in Park. Carefully feel the two metal lines. The one that is warming up is your 'Hot Out' line. Trace that line to the radiator, and then splice your new auxiliary cooler into the line leaving the radiator heading back to the transmission.
Step 3: Splicing the Lines and Securing Clamps
Once you have identified the return line (the line feeding cooled fluid back to the transmission), use a tubing cutter or a sharp razor to make a clean, square cut. Slide your FI clamps onto the hose before pushing the hose onto the barbed fittings. A pro trick is to dip the end of the rubber hose in hot water for 30 seconds; this softens the rubber, allowing it to slide over the brass barbs easily without tearing the inner lining.
Push the hose onto the barb until it bottoms out completely. Position the FI clamps about 1/4 inch from the end of the hose and tighten them securely. You do not need a torque wrench for this, but aim for roughly 15-20 in-lbs of torque—snug enough that the hose cannot be pulled off by hand, but not so tight that you crush the brass barb fitting inside.
Step 4: Fluid Top-Off and the Critical Testing Phase
Adding a cooler and 4 to 6 feet of new hose will increase your system's total fluid capacity, usually by 0.5 to 1.5 quarts depending on the cooler size. You must top off the system with the exact OEM-specified fluid. Do not use generic 'Multi-Vehicle' ATF in sensitive modern units. For a GM 4L60E, use Dexron VI. For a Chrysler/Ram with the ZF 8HP, you must use ZF Lifeguard 8 or Mopar 8&9 Speed ATF; using the wrong fluid in a ZF unit will cause immediate shudder and torque converter lockup issues.
The Testing Procedure:
- Start the engine and let it idle in Park for 2-3 minutes to circulate fluid through the new cooler and purge air pockets.
- Inspect every connection with a flashlight and a paper towel. Look for any weeping or seepage at the barbed fittings.
- With the engine still running and the parking brake firmly applied, cycle the shifter through every gear (P-R-N-D-L), pausing for 3 seconds in each. This fills the clutch apply circuits and the torque converter.
- Check the dipstick. If your vehicle has a ZF 8HP or a modern sealed transmission without a dipstick, you will need an OBD2 scan tool to read the transmission pan temperature. The fluid level check on these units must be performed when the fluid is precisely between 30°C and 50°C (86°F - 122°F) while the engine is idling on a perfectly level surface.
Final Thoughts on Transmission Longevity
Installing a transmission cooler is a straightforward weekend project that yields massive dividends. By keeping your ATF temperatures safely below the 200°F danger zone, you preserve the friction modifiers in the fluid, prevent varnish buildup in the valve body, and extend the life of your clutch packs. Whether you are prepping a Silverado for a cross-country towing trip or just want peace of mind for your daily commute, a properly routed stacked-plate cooler is the ultimate insurance policy for your drivetrain. For more advanced diagnostics and shift-kit installations, always consult Hayden Automotive technical resources or your vehicle's factory service manual.