Decoding the EZGO Rear Differential Architecture
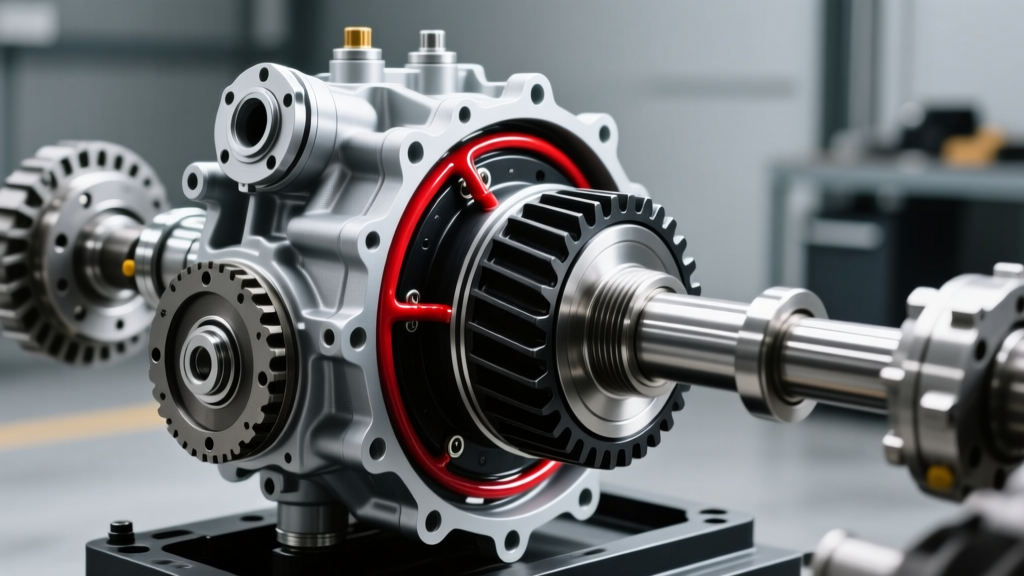
When troubleshooting drivetrain issues in golf carts and utility vehicles, mechanics often mistakenly apply automotive diagnostic logic to light-duty electric and gas platforms. The EZGO rear differential—whether equipped on a classic TXT, a modern RXV, or a fleet-spec Workhorse—operates under a unique set of mechanical constraints. Unlike a traditional automotive solid axle (such as a Ford 8.8 or Dana 44) that features a removable rear inspection cover, the EZGO rear axle assembly utilizes a sealed, drop-in cartridge design (often manufactured by Dana or Peerless).
This "third-member" cartridge is bolted directly into the center of the welded axle tube. Because there is no inspection cover to check ring and pinion backlash or visually inspect the spider gears without complete disassembly, symptom diagnosis and fluid analysis become your primary diagnostic tools. In 2026, with fleet operators pushing utility vehicles harder than ever, understanding the subtle acoustic and physical warnings of a failing EZGO differential is critical to preventing catastrophic axle lock-up.
Symptom-to-Failure Diagnostic Matrix
Diagnosing a sealed differential requires correlating specific acoustic profiles with operational states. Use the following matrix to isolate the root cause of your EZGO rear differential noise before ordering replacement parts.
| Symptom Profile | Operating Condition | Probable Mechanical Cause | Immediate Diagnostic Action |
|---|---|---|---|
| High-pitched whining | Deceleration or engine braking | Worn ring and pinion coast-side teeth; low fluid level | Check fluid level; inspect magnetic drain plug for fine metallic paste |
| Heavy clunk or "bang" | Shifting between Forward and Reverse | Excessive backlash; stripped axle splines; worn spider gear cross-pin | Check axle nut torque (85-100 ft-lbs); measure input shaft rotational free-play |
| Binding or chattering | Tight, low-speed turns | Degraded fluid lacking friction modifiers; spider gear binding | Perform immediate drain and fill with fresh 75W-90 GL-5 gear oil |
| Grinding or rumbling | Constant speed, load-dependent | Spalled differential carrier bearings or pinion bearing failure | Check for input yoke deflection using a dial indicator |
| Fluid weeping at hubs | After highway-speed runs or heavy loads | Thermal expansion overfill OR failed axle tube seals | Verify fluid is exactly level with the fill-plug threads; inspect brake drums for oil contamination |
Fluid Specifications: The Hypoid Gear Requirement
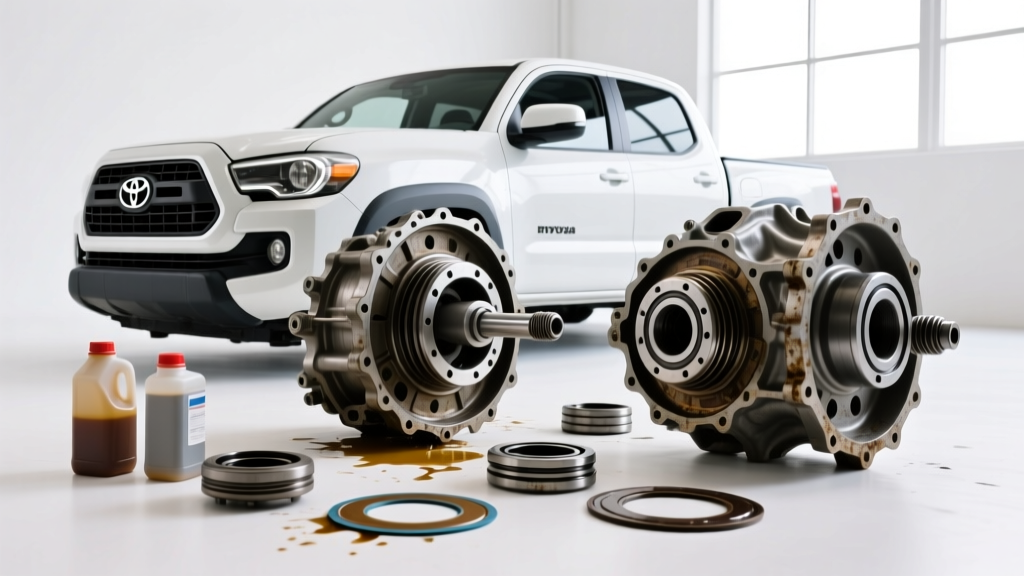
The most common maintenance error made by DIYers and general small-engine shops is filling the EZGO rear differential with standard motor oil, automatic transmission fluid (ATF), or GL-4 gear oil. The ring and pinion gears inside the EZGO cartridge are hypoid gears. The pinion gear intersects the ring gear below the centerline, creating a massive amount of sliding friction alongside rotational force.
To prevent the gear teeth from welding together under load, you must use an API GL-5 rated 75W-90 or 80W-90 gear oil. According to the API Gear Oil Classifications, GL-5 fluids contain high levels of Extreme Pressure (EP) additives, typically zinc dialkyldithiophosphate (ZDDP) and phosphorus compounds, which form a sacrificial chemical barrier on the gear surfaces under high-shear conditions.
- OEM Equivalent: EZGO branded synthetic gear lubricant or any premium synthetic 75W-90 GL-5 (e.g., Mobil 1 Synthetic Gear Lube).
- Capacity: Approximately 1.5 quarts (48 oz) for most TXT and RXV rear axles. However, the only true measure of capacity is the fill-hole weep method.
- Warning: Never use GL-4 fluid. While GL-4 is safer for yellow metals (brass synchronizers) in manual transmissions, it lacks the EP additive concentration required to protect the hypoid sliding friction in your EZGO differential.
Execution: The Complete Drain, Inspect, and Fill Protocol
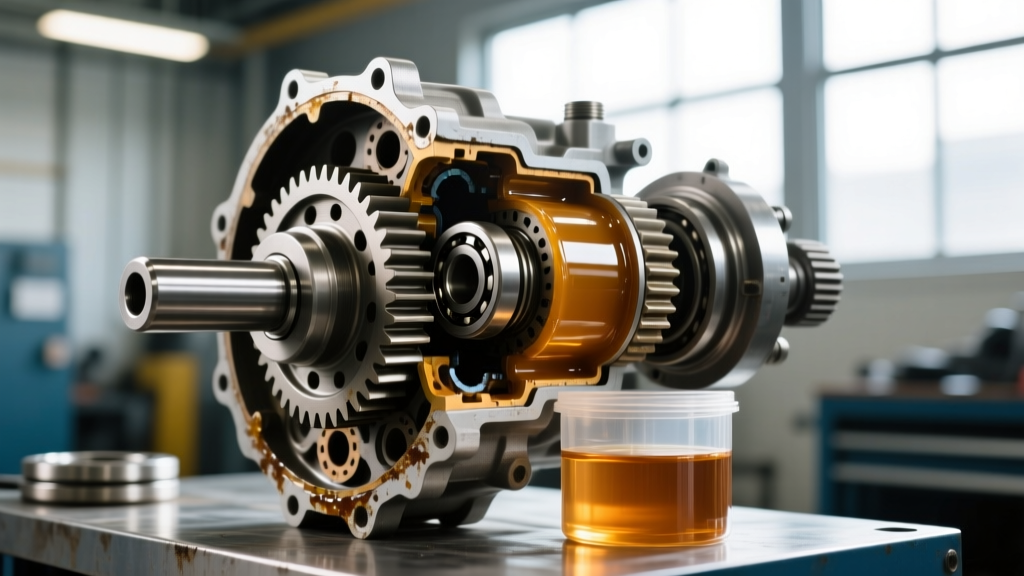
Proper service goes beyond simply swapping the fluid. The drain plug on an EZGO rear differential is equipped with a magnet designed to capture ferrous wear metals. Reading this magnet is the closest thing to a "window" into the sealed cartridge.
Phase 1: Draining and Magnetic Plug Analysis
- Level the Chassis: Park the vehicle on a perfectly level surface. If the cart is tilted, the fluid will not drain completely, and your subsequent fill level will be inaccurate.
- Remove the Fill Plug First: Always remove the upper fill plug before the lower drain plug. If the fill plug is seized or stripped, you do not want to be left with an empty differential and no way to refill it.
- Extract the Drain Plug: Use a 3/8-inch or 1/2-inch square drive (depending on your specific axle year). Allow the fluid to drain completely. Warm fluid flows faster and carries more suspended contaminants out of the housing.
- Read the Magnet:
- Normal: A fine, grey, glitter-like paste. This is standard clutch pack and gear wear over thousands of miles.
- Abnormal: Chunky metal flakes, needle-bearing shards, or brass-colored shavings. This indicates catastrophic bearing cage failure or spider gear disintegration. A rebuild or replacement is mandatory.
Phase 2: Refilling and Torque Sequence
Clean the magnetic plug with brake cleaner and a lint-free rag. Reinstall the drain plug and torque it to 18-22 ft-lbs. Over-torquing can crack the cast-aluminum or stamped-steel differential housing, leading to permanent leaks.
Using a fluid pump, inject the 75W-90 GL-5 gear oil into the fill hole until the fluid begins to weep back out of the threads. Stop immediately. Reinstall the fill plug and torque to 18-22 ft-lbs.
The "False Leak" Phenomenon: If you overfill the differential past the fill-plug threshold, the churning action of the ring gear will aerate the fluid. As the axle reaches operating temperature, thermal expansion will push the aerated, pressurized oil past the axle tube seals, mimicking a blown seal. Always fill strictly to the bottom of the fill-hole threads.
Advanced Troubleshooting: Beyond the Fluid
If a fresh fluid service does not resolve the noise, or if your magnetic plug revealed heavy spalling, you must perform external mechanical tests to pinpoint the failure before tearing down the axle.
Input Shaft and Pinion Bearing Deflection
The pinion shaft is supported by two tapered roller bearings. When these bearings wear, the pinion gear is allowed to deflect away from the ring gear under load, causing a loud howl and rapid tooth degradation. The Test: Remove the driveshaft or motor coupler. Mount a magnetic dial indicator to the axle housing with the probe resting on the input yoke. Attempt to move the yoke up and down (radial play) and in and out (axial play). Radial play should be near zero. Any axial in-and-out movement greater than 0.005 inches indicates collapsed pinion bearings requiring an immediate press-and-shim rebuild.
Axle Spline Stripping
A common issue on lifted EZGO carts running oversized, heavy-tread tires is the stripping of the internal side gears where the axle shaft splines engage. If you experience a "clunk" and a loss of drive, but the motor/transaxle is still spinning, pull the axle shafts. Inspect the outer splines on the shafts and the internal splines of the differential side gears. If the edges are rounded or sheared, the differential carrier must be replaced.
Rebuild vs. Replace: Cost and Viability Analysis
When internal failure is confirmed, fleet managers and owners face a decision: rebuild the existing cartridge or install a remanufactured unit. For a comprehensive look at OEM and aftermarket replacement options, resources like the Golf Cart Stuff EZGO Parts Catalog provide excellent exploded diagrams and pricing baselines.
- Rebuild Kit ($120 - $180): Includes carrier bearings, pinion bearings, seals, and a shim kit. Viability: Only recommended if you have access to a hydraulic press, a dial indicator, and the patience to measure and select shims to achieve proper gear backlash and bearing preload. Incorrect shim selection will destroy the new bearings within 50 miles.
- Remanufactured/Complete Cartridge ($450 - $750): A pre-assembled, factory-shimmed drop-in unit. Viability: The gold standard for 2026 fleet maintenance. It minimizes vehicle downtime to under two hours and guarantees correct internal geometry. You simply unbolt the old center section, slide the new one in, and torque the perimeter bolts to 35-45 ft-lbs using blue threadlocker.
For official maintenance schedules and warranty-related service bulletins, always cross-reference your specific serial number with EZGO Official Owner Resources. Proper diagnosis and strict adherence to GL-5 fluid specifications will ensure your EZGO rear differential survives the harshest utility and recreational environments.