Platform Architecture: The CD6 Drivetrain Reality
As we navigate the 2026 service landscape, the Ford CD6 platform—underpinning the current generation Explorer—is entering the high-mileage threshold where driveline components demand critical attention. When evaluating 2025 Ford Explorer drivetrain options, RWD and AWD configurations present distinct mechanical realities that directly dictate universal joint (U-joint) wear patterns, stress loads, and replacement protocols.
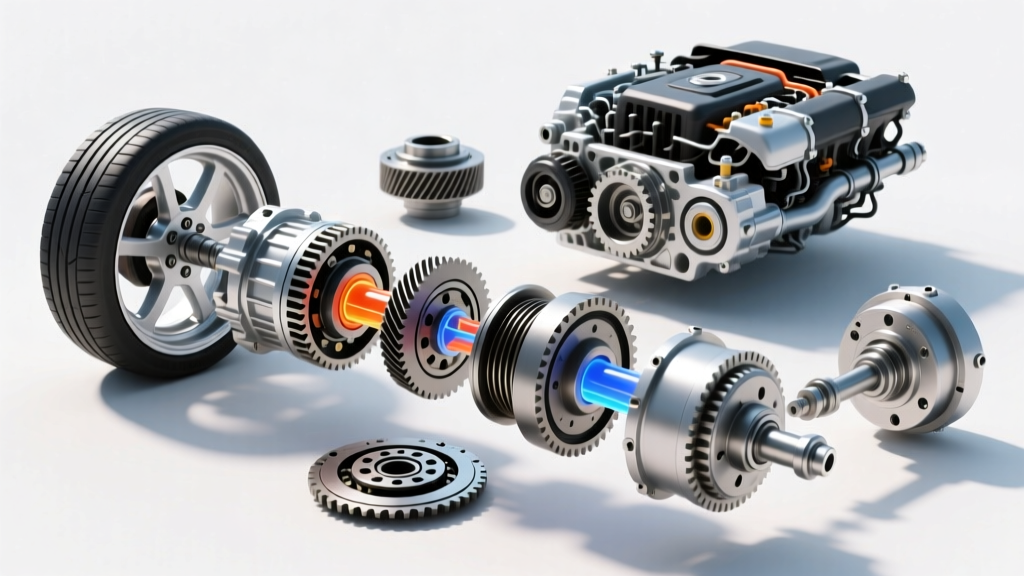
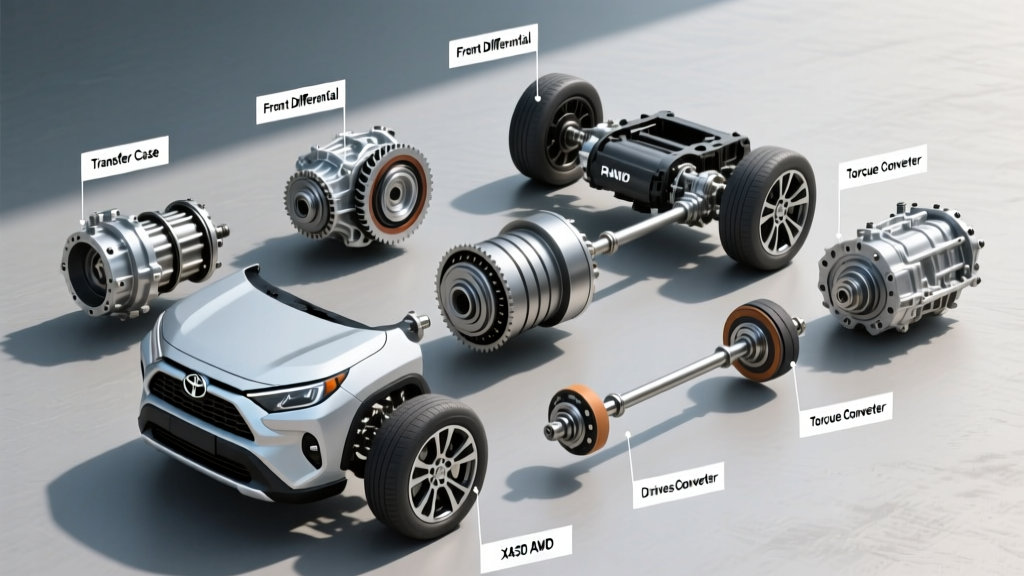
The RWD Explorer utilizes a traditional longitudinal layout, routing torque from the 10R60 or 10R80 transmission directly to the rear differential via a two-piece or three-piece aluminum/steel hybrid driveshaft. Conversely, the Intelligent AWD and 4WD variants employ a Power Transfer Unit (PTU) mounted to the front of the transmission, coupled with a Rear Axle Disconnect (RAD) or an active clutch-pack rear differential. This means the AWD rear driveshaft is subjected to continuous rotational inertia and complex torsional harmonics, even when the clutches are fully open, accelerating needle-bearing fatigue if factory grease degrades.
Torsional Harmonics and NVH Implications
Universal joints are not constant-velocity devices. As the operating angle of the U-joint increases, the velocity fluctuation between the input and output yokes exacerbates. In the Explorer, the rear pinion angle is engineered to offset the transmission output shaft angle, creating a 'canceling' effect that minimizes Noise, Vibration, and Harshness (NVH).
Master Tech Note: If you are replacing a U-joint on a lifted 2025 Explorer Timberline (which features a factory 1-inch lift and revised suspension geometry), you must verify the pinion angle shims. Exceeding a 3-degree operating angle on a standard Spicer 1310 U-joint will cause catastrophic needle-bearing brinelling within 15,000 miles.
Anatomy of U-Joint Failure on the Explorer
Factory-installed U-joints on the CD6 platform are typically 'Spicer Life Series' (non-greasable) units designed for the lifecycle of the vehicle's warranty period. Failure rarely happens suddenly; it follows a predictable mechanical degradation path:
- Seal Extrusion: The nitrile rubber lip seals harden due to thermal cycling near the exhaust routing, allowing moisture ingress.
- Rust Jacking: Water enters the bearing cap. As the iron oxidizes, the rust expands, creating immense internal pressure that physically extrudes the cap seals outward.
- Brinelling: The needle bearings lose their hydrodynamic lubrication film, causing them to hammer into the bearing cup, creating microscopic indentations (brinelling) that manifest as low-speed squeaking.
- Spalling and Seizure: The needles fracture, leading to cap seizure and eventual yoke destruction.
Diagnostic Matrix: Symptom vs. Root Cause
| Symptom | Operational Condition | Root Cause & Verification |
|---|---|---|
| Metallic 'Clunk' on Engagement | Shifting from Park to Reverse/Drive | Excessive radial play in the trunnion. Verify by rotating the driveshaft by hand while the transmission is in Park. More than 2mm of rotational lash indicates worn cross journals. |
| High-Frequency Squeak | Low-speed crawling (5-15 mph) | Dry needle bearings (brinelling). The squeak correlates directly to driveshaft RPM, not wheel RPM. Isolate by lifting the vehicle on a hoist and running the driveline in gear. |
| 65-75 MPH Shudder | Highway cruising under light load | U-joint cap seizure causing secondary couple vibrations. Check for rust streaks radiating from the bearing caps, indicating seal failure and internal corrosion. |
OEM vs. Aftermarket: Part Numbers and Specifications
When sourcing replacement joints, matching the exact cap diameter and snap-ring configuration is non-negotiable. The Explorer rear shaft typically utilizes a Spicer 1310 series equivalent, but Ford's proprietary flange designs sometimes require specific Motorcraft kits.
- Motorcraft OEM Kit: BRPU-12-A (or specific application code per VIN). Features factory non-greasable caps for balanced high-speed rotation.
- Spicer Aftermarket (Greasable): Spicer 1310 (Part # 5-153X). Cap diameter: 1.062', Width: 3.219'. Features zerk fittings, allowing for fleet-maintenance purging of contaminants.
- Moog Heavy Duty: Moog 330 or 331 series. Utilizes cold-formed bearing caps and full-complement needles for high-torque applications (e.g., Explorer ST towing packages).
For exact fitment mapping based on your specific axle ratio and PTU configuration, cross-reference your VIN via the Ford Motorcraft Parts Catalog or consult the Spicer Parts U-Joint Application Guide.
The Replacement Protocol: Torque and Phasing
Replacing a U-joint on a multi-piece Explorer driveshaft requires strict adherence to phasing and torque sequences. Improper phasing (misaligning the yokes) will introduce a secondary vibration that no amount of wheel balancing can cure.
Step 1: Driveline Indexing
Before unbolting anything, use a silver paint pen to draw a continuous line across the rear differential pinion flange, the U-joint cap, and the driveshaft yoke. This ensures the shaft is reassembled in the exact same rotational phase. If replacing a center U-joint on a two-piece shaft, mark the slip-yoke splines to maintain factory balance.
Step 2: Flange Bolt Removal
The rear differential pinion flange is typically secured by four 12mm x 1.25 flange bolts. These are often treated with a medium-strength threadlocker from the factory. Apply localized heat (up to 250°F) with a heat gun if torque exceeds 90 lb-ft during breakaway to avoid snapping the bolt heads.
Step 3: Pressing and Snap-Ring Seating
Use a dedicated U-joint press tool (not a C-clamp, which can distort the casting). When pressing the new caps into the yoke, ensure the needle bearings are not folded over the bottom of the cup—a common error that instantly destroys the joint upon first rotation. Seat the snap rings and strike the yoke ears lightly with a brass drift to relieve binding tension on the caps.
Step 4: Critical Torque Specifications
According to ALLDATA DIY repair databases for the CD6 platform, adhere to the following torque specs:
- Rear Pinion Flange Bolts (12mm): 76 lb-ft (103 Nm). Do not reuse stretch-yield bolts if specified by the OEM service manual.
- Center Support Bearing Bolts: 15 lb-ft (20 Nm). Over-torquing these will preload the rubber isolator, transmitting driveline vibration directly into the chassis floor pan.
- Transfer Case / PTU Output Flange: 18 lb-ft (24 Nm) for the strap bolts, if applicable to your specific front shaft configuration.
2026 Cost Analysis and Maintenance Intervals
Labor rates in 2026 for driveline specialists average between $145 and $185 per hour. Because the Explorer's rear driveshaft must be lowered entirely to access the rear U-joints (and often the center support bearing), the book time is generally 1.8 to 2.4 hours.
- Dealership Replacement: $450 - $650 (OEM Motorcraft non-greasable joints, full shaft removal, and software recalibration if the PTU clutch pack requires adaptation post-service).
- Independent Driveline Shop: $300 - $450 (Spicer greasable joints, custom balancing if required).
- DIY Cost: $35 - $60 for premium Spicer/Moog U-joints. Requires a $40 U-joint press tool and a reliable torque wrench.
Preventative Maintenance: If you opt for aftermarket greasable Spicer 1310 joints, establish a strict maintenance interval. Purge the joints with a high-quality synthetic lithium-complex grease every 15,000 miles, or immediately after any deep water fording. Purge until clean grease is visible at all four seal lips, ensuring internal contaminants are forced out rather than trapped against the needle bearings.