The Electromagnetic Drivetrain: How Electric PTO Clutches Work
Power Take-Off (PTO) systems serve as the critical mechanical gateway between an engine’s crankshaft and auxiliary drivetrain attachments. In commercial landscaping equipment, agricultural tractors, and light-duty industrial vehicles, the electric PTO clutch is the most common method for transferring rotational force. Unlike hydraulic or manual cable-driven clutches, an electric PTO clutch relies on electromagnetic principles to engage and disengage power to the mower deck, tiller, or hydraulic pump.
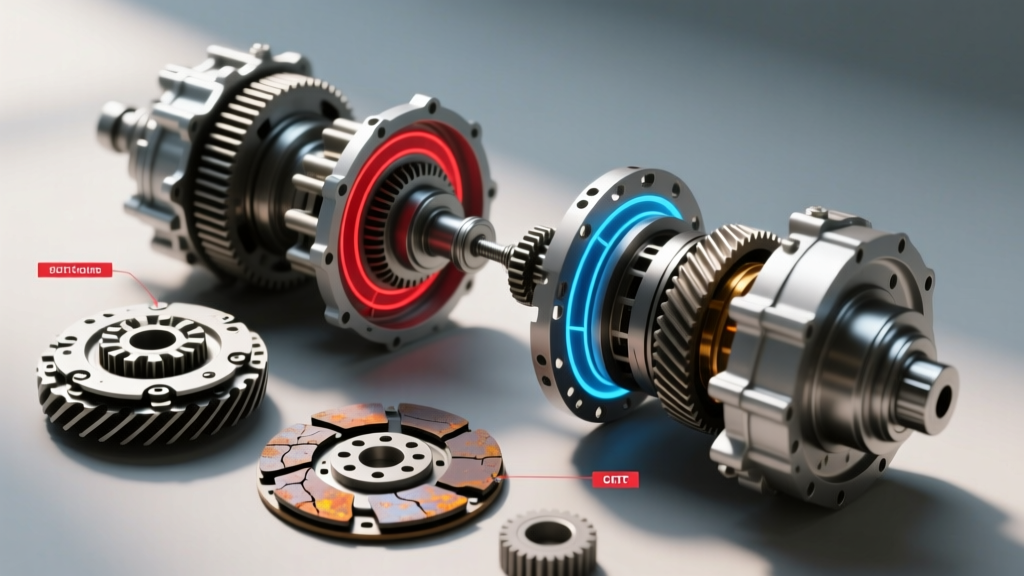
At its core, the assembly consists of three main components: the rotor (bolted to the crankshaft and containing the copper wire coil), the armature (a steel friction plate attached to the attachment pulley), and the leaf springs or wave washers that maintain physical separation. When the operator flips the PTO switch, 12V DC current flows through the rotor’s coil, generating a magnetic field. This field pulls the armature across a tiny physical gap, clamping it against the rotor face. The resulting friction locks the pulley to the crankshaft, engaging the attachment. When power is cut, the magnetic field collapses, and the springs pull the armature back, disengaging the drivetrain.
While the concept is simple, the physical tolerances are incredibly tight. As we navigate the 2026 equipment service landscape, modern diagnostic tools make troubleshooting these systems easier than ever, but the fundamental physics of engagement and disengagement remain unchanged. If your PTO clutch is slipping, failing to engage, or dangerously dragging after being turned off, this beginner-friendly guide will walk you through the exact diagnostic steps used by professional drivetrain technicians.
Why Engagement and Disengagement Issues Occur
Before grabbing a wrench, it is vital to understand the difference between an electrical failure and a mechanical failure. A clutch that fails to engage is usually suffering from a voltage drop, a widened air gap, or a burnt coil. Conversely, a clutch that fails to disengage (meaning the blades or attachments keep spinning after you turn off the switch) is almost always a mechanical binding issue, residual magnetism, or spring fatigue.
The Hidden Danger of 'Inrush' Current
One of the most misunderstood concepts in electric PTO clutch repair is why coils burn out. When voltage is first applied, the coil draws a massive spike of 'inrush' current (often 6 to 8 amps). Once the armature physically snaps against the rotor and closes the magnetic circuit, the current drops to a lower 'holding' level (typically 3 to 4 amps). If your air gap is too wide, the armature never fully seats. The coil remains stuck in the high-amperage inrush phase, generating extreme heat until the copper wire's enamel coating melts, resulting in a short circuit and a dead clutch.
Step-by-Step Electric PTO Clutch Repair Diagnostics
To properly diagnose clutch engagement issues, you need a digital multimeter (DMM), a set of feeler gauges, and basic hand tools. Follow this sequential diagnostic path to isolate the root cause.
Step 1: The Voltage Drop Test (Under Load)
Never test PTO voltage with the wiring harness unplugged. You must test the voltage under load while the clutch is connected and the engine is running at operating RPM. Back-probe the PTO connector with your multimeter set to DC Volts.
- Target Specification: You must see a minimum of 11.8V to 12.4V while the clutch is engaged.
- The Problem: If your battery reads 12.6V at the terminals, but only 9.5V reaches the clutch, you have a severe voltage drop. This is usually caused by pitted contacts inside the dashboard PTO switch, corroded inline fuses, or undersized wiring harnesses.
- The Fix: Install a heavy-duty PTO relay kit (using 10 AWG wire) to bypass the factory dashboard switch, ensuring full battery voltage reaches the clutch coil.
Step 2: Coil Resistance and Ground Integrity
If voltage is adequate but the clutch still won't engage, test the coil's internal resistance. Unplug the clutch and set your multimeter to Ohms (Ω). Place the probes on the clutch's male terminals.
- Target Specification: Most 12V commercial PTO clutches (like Warner Electric or Ogura models) should read between 2.4 Ω and 4.0 Ω.
- Out of Spec: A reading of 'OL' (Open Loop) or infinite resistance means the internal copper wire has snapped or the thermal fuse inside the coil has blown. A reading near 0.0 Ω indicates an internal short. In either case, the clutch assembly must be replaced; coils are generally not serviceable as standalone components in modern sealed units.
Step 3: The Critical Air Gap Measurement
If the clutch engages when cold but slips when hot, or if it makes a loud buzzing noise, the air gap is likely out of specification. The air gap is the physical distance between the rotor face and the armature plate when disengaged.
- Remove the spark plug wire for safety.
- Insert a feeler gauge between the rotor and the armature at the three adjustment slots.
- Target Specification: The ideal air gap for 90% of commercial PTO clutches is 0.012' to 0.018' (0.30mm to 0.45mm).
- Adjustment: If the gap exceeds 0.025', the magnetic field cannot bridge the distance. Loosen the adjustment nuts (usually 3/8' or 10mm) and tighten them evenly until the feeler gauge drags slightly. Re-torque the locking nuts to 12-15 ft-lbs.
Expert Note: If you adjust the gap to 0.015' and the clutch still slips, the friction surfaces are likely glazed or contaminated with oil from a leaking crankshaft main seal. The entire clutch assembly must be replaced.
Diagnosing Disengagement Failures (Clutch Drag)
A clutch that fails to disengage is a severe safety hazard. If the mower blades continue to spin after the PTO is turned off, the issue is mechanical. Here is what to look for:
- Worn or Broken Wave Washers: The springs responsible for pulling the armature away from the rotor lose their tension over time due to thermal cycling. If the armature rests against the rotor while disengaged, the springs must be replaced (if the manufacturer offers a rebuild kit) or the clutch must be swapped.
- Rust and Debris Intrusion: Operating in wet conditions can cause flash-rusting between the steel armature and the cast-iron rotor. This creates a physical bond that the weak return springs cannot break. Lightly sanding the friction surfaces with 120-grit sandpaper can sometimes free a stuck armature, but replacement is the only permanent fix for severe pitting.
- Residual Magnetism: In rare cases, the rotor retains a magnetic charge after power is cut, holding the armature in place. This is usually a sign of a failing coil winding or cheap aftermarket metallurgy.
Troubleshooting Matrix: Symptoms to Solutions
Use this quick-reference diagnostic table to pinpoint your exact drivetrain issue based on real-world service data.
| Symptom | Primary Suspect | Diagnostic Tool | Target Specification / Action |
|---|---|---|---|
| Loud buzzing, fails to engage | Excessive Air Gap | Feeler Gauge | Adjust to 0.015' (0.38mm) |
| Engages cold, slips when hot | Glazed Friction Surface / Low Voltage | Multimeter (DC Volts) | Verify >11.8V under load; inspect for oil |
| Clutch burns out repeatedly | PTO Switch Voltage Drop | Multimeter (Voltage Drop) | Install 30-Amp PTO Relay Bypass Kit |
| Fails to disengage (Blades spin) | Broken Return Springs / Rust | Visual Inspection | Replace clutch assembly; clean crankshaft |
| Intermittent engagement | Thermal Coil Breakdown | Multimeter (Ohms) | Test resistance hot vs. cold (2.4 - 4.0 Ω) |
2026 Market Costs and Common OEM Part Numbers
When diagnostics confirm that the internal coil is burnt or the friction surfaces are beyond the service limit, replacement is mandatory. Attempting to machine down a worn PTO armature is not recommended, as it alters the metallurgical hardening and ruins the magnetic flux path.
Below are common OEM and premium aftermarket part numbers frequently serviced in the commercial and agricultural sectors:
- Warner Electric 5218-451-0001: The industry standard for many Scag, Exmark, and Toro commercial zero-turn mowers. Retail Price: $210 - $260.
- Ogura GT2.5 Series: Commonly found on John Deere and heavy-duty agricultural PTO drivetrains. Known for superior thermal dissipation. Retail Price: $180 - $230.
- Xtreme X0065: A heavy-duty aftermarket alternative for Hustler and Ferris equipment, featuring an upgraded 5-amp coil for high-inertia decks. Retail Price: $160 - $190.
Labor times for electric PTO clutch replacement are remarkably low. Because the clutch mounts directly to the front of the engine crankshaft, a trained technician can typically remove the drive belt, unbolt the single center crankshaft bolt (often requiring an impact wrench or a flywheel strap wrench, torqued to 65-85 ft-lbs depending on the engine block), and install the new unit in under 45 minutes.
Final Safety and Maintenance Advice
To maximize the lifespan of your new electric PTO clutch, always engage the attachment at the lowest possible engine RPM. Engaging the clutch at wide-open throttle (WOT) creates massive rotational inertia, forcing the armature to slip against the rotor for several seconds before catching. This slippage generates surface temperatures exceeding 400°F, rapidly glazing the friction material and widening the air gap. By engaging at idle and then throttling up, you allow the magnetic field to lock the armature instantly, ensuring years of reliable drivetrain performance.
For deeper engineering schematics and torque specifications tailored to your specific drivetrain, always consult the Warner Electric Technical Resources library or the Ogura Industrial Clutches engineering database.