Understanding the Detroit DT12 Clutch Release Architecture
Heavy-duty Class 8 trucks equipped with the Detroit DT12 automated manual transmission (AMT) rely on a complex electro-pneumatic clutch actuator to manage gear changes. When clutch drag and release problems occur, drivers typically experience grinding on upshifts, harsh engagements, or a complete failure to find first gear or reverse. Diagnosing a failing DT12 clutch actuator requires a systematic approach that bridges electronic diagnostics, pneumatic testing, and mechanical inspection.
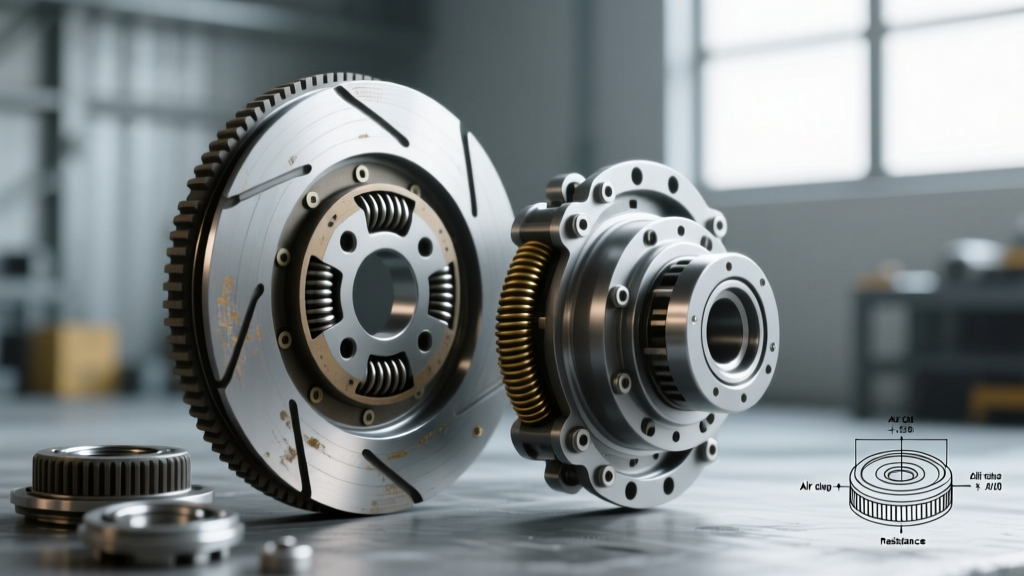
Unlike traditional manual transmissions, the DT12 utilizes a pneumatically driven clutch release cylinder integrated with the Transmission Electronic Control Unit (TECU). Furthermore, the DT12 employs a dedicated clutch brake to halt input shaft rotation for stationary gear engagement. Clutch drag can stem from the main friction disc, the release bearing, the pneumatic actuator piston, or the clutch brake itself. In 2026, with the widespread adoption of the DT12-OA and DT12-HD variants, understanding the precise interaction between the System Air Module (SAM) and the TECU is critical for accurate troubleshooting.
Step 1: Extracting AMT-Specific SPN Fault Codes
Before turning a single wrench, connect a laptop running the latest version of Detroit DiagnosticLink (DDL8) to the vehicle's diagnostic port. The TECU continuously monitors the clutch actuator position sensor and the speed differential between the engine and the transmission input shaft. Clutch drag will almost always trigger specific Suspect Parameter Number (SPN) codes.
| SPN Code | Description | Typical FMI | Diagnostic Meaning |
|---|---|---|---|
| 523318 | Clutch Actuator Position Sensor | FMI 3 / 4 | Voltage out of range; indicates a failed Hall-effect sensor on the actuator shaft. |
| 520208 | Clutch Slip / Drag | FMI 18 | Input shaft speed does not match expected RPM during disengagement; confirms physical drag. |
| 523317 | Clutch Actuator Mechanical System | FMI 7 | Actuator is not reaching the target stroke position; points to pneumatic leaks or mechanical binding. |
Source: Detroit Diesel Service Portal
Step 2: Verifying Pneumatic Supply and SAM Routing
The DT12 clutch actuator is entirely dependent on the vehicle's air system. If the actuator does not receive adequate air volume and pressure, the clutch will not fully disengage, resulting in severe drag and gear grinding.
Testing Air Pressure at the Actuator
- Check System Pressure: Ensure the primary and secondary air tanks are fully charged to the governor cut-out pressure (typically 120-130 PSI).
- Locate the Test Port: Find the pneumatic supply line routing from the SAM (System Air Module) to the TECU clutch solenoid block.
- Measure Stroke Pressure: Attach a pneumatic pressure gauge to the actuator test port. Command a clutch stroke via the DDL8 software. The pressure must not drop below 105 PSI during the stroke. If it drops below 90 PSI, the actuator piston seals are bypassing, or the supply line from the SAM is restricted by a kink or internal debris.
According to maintenance guidelines published by Freightliner Support, moisture contamination in the air lines is a leading cause of solenoid valve block failure in the DT12, which restricts airflow to the clutch cylinder.
Step 3: Mechanical Inspection of the Release Yoke and Clutch Brake
If pneumatic pressure is nominal and no electrical codes are present, the issue lies inside the bellhousing. Remove the lower bellhousing inspection cover to access the clutch release mechanism.
Inspecting the Release Yoke and Bearing
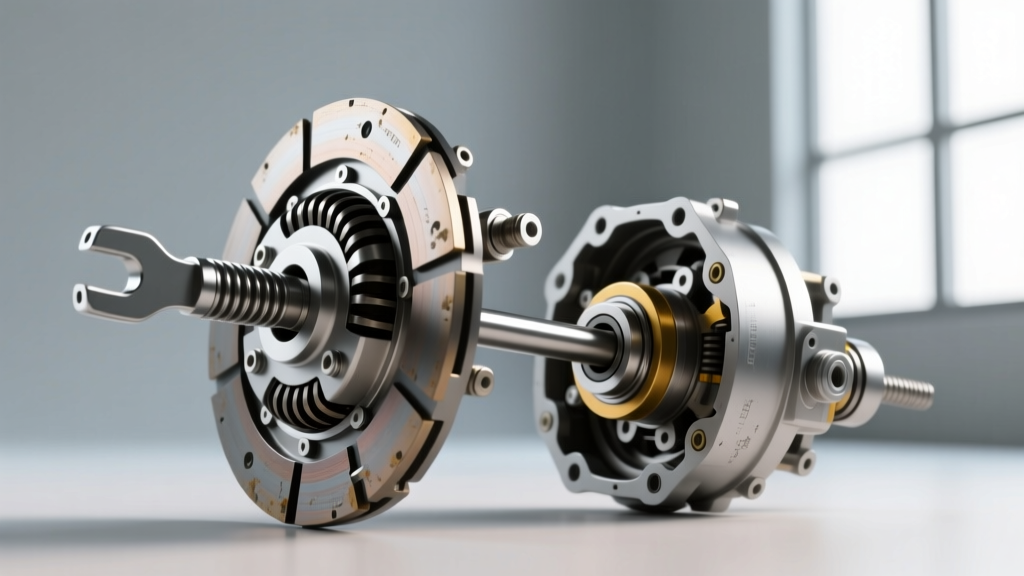
Use a pry bar to gently apply pressure to the release yoke. Check for excessive play at the pivot ball. The yoke must move smoothly without binding. Inspect the throwout bearing face for uneven wear or heat bluing, which indicates the bearing was riding the pressure plate fingers due to improper free-play adjustment.
The Clutch Brake Factor (Critical E-E-A-T Insight)
Many technicians misdiagnose clutch drag when the actual culprit is a worn clutch brake. The DT12 uses a clutch brake to squeeze the input shaft against the transmission housing, stopping its rotation so the synchronizers can engage first or reverse gear. If the clutch brake friction material is worn below the minimum thickness (typically 0.5 inches of remaining squeeze travel), the input shaft will continue to spin, mimicking the symptoms of severe clutch disc drag. Always measure the clutch brake squeeze travel using a depth gauge before condemning the main clutch assembly.
Step 4: Executing the DDL8 Clutch Touch-Point Calibration
Whenever clutch components are replaced, or if the TECU has been reset, you must perform a Clutch Touch-Point Adaptation. This routine teaches the TECU the exact millimeter where the throwout bearing makes contact with the pressure plate diaphragm springs.
- Ensure the vehicle is parked on level ground, wheels chocked, and parking brakes applied.
- Verify air pressure is above 110 PSI and the engine is idling.
- In DDL8, navigate to Actions > Transmission > Clutch Touch Point Adaptation.
- Follow the on-screen prompts. The TECU will slowly stroke the actuator, monitoring the input shaft speed sensor to detect the exact moment of friction engagement.
- The routine takes approximately 3 to 5 minutes. Do not touch the brake or accelerator pedals during this process.
Troubleshooting Calibration Failures: If the adaptation fails, it usually means the pressure plate diaphragm springs have fatigued, the release bearing is binding, or the actuator position sensor is providing erratic voltage feedback. As noted in fleet maintenance case studies on TruckingInfo, skipping this calibration step is the number one reason for premature clutch wear and warranty claim denials on Detroit DT12 transmissions.
DT12 Actuator Replacement: Part Numbers and Torque Specifications
If the actuator is confirmed to be internally leaking or the position sensor is dead, replacement is required. The DT12 clutch actuator is mounted externally on the bellhousing, making it a serviceable component without removing the transmission.
- Part Reference: Detroit DT12 Clutch Actuator Assembly (OEM Part # W4712670311 or variant specific to DT12-OA/OB/OC/HD models).
- Actuator Mounting Bolts: Torque M8 bolts to 25 Nm (18 lb-ft).
- Pneumatic Fittings: Apply approved thread sealant (e.g., Loctite 545) to prevent micro-leaks. Torque to 15 Nm (11 lb-ft).
- Electrical Connector: Ensure the TECU harness locking tab is fully engaged to prevent vibration-induced signal loss.
Cost Breakdown and Preventative Maintenance
Understanding the financial impact of DT12 clutch system repairs helps fleet managers and owner-operators make informed decisions. Below is a 2026 estimated cost breakdown for addressing clutch drag and release problems.
| Service / Component | Estimated Parts Cost | Estimated Labor Hours |
|---|---|---|
| Clutch Actuator Assembly Replacement | $950 - $1,400 | 2.5 - 4.0 Hours |
| Clutch Brake Replacement (In-Chassis) | $150 - $250 | 1.0 - 1.5 Hours |
| Complete Clutch Kit & Release Bearing (Trans Out) | $1,200 - $2,200 | 8.0 - 12.0 Hours |
| DDL8 Calibration & Diagnostics | N/A | 1.0 - 2.0 Hours |
Preventative Measures
To maximize the lifespan of the DT12 clutch actuator and prevent drag-related failures, enforce strict air system maintenance. Replace the air dryer desiccant cartridge annually to prevent moisture from reaching the TECU solenoid valves. Additionally, train drivers to avoid "riding" the clutch brake by holding the pedal fully depressed for extended periods at stoplights, which generates excessive heat and accelerates wear on both the clutch brake and the release bearing. By combining precise pneumatic testing with rigorous software calibration, you can reliably eliminate clutch drag and restore seamless shifting to the Detroit DT12 AMT.