The Comprehensive Clutch System Inspection Checklist
When automotive technicians refer to 'clutch systems,' the immediate assumption is often the manual transmission friction disc or the automatic torque converter clutch (TCC). However, a complete under-hood drivetrain and accessory assessment must also encompass viscous coupling devices—most notably, the engine cooling fan clutch. Degradation in any of these friction or fluid-shear couplings leads to parasitic power loss, overheating, or catastrophic transmission failure. This technical deep-dive provides a definitive clutch system inspection checklist, culminating in a rigorous fan clutch testing protocol for modern and legacy platforms.
Phase 1: Manual Drivetrain Friction Clutch Inspection
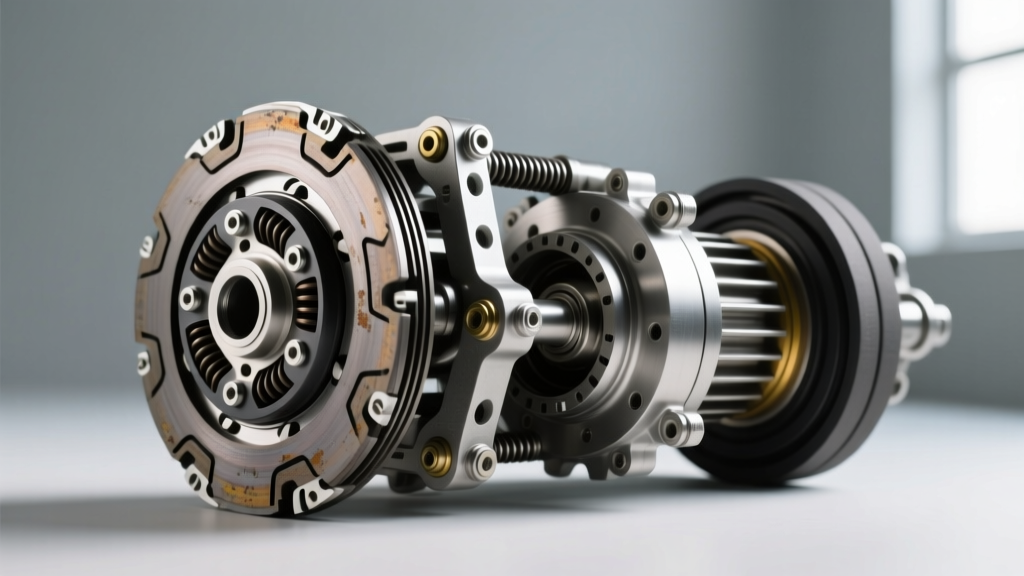
Manual clutch degradation rarely happens overnight. It is a progressive failure of the friction material, pressure plate diaphragm, or hydraulic actuation. Begin your checklist with these precise measurements:
1. Pedal Free Play and Hydraulic Actuation
Measure the clutch pedal free play at the pad. Most OEM specifications (such as those for the Honda K-Series or Ford 5.0L Coyote) dictate between 0.5 to 1.0 inches (12-25mm) of free play before the throwout bearing engages the diaphragm fingers. Insufficient free play causes the bearing to ride constantly, leading to premature wear and clutch slip under high torque loads.
- Master/Slave Cylinder Leakdown: Depress the pedal and hold for 60 seconds. If the pedal slowly sinks toward the firewall, you have an internal bypass in the master cylinder or a leaking slave cylinder piston seal.
- Hydraulic Fluid: Check the DOT 3/DOT 4 reservoir. Dark, particulate-laden fluid indicates deteriorating internal rubber seals.
2. Flywheel Runout and Friction Material
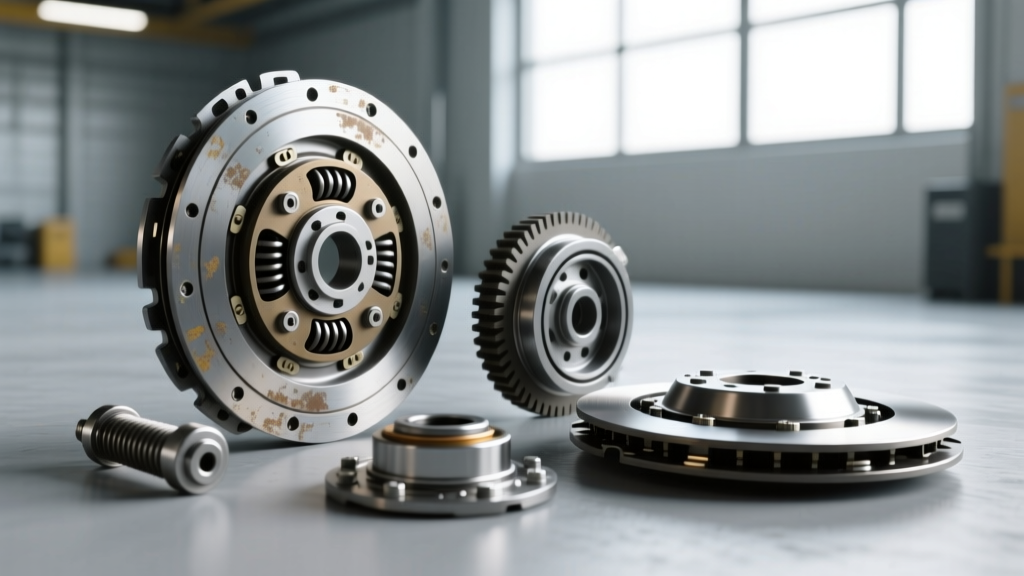
If the transmission is dropped for a LuK RepSet or Exedy OEM replacement, measuring flywheel runout is non-negotiable. Mount a dial indicator on the engine block and sweep the friction surface. Maximum allowable runout is typically 0.005 inches (0.12mm). Excessive runout causes clutch chatter, uneven wear, and premature release bearing failure. For dual-mass flywheels (DMF), check for rotational free play; most DMFs should not exceed 2-3 teeth of rotational backlash before spring bind.
Phase 2: Automatic Torque Converter Clutch (TCC) Diagnostics
In automatic transmissions like the GM 6L80 or ZF 8HP, the TCC locks the engine directly to the transmission input shaft to eliminate slip and improve fuel economy. TCC failure often mimics engine misfires or transmission slipping.
TCC Apply Pressure and Solenoid Testing
Connect a high-resolution scan tool to monitor TCC slip RPM. At steady-state highway cruising (e.g., 65 MPH in top gear), TCC slip should be less than 20 RPM. If slip exceeds 50 RPM, or if you trigger a P0741 (TCC Stuck Off) code, proceed to electrical and hydraulic checks:
- Solenoid Resistance: Measure the TCC PWM solenoid. For a GM 6L80, the specification is generally 10 to 14 ohms at room temperature. An out-of-spec reading requires TEHCM (Transmission Electro-Hydraulic Control Module) replacement or solenoid service.
- Apply Pressure: Using a transmission pressure gauge on the TCC apply port, verify pressure reaches 80-110 PSI during commanded lockup. Low pressure indicates worn stator support shaft O-rings or a compromised turbine hub seal.
Phase 3: Viscous Fan Clutch Testing (Deep-Dive)
While not part of the drivetrain, the engine-driven viscous fan clutch is a critical torque-transferring coupling. It uses a silicone-based shear fluid to transfer rotational energy from the water pump shaft to the cooling fan. A failed fan clutch robs the engine of horsepower (up to 15-20 HP on heavy-duty trucks) or causes severe overheating. Proper fan clutch testing requires a methodical approach to differentiate between thermal and non-thermal designs.
Visual and Mechanical Pre-Checks
Before testing the fluid coupling, inspect the physical mounting. Many water pump shafts utilize reverse (left-hand) threads for the fan clutch mounting nut to prevent rotational loosening.
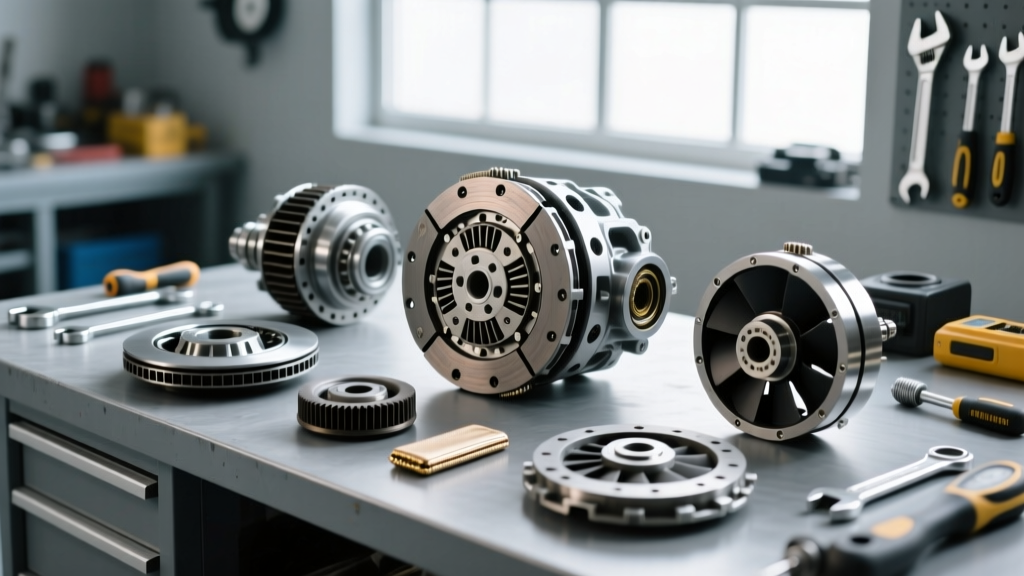
CRITICAL SAFETY WARNING: Always verify thread direction before applying a breaker bar to the fan clutch nut. Forcing a standard right-hand wrench on a reverse-threaded water pump shaft (common on many GM LS and Ford Modular V8s) will instantly snap the shaft or destroy the pump bearings. Use a dedicated fan clutch wrench set (e.g., Lisle 43250) and apply up to 40 lb-ft of breakaway torque if necessary.
The Cold Spin Test (Static Evaluation)
With the engine cold and off, attempt to spin the fan blade by hand. A properly functioning viscous clutch will offer noticeable resistance and should stop within 1 to 1.5 revolutions. If the fan spins freely like a bicycle wheel, the internal silicone fluid has leaked out or degraded, necessitating immediate replacement (e.g., Hayden Automotive 2710 or Four Seasons 36904).
The Hot Engagement Test (Dynamic Thermal Evaluation)
Thermal fan clutches rely on a bi-metallic coil spring on the front face that expands with heat to open the internal fluid valve. To test this dynamically:
- Start the engine and let it reach normal operating temperature.
- Use an infrared thermometer to monitor the radiator core or the air exiting the fan shroud.
- As the air temperature hitting the bi-metallic spring reaches 190°F to 200°F (88°C - 93°C), you should hear a distinct 'roar' as the clutch engages and fan RPM increases.
- If the temperature exceeds 210°F and the clutch remains disengaged (slipping), the thermal valve is seized or the bi-metallic strip has lost its calibration.
For non-thermal (duty-cycle) clutches, which are always partially engaged, look for a minimum of 30% slip at all times. If a non-thermal clutch locks up 100% when cold, the internal valve is jammed open, which will cause severe fan blade stress and potential shattering at high engine RPMs.
Diagnostic Matrix: Clutch System Failure Modes
| Component | Symptom | Diagnostic Measurement / Spec | Common Culprit |
|---|---|---|---|
| Manual Friction Disc | Slip under load, high RPMs without acceleration | Pedal free play < 0.5 inches; Flywheel runout > 0.005 inches | Oil contamination, worn friction material, weak pressure plate |
| Automatic TCC (e.g., ZF 8HP) | Shudder at 40-50 MPH, P0741 code, poor MPG | TCC Slip > 50 RPM; Solenoid resistance out of 10-14 ohm range | Degraded friction lining, faulty PWM solenoid, low line pressure |
| Viscous Fan Clutch | Engine overheating at idle, loud continuous roar | Cold spin > 2 revolutions; No engagement at 195°F air temp | Silicone fluid leak, seized thermal valve, worn internal bearing |
| Hydraulic Release Bearing | Squealing at idle that stops when pedal is pressed | Visual leak at transmission bellhousing; low DOT 4 fluid | Piston seal failure, concentric slave cylinder (CSC) wear |
Phase 4: Actuation Linkage and Throwout Bearing Inspection
For older vehicles utilizing mechanical linkages or cable-actuated clutches, inspect the pivot points for slop. A worn Z-bar or frayed cable alters the geometric ratio of pedal effort to clutch engagement. Lubricate pivot ball studs with high-temperature molybdenum disulfide grease (never standard chassis grease, which melts and attracts abrasive clutch dust).
Listen carefully to the release bearing. A bearing that squeals when the pedal is depressed (loaded) is failing. Conversely, a noise that occurs when the pedal is released (unloaded) often points to a worn input shaft pilot bearing or a loose friction disc hub spline rattling against the transmission input shaft.
Final Verification and Road Testing
Conclude your clutch system inspection checklist with a dynamic road test. For manual transmissions, verify that the clutch engages smoothly between 1,000 and 1,500 RPM from a stop, with no chatter or grabbing. For automatics, ensure TCC lockup occurs smoothly without driveline shudder. Finally, monitor the engine coolant temperature gauge during stop-and-go traffic to confirm the results of your fan clutch testing. A holistic approach to clutch diagnostics ensures that no friction or fluid coupling is left to chance, preserving both drivetrain integrity and engine cooling efficiency.
For further technical specifications on viscous coupling diagnostics, refer to the Hayden Automotive engineering guidelines, and for automatic transmission TCC hydraulic schematics, consult the technical resources at Sonnax Industries.