The Holistic Approach to Clutch System Diagnostics
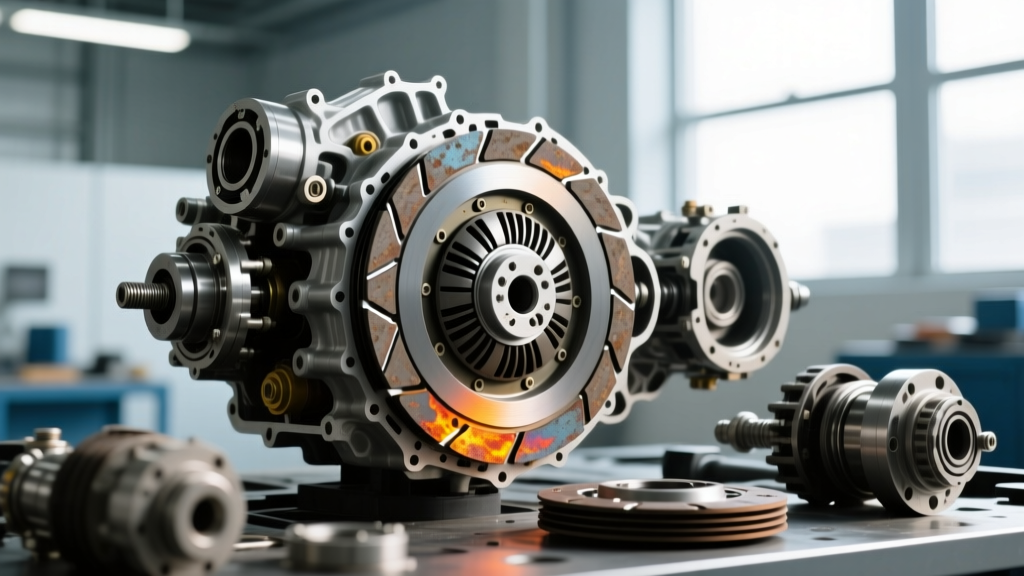
When automotive technicians and DIY enthusiasts hear the word 'clutch,' they immediately picture a manual transmission friction disc, pressure plate, and flywheel. However, modern vehicles rely on multiple clutch mechanisms to transfer torque, manage thermal loads, and engage auxiliary systems. A comprehensive clutch system inspection checklist must encompass both the primary drivetrain engagement components and the accessory drive electromagnetic clutches. In 2026, with the proliferation of stop-start systems and variable-displacement compressors, understanding the intersection of these systems is critical for accurate diagnostics.
This technical deep-dive provides a rigorous inspection protocol for manual transmission clutches before transitioning into a specialized guide on how to test AC compressor clutch assemblies. Whether you are diagnosing a slipping Tremec T56 Magnum or a non-engaging Sanden SD7H13 HVAC compressor, the diagnostic methodology requires precise measurements, electrical verification, and mechanical runout checks.
Phase 1: Manual Drivetrain Clutch Inspection Checklist
Before tearing into the bellhousing, a systematic external and hydraulic evaluation will rule out 60% of perceived clutch failures. Slipping, chatter, and incomplete disengagement are often symptoms of hydraulic degradation or improper freeplay rather than worn friction material.
1. Hydraulic Circuit & Pedal Freeplay Verification
- Pedal Freeplay: Measure the distance from the pedal's resting position to the point of hydraulic resistance. Specification for most manual passenger vehicles (e.g., Honda K-Series, GM LS T56) is between 10mm and 15mm (0.4" - 0.6"). Excessive freeplay causes incomplete disengagement and gear grinding; zero freeplay causes the release bearing to ride the pressure plate fingers, leading to premature bearing failure and clutch slip.
- Fluid Integrity: Inspect the DOT 3 or DOT 4 hydraulic fluid in the master cylinder reservoir. Dark, particulate-laden fluid indicates deteriorating internal seals in the Concentric Slave Cylinder (CSC). If replacing the CSC, always bench-bleed the master cylinder and use a pressure bleeder set to 25-30 PSI to ensure no micro-bubbles remain in the lines.
- Pushrod Travel: Verify the slave cylinder pushrod travel. A worn LUK or Sachs CSC should exhibit a minimum of 12mm to 14mm of linear travel when the pedal is fully depressed.
2. Flywheel Runout and Friction Material Depth
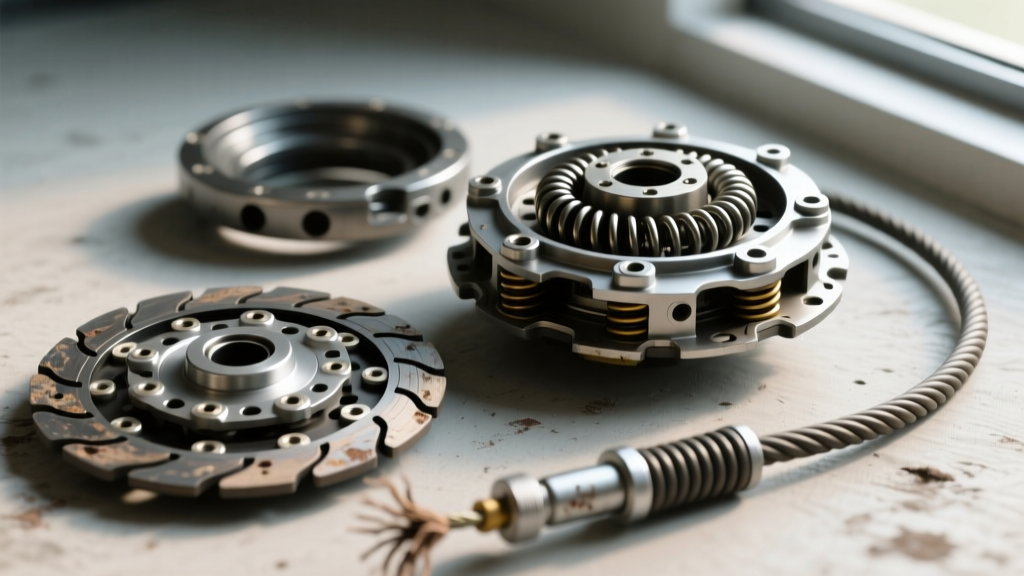
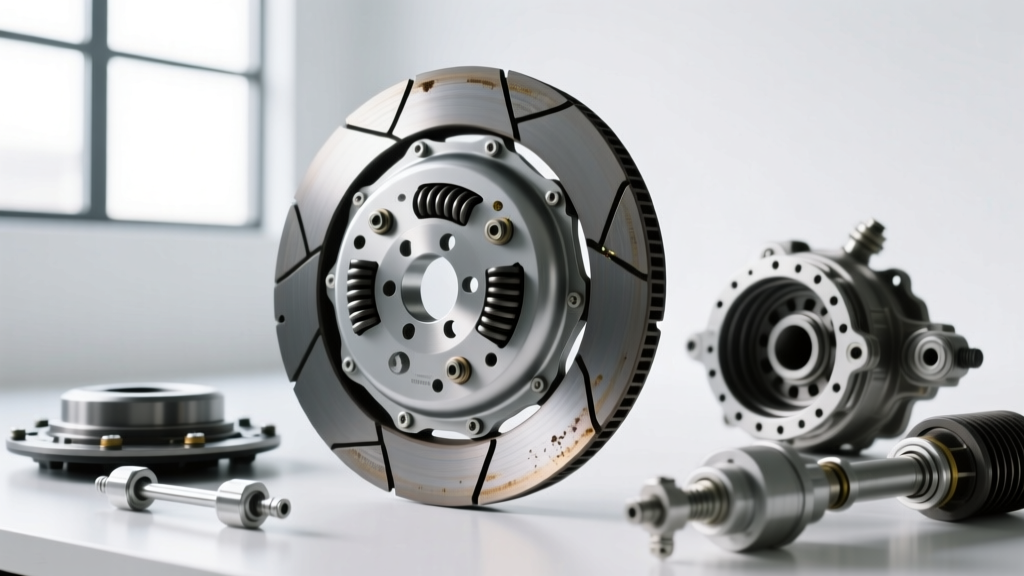
If the transmission is removed, the flywheel and pressure plate must be measured with precision instruments. According to LUK Automotive Aftermarket guidelines, dual-mass flywheel (DMF) free play should not exceed 20 degrees of rotational lash, and axial runout must remain below 1.2mm at the outer edge. For solid single-mass flywheels, mount a dial indicator on the engine block and measure surface runout. The maximum allowable runout is typically 0.003" (0.076mm). If the flywheel exceeds this, it will induce severe clutch chatter upon engagement. Always torque flywheel bolts in a star pattern to the OEM specification (e.g., GM LS engines require 74 lb-ft plus an additional 90-degree turn) to prevent warping during clamping.
Phase 2: Accessory Systems - How to Test AC Compressor Clutch
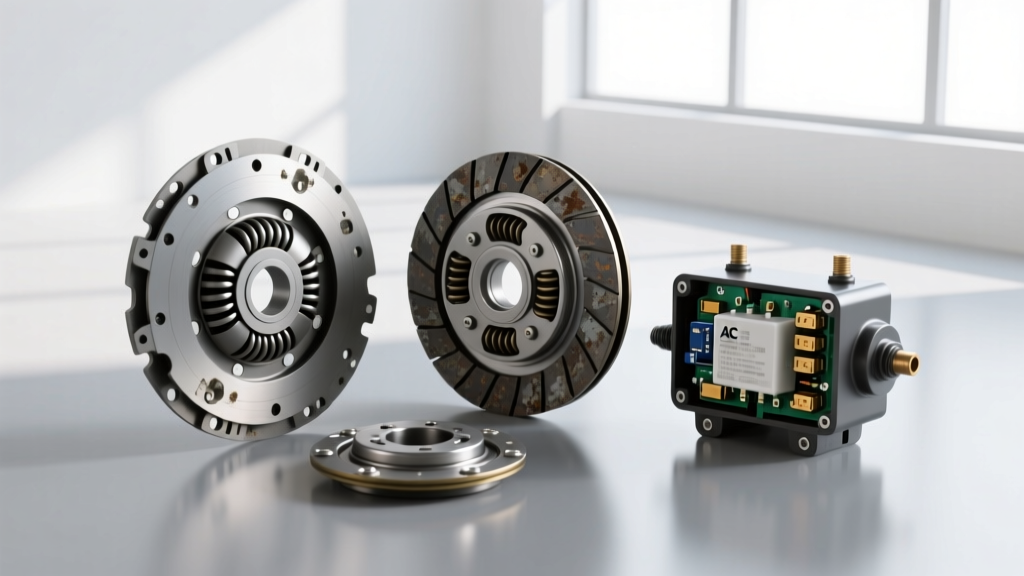
The AC compressor clutch is an electromagnetic friction device that couples the engine-driven serpentine belt pulley to the compressor's internal swashplate or scroll shaft. When the cabin demands cooling, the HVAC control module energizes a relay, sending 12V to the clutch coil. If the AC is blowing warm or the compressor is making a metallic grinding noise, follow this exact diagnostic sequence.
Step 1: Visual Inspection and Air Gap Measurement
The most common mechanical failure in an AC clutch is an excessive air gap caused by friction surface wear over 100,000+ miles. The electromagnet cannot bridge a gap that is too wide, resulting in a slipping clutch or complete failure to engage.
- Remove the serpentine belt to eliminate rotational tension.
- Using a feeler gauge, measure the air gap between the clutch armature (front plate) and the pulley rotor face.
- Target Specification: Most Denso and Sanden compressors require an air gap between 0.3mm and 0.6mm (0.012" - 0.024").
- Correction: If the gap exceeds 0.6mm, the clutch will slip when hot due to thermal expansion and increased electrical resistance. Remove the center bolt (usually 10mm or 12mm), pull the armature, and remove one of the internal shim washers to tighten the gap. If the gap is below 0.3mm, the clutch may drag when disengaged, destroying the pulley bearing.
Step 2: Electromagnetic Coil Resistance Testing
If the air gap is correct but the clutch refuses to engage, the coil may be open or shorted. Disconnect the clutch wiring harness and set your digital multimeter to Ohms (Ω).
- Standard Reading: A healthy 12V AC compressor clutch coil (such as the widely used Denso 10S17C) will read between 3.5Ω and 4.5Ω at 20°C (68°F).
- Open Circuit (OL):strong> Indicates a broken wire inside the epoxy potting. The coil must be replaced.
- Short Circuit (< 2.0Ω): Indicates melted internal windings. This will typically blow the HVAC fuse in the underhood PDC (Power Distribution Center).
Pro-Tip: Before condemning the coil, bypass the vehicle's wiring harness. Run a fused 12V jumper wire directly from the battery to the clutch terminal. If it engages with a sharp 'click,' the clutch is fine, and your diagnostic focus must shift to the HVAC pressure transducer, evaporator thermistor, or PCM relay control logic.
Step 3: Pulley Bearing and Hub Verification
With the belt removed and the clutch disengaged, spin the pulley by hand. It should rotate smoothly with a slight viscous drag from the bearing grease. Any notchiness, metallic scraping, or lateral play indicates a failed pulley bearing. Pressing a new bearing into the pulley requires a specialized blind-hole bearing puller and a hydraulic press; attempting to hammer it in will deform the rotor face, ruining the air gap.
AC Compressor Clutch Diagnostic Matrix
| Symptom | Primary Suspect | Diagnostic Measurement | Corrective Action |
|---|---|---|---|
| Clutch slips/squeals when hot | Excessive Air Gap | Gap > 0.6mm (0.024") | Remove armature shim washer |
| Compressor fails to engage | Open Coil Circuit | Multimeter reads OL (Infinite) | Replace clutch coil assembly |
| HVAC fuse blows instantly | Shorted Coil / Wiring | Resistance < 2.0Ω | Replace coil, inspect harness chafing |
| Constant metallic grinding | Pulley Bearing Failure | Lateral play > 1mm at pulley edge | Press in new 35x52x20 bearing |
| Clutch drags when AC is OFF | Insufficient Air Gap | Gap < 0.2mm (0.008") | Add shim washer to armature |
For further reference on HVAC electrical faults, the AA1Car AC Clutch Diagnostic Guide provides excellent wiring schematics for tracing PCM ground-side switching faults.
Edge Cases: Dual-Clutch Transmissions (DCT) and Lockup Clutches
While manual and accessory clutches dominate physical inspections, modern automatic and DCT systems utilize internal wet clutches and torque converter lockup clutches that require fluid-based diagnostics. If you are diagnosing a ZF 8HP or a VW DSG (DQ250/DQ500), 'clutch slip' is monitored via transmission control module (TCM) adaptation values. If the TCM reports that the clutch adaptation limit has been reached (often viewed via VCDS or OEM scan tools), the friction linings are physically worn, or the mechatronic unit's solenoid valves are clogged with clutch material debris. In these scenarios, a fluid flush and pan drop to inspect for excessive Kevlar or steel particulate is the mandatory first step before authorizing a complete transmission teardown.
2026 Market Pricing & Replacement Intervals
Understanding the financial scope of clutch repairs is vital for accurate customer or personal budgeting. Below are the average market rates for common clutch system interventions:
- Manual Clutch Kit (LUK/Sachs OEM): $250 - $450 (Parts only). Includes pressure plate, friction disc, and release bearing.
- Dual-Mass Flywheel (DMF) Replacement: $600 - $1,100. Highly recommended to replace concurrently with the clutch kit on diesel and high-torque applications to prevent harmonic vibration destruction.
- AC Compressor Clutch Assembly: $85 - $180. Includes coil, pulley, and armature. Note that many modern OEMs do not sell the clutch separately from the entire compressor, necessitating an aftermarket clutch kit or a full system swap ($400 - $900).
- Labor Rates: Drivetrain clutch replacement averages 5.5 to 8.0 hours of labor. AC clutch replacement (compressor remaining on the vehicle) requires 1.5 to 2.5 hours, plus $120-$150 for refrigerant recovery and recharge.
By adhering to this comprehensive checklist, technicians can isolate the exact point of failure—whether it is a worn friction disc in the bellhousing or a degraded electromagnetic coil on the AC compressor—saving time, preventing misdiagnosis, and ensuring optimal vehicle performance.