The Thermal Breaking Point: Why Transmissions Overheat
Heat is the undisputed enemy of automatic transmissions. Whether you are navigating stop-and-go traffic in a ZF 8HP-equipped sedan or towing a 7,000-pound trailer with a GM 6L80, thermal management dictates the lifespan of your drivetrain. According to the Automatic Transmission Rebuilders Association (ATRA), over 80% of all automatic transmission failures are directly attributed to overheating. But what exactly happens inside the bell housing when temperatures spike?
Modern automatic transmission fluids (ATF) like Dexron VI, Mercon ULV, and ZF Lifeguard 8 are highly engineered synthetic blends. However, they have strict thermal thresholds. Once ATF exceeds 220°F (104°C), the fluid begins to oxidize rapidly. This oxidation process forms varnish and sludge, which clogs valve body solenoids, degrades the friction modifiers on clutch packs, and ultimately leads to catastrophic slipping and failure.
| ATF Temperature | Fluid State & Mechanical Impact | Expected Fluid Life |
|---|---|---|
| 160°F - 180°F | Optimal operating range. Ideal viscosity for hydraulic pressure and cooling. | 100,000+ miles |
| 200°F - 220°F | Accelerated wear begins. Fluid begins to lose shear stability under heavy load. | ~40,000 miles |
| 240°F - 260°F | Severe oxidation. Varnish forms on clutch packs and steel plates. Seals begin to harden. | ~15,000 miles |
| 280°F+ | Critical failure zone. Clutches glaze, O-rings melt, and transmission slips continuously. | Immediate rebuild required |
Diagnosing Your Cooling Deficit
Factory transmission cooling systems are designed for average consumer use, not sustained heavy-duty towing or track use. In many modern trucks and SUVs, the factory transmission cooler is integrated into the engine radiator's coolant tank or relies on a small, undersized auxiliary loop. When ambient temperatures rise or gross combined weight ratings (GCWR) are maximized, the factory loop simply cannot shed BTUs fast enough.
The ultimate preventative measure for thermal overload is upgrading your system's heat rejection capacity. This brings us to the core solution: a proper transmission cooler installation. By adding a high-efficiency auxiliary cooler, you can drop ATF temperatures by 30°F to 50°F, keeping your drivetrain safely in the 170°F sweet spot.
Step-by-Step Transmission Cooler Installation for Overheating Prevention
Upgrading your cooling system is a moderate DIY project that requires basic hand tools, a safe lifting setup, and attention to routing details. Below is the definitive guide to installing an auxiliary cooler in series with your factory system.
Step 1: Selecting the Right Cooler Architecture
Not all coolers are created equal. For modern high-pressure transmissions (like the Ford 10R80 or GM 8L90), fluid flow restriction must be minimized to prevent starving the torque converter and lube circuits.
- Tube-and-Fin: The oldest and cheapest design ($40-$60). High flow restriction, low cooling efficiency. Avoid for modern 8, 9, and 10-speed transmissions.
- Plate-and-Fin: A solid mid-tier option ($60-$90). Better surface area, but still prone to debris buildup in the fins.
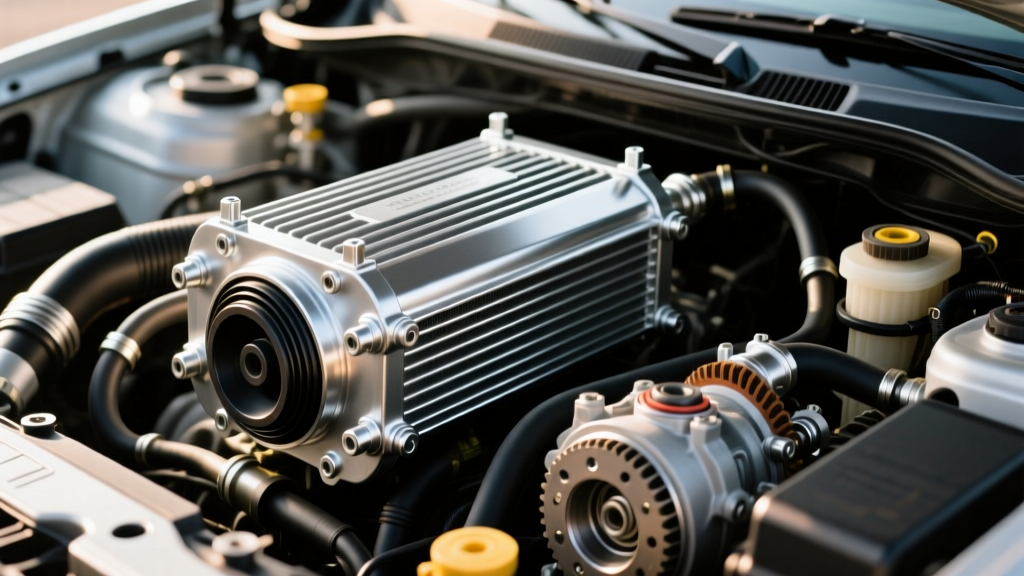
- Stacked-Plate: The gold standard for heavy-duty and towing applications ($90-$160). Brands like Derale Performance and Hayden offer stacked-plate designs that provide maximum surface area with minimal flow restriction. Always choose stacked-plate for vehicles with a GVWR over 6,000 lbs.
Step 2: Routing and Line Modification
The most critical rule of auxiliary cooler routing is to install the new cooler in series and after the factory radiator cooler. The fluid should flow from the transmission to the factory radiator (for initial bulk heat shedding and cold-weather warming), then to the auxiliary cooler, and finally back to the transmission.
- Identify the Return Line: Start the engine cold. Feel both transmission cooler lines where they enter the radiator. The line that gets warm first is the pressure (out) line. The other is the return (in) line. You will tap into the return line.
- Cut and Splice: Using a dedicated hose-cutting tool (to avoid creating internal rubber debris), cut the OEM return hose. Install the provided barbed splice fittings. Standard OEM cooler lines are typically 5/16" or 3/8" ID. Ensure your hose clamps are high-quality T-bolt or constant-tension clamps, not cheap worm-gear clamps which can slice the rubber.
- Route the Hoses: Route the new 1/2" ID auxiliary hoses away from exhaust manifolds, steering shafts, and sharp frame edges. Use split-loom tubing and zip-ties to secure the lines to the frame every 12 inches.
Step 3: Mounting and Airflow Optimization
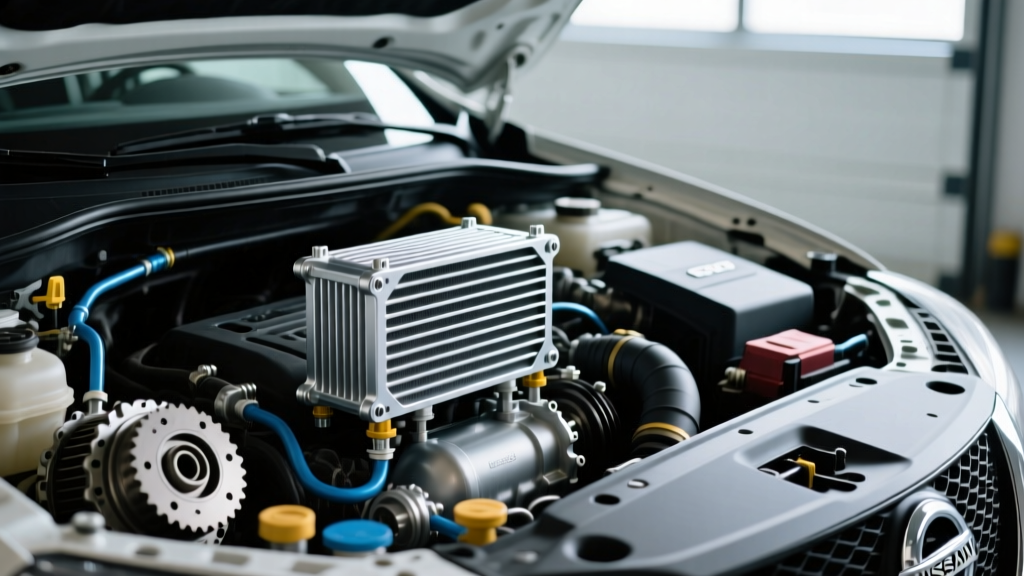
A cooler is only as effective as the air passing through it. Mount the auxiliary cooler directly in front of the A/C condenser and radiator stack, centered to capture the maximum draw from the engine cooling fans.
Expert Warning: Never mount a transmission cooler behind the radiator or in a fender well. Stagnant or pre-heated air will render the cooler useless and may actually increase ATF temperatures.
While many kits include plastic push-pins and zip-ties for mounting, these vibrate loose over time. For a permanent installation, use an M6 bolt-and-nut setup with fender washers through the cooler's mounting tabs, securing them to the factory radiator support bracket. Torque the M6 hardware to 7-9 lb-ft to avoid crushing the aluminum end-tanks.
Step 4: Reconnecting, Refilling, and Torque Specs
Connecting to the transmission case requires precision. If your vehicle uses threaded inverted-flare fittings (common on GM 6L80/8L90 units), you must use a line wrench to prevent rounding the soft aluminum case threads.
- GM 6L80/8L90 Cooler Line Nuts: Torque to 21 lb-ft (28 Nm).
- GM 4L60E Quick-Connect Fittings: Push until the primary click, then pull back to verify. Install the secondary locking clip (do not skip this, or the line will blow out under line pressure).
- ZF 8HP (Ford/Chrysler/BMW) Quick-Connects: Clean the male tube with isopropyl alcohol before insertion to prevent O-ring scoring. Ensure the retainer clip is fully seated.
Adding an auxiliary cooler and 10 feet of new hoses increases the total fluid capacity of your system by roughly 1.0 to 1.5 quarts. After completing the physical installation, you must top off the fluid. Use only the OEM-specified fluid (e.g., ACDelco Dexron VI for GM, Motorcraft MERCON ULV for Ford 10R80). Check the level via the dipstick or the side-level plug with the transmission pan temperature between 86°F and 122°F, engine idling in Park.
Post-Installation Verification & Thermal Testing
Do not assume the installation is flawless without data verification. Plug in an OBD2 scanner capable of reading PID data (such as an HP Tuners MPVI3, a Scangauge II, or a smartphone app like Torque Pro paired with a Bluetooth ELM327 adapter). Monitor the Transmission Fluid Temperature (TFT) sensor during a loaded drive.
Take the vehicle for a 20-mile test drive that includes highway speeds and, if applicable, a moderate incline. Watch the TFT PID. A successful auxiliary transmission cooler installation will stabilize the TFT between 165°F and 185°F, even under moderate towing loads. If you notice the temperature climbing past 200°F, inspect your routing for kinked hoses, verify the cooler is receiving adequate ram-air, and ensure you did not accidentally install the cooler in reverse-flow (which can trap air pockets and severely restrict fluid volume).
Summary: Protecting Your Drivetrain Investment
Transmission overheating is a preventable failure mode. By understanding the thermal limits of modern synthetic ATFs and executing a meticulous transmission cooler installation, you effectively bulletproof your drivetrain against the most common cause of catastrophic failure. Whether you are preserving a ZF 8HP for daily driving or defending a 6L80 on a cross-country towing run, an auxiliary stacked-plate cooler is the highest-ROI modification you can make to your vehicle's drivetrain in 2026.