The Hidden Bottleneck: Why OEM Cooler Lines Fail During Upgrades
Upgrading your transmission cooling system is one of the most effective ways to extend the lifespan of your drivetrain, especially when towing heavy loads, off-roading, or tracking. However, bolting on a high-capacity Derale transmission cooler is only half the battle. If you are pushing fluid through restricted, corroded, or failing OEM cooler lines, your expensive upgrade is immediately bottlenecked.
Factory transmission cooler lines are typically constructed from a combination of steel hard lines and rubber crimp hoses. Over time, the internal diameter of the rubber hose degrades. This internal flaking sends microscopic debris directly into the transmission pan, eventually clogging the valve body solenoids and clutch apply circuits. Furthermore, OEM crimp fittings often reduce a 3/8" outer diameter line down to a 5/16" or smaller internal orifice. According to flow dynamics data from Sonnax Technical Resources, even a minor restriction in the cooler feed line can drop fluid flow by up to 30%, severely limiting the heat rejection capabilities of your new cooler.
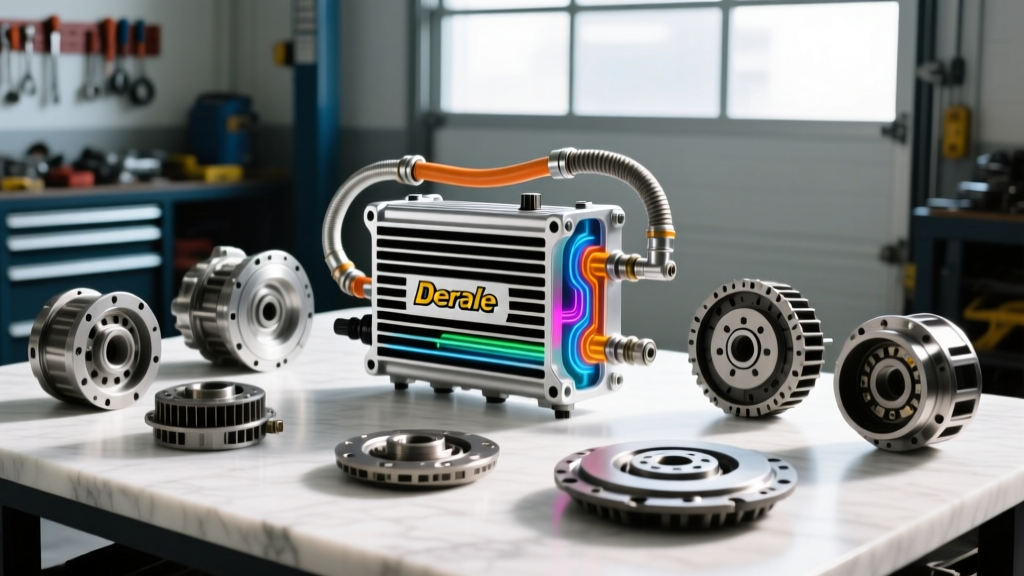
When installing a high-performance unit like the Derale Series 9000 or the Derale Hyper-Cool (Part #13960), replacing these restrictive OEM lines with high-flow alternatives is mandatory for achieving true performance gains and lowering your transmission fluid temperatures by 20°F to 40°F.
Selecting the Right Line Material for Your Build
Before cutting into your factory lines, you must choose the right replacement material. The automotive aftermarket offers several solutions, each with distinct advantages regarding flow rate, durability, and cost. For heavy-duty towing applications in 2026, stainless steel braided lines or high-pressure push-lock hoses are the industry standard.
| Line Material | Internal Diameter | Max Pressure Rating | Avg. Cost Per Foot (2026) | Best Application |
|---|---|---|---|---|
| OEM Steel/Rubber Crimp | 5/16" (Restricted) | 150 PSI | $12 - $18 (Dealer) | Stock Daily Driving |
| Stainless Braided AN-6 | 3/8" (Full Flow) | 500+ PSI | $18 - $25 | Track, Off-Road, Show Cars |
| ProLite Push-Lock AN-6 | 3/8" (Full Flow) | 400 PSI | $9 - $14 | Heavy Towing, Budget Builds |
| Hard Steel (Fabricated) | 3/8" (Full Flow) | 1000+ PSI | $3 - $6 (Raw Tube) | OEM+ Restorations, Clean Bays |
For most performance and towing applications, we recommend using AN-6 (3/8") stainless braided hoses paired with aluminum AN fittings. If your budget is tight, high-quality push-lock hoses with barbed fittings and stainless steel worm-drive clamps provide excellent flow and reliability at a lower cost.
Step-by-Step Cooler Line Replacement Guide
1. Safely Depressurizing and Draining
Modern transmissions like the GM 8L90 and Ford 10R80 operate with high line pressures. While the cooler feed circuit is typically regulated down to 40-60 PSI, residual pressure remains. Place a large drain pan (capable of holding at least 4 quarts) beneath the cooler line connections at the transmission case. Disconnect the lines at the transmission side first to allow gravity to drain the fluid from the cooler and lines.
2. Removing OEM Quick-Disconnects
Many modern vehicles, including the GM 6L80 and ZF 8HP-equipped trucks, utilize plastic quick-disconnect fittings at the transmission case. Do not pry these off with a screwdriver, as you will score the aluminum case bore. Instead, use a dedicated 3/8" or 1/2" fuel line disconnect tool (such as the Lisle 39400 set). Push the tool into the fitting to spread the internal retaining clips, then pull the line straight out.
3. Adapter Installation and Thread Sealing
To connect your new lines to the transmission case, you will need the correct adapters. The Derale 13011 Universal Fitting Kit covers many older NPT applications, but modern transmissions require specific O-ring sealed or snap-in adapters (e.g., Derale 13035 for GM 6L80/8L90).
Expert Warning: Never use Teflon tape on NPT fittings that thread directly into an aluminum transmission case. Teflon tape shreds and can easily travel into the valve body, blocking the torque converter clutch (TCC) apply orifices. Instead, use a liquid thread sealant like Loctite 545 or 565, which cures safely without leaving debris.
4. Fabricating and Routing to the Derale Cooler
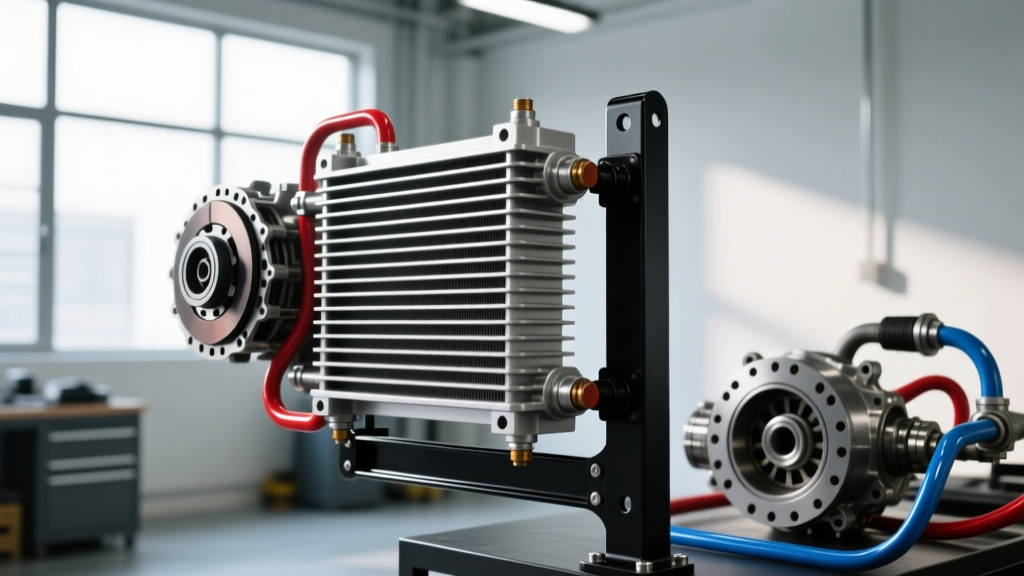
When routing your new lines to the Derale transmission cooler, maintain a minimum clearance of 4 inches from exhaust manifolds, catalytic converters, and moving suspension components. If you must route near a heat source, wrap the lines in a DEI Heat Shield Sleeve (rated for 1200°F radiant heat). Use rubber-cushioned Adel clamps (P-clips) every 12 to 18 inches to secure the lines to the frame, preventing vibration-induced fatigue at the crimp or fitting joints.
Critical Torque Specs and Fitting Data
Over-tightening cooler line adapters is one of the most common mistakes made during transmission upgrades. Aluminum transmission cases are relatively soft, and stripping the threads will require a costly case repair or replacement. Always use a calibrated inch-pound or low-range foot-pound torque wrench when installing adapters.
| Transmission Model | Adapter Thread Type | Recommended Torque Spec | Sealing Method |
|---|---|---|---|
| GM 4L60E / 4L80E | 1/4" NPT to 3/8" Barb | 12 - 15 lb-ft | Loctite 545 Liquid Sealant |
| GM 6L80 / 8L90 | M14x1.5 O-Ring Boss | 18 - 22 lb-ft | Fluorocarbon (Viton) O-Ring |
| ZF 8HP (Ford/GM/Ram) | Specific Quick-Disconnect | Snap-in (Click Test) | Internal Case O-Ring |
| Ford 10R80 | M12x1.5 O-Ring Boss | 15 - 18 lb-ft | Fluorocarbon (Viton) O-Ring |
Always verify that the O-ring is fully lubricated with fresh automatic transmission fluid (ATF) before inserting the adapter or quick-disconnect line into the transmission case. A dry O-ring will bind, roll, and tear upon insertion, leading to immediate external leaks.
Bleeding the System and Verifying Flow
Once the new Derale transmission cooler and lines are installed, the system must be properly filled and bled. A large aftermarket cooler like the Derale 13960 Hyper-Cool can hold an additional 1.5 to 2 quarts of fluid. Fill the transmission dipstick tube with the manufacturer-specified fluid (e.g., Dexron VI for GM, ATF+4 for Chrysler, or ZF LifeguardFluid 8 for ZF units) until it reaches the cold fill mark.
Start the engine and let it idle in Park. The transmission pump will begin pushing fluid into the new cooler and lines. Have an assistant shift the transmission slowly through each gear (P-R-N-D-L), holding each position for 3 seconds to open the respective clutch apply valves and allow fluid to circulate through the entire circuit.
Shut the engine off and immediately check the fluid level. Top off as necessary. Restart the engine and inspect all fitting connections under operating pressure (typically 40-60 PSI at idle). Look for micro-leaks or seepage around the AN fittings and adapter joints. According to industry analysis by Transmission Digest, ensuring zero air ingress on the cooler return line is critical; even a small leak on the suction side of the cooler circuit can introduce air into the system, causing fluid aeration, foaming, and catastrophic transmission pump cavitation.
By taking the time to properly replace your restrictive OEM lines with high-flow alternatives during your Derale cooler installation, you ensure maximum fluid velocity, optimal heat transfer, and ultimate drivetrain reliability for years to come.