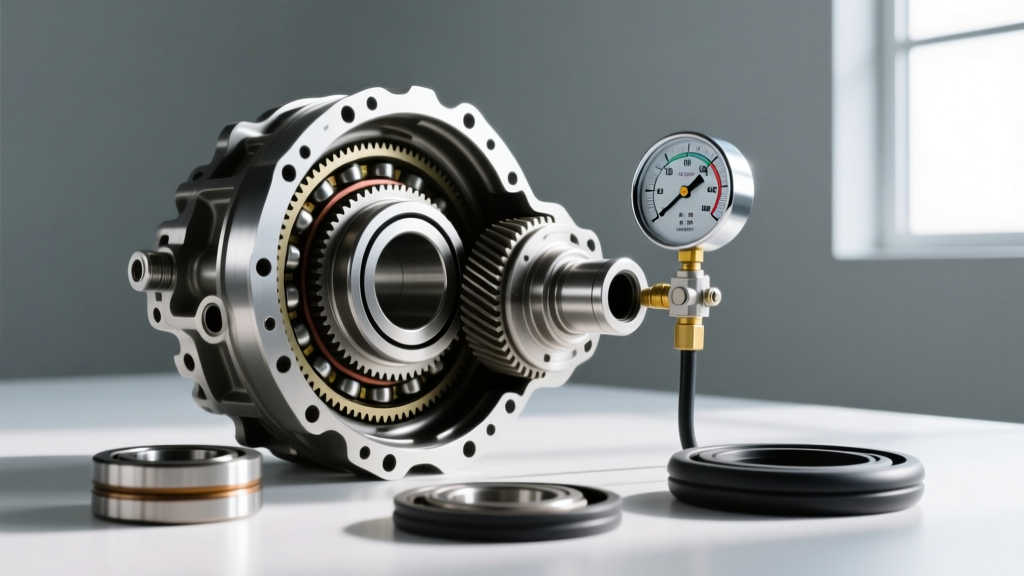
The 'Differential Stop Leak' Dilemma: Additive vs. Actual Repair
You are under your truck performing a routine inspection, and you spot a thick, sulfurous-smelling residue weeping from the differential cover or trailing down the axle tube. The immediate temptation for many DIYers is to reach for a bottle of differential stop leak additive, pour it through the fill plug, and hope the swelling agents seal the breach. As an automotive drivetrain specialist, I am here to tell you that this is a critical mistake that can lead to catastrophic ring and pinion failure.
Hypoid gear sets operate under extreme shear forces and sliding friction. Modern synthetic gear oils rely on a delicate balance of Extreme Pressure (EP) additives—typically sulfur-phosphorus compounds—to prevent metal-on-metal welding. When you introduce a generic differential stop leak product, you dilute this EP additive package and alter the base oil's viscosity index. Furthermore, stop-leak chemicals are designed to swell nitrile and fluoroelastomer seals. If your leak is caused by a scored axle shaft, a pitted pinion yoke, or a failed RTV gasket seal, no chemical additive will fix it. The only reliable solution is a proper differential fluid change and targeted mechanical repair.
Factory Differential Fluid Intervals: When to Service Your Axle
Before grabbing your wrenches, it is vital to know when your specific axle requires service. While many modern owner's manuals claim differential fluid is a 'lifetime' component, 'lifetime' usually means the lifetime of the factory warranty (roughly 60,000 to 100,000 miles). For vehicles subjected to towing, off-roading, or heavy payloads, severe service intervals must be followed. Below is a breakdown of standard and severe intervals for common light-duty truck and SUV axles.
| Axle / Vehicle Platform | Standard Interval | Severe / Towing Interval | Approx. Capacity |
|---|---|---|---|
| Ford F-150 (9.75" Rear) | 150,000 Miles | 50,000 Miles | 5.5 Pints (2.6L) |
| Jeep Wrangler (Dana 44) | 100,000 Miles | 30,000 - 50,000 Miles | 4.0 Pints (1.9L) |
| Toyota Tacoma (8" / 8.75") | 100,000 Miles | 50,000 Miles | 3.2 Pints (1.5L) |
| GM Silverado 1500 (9.5" Rear) | 150,000 Miles | 50,000 Miles | 5.2 Pints (2.5L) |
Note: Always consult your specific vehicle's owner's manual portal or factory service guide for exact capacities, as aftermarket differential covers will significantly increase fluid requirements.
Pre-Service Prep: Tools, Fluids, and Friction Modifiers
A successful axle service requires more than just a drain pan. Gathering the correct materials ensures you do not compromise the integrity of the gear set.
- Gear Oil: Select a high-quality GL-5 rated oil. For daily driving, a 75W-90 full synthetic (like Valvoline or Mobil 1) is ideal. For heavy towing or off-road crawling, step up to a 75W-140 to maintain film strength at high temperatures.
- Friction Modifier: If your vehicle has a clutch-type Limited Slip Differential (LSD), you must add a friction modifier (e.g., 4 oz of Ford XL-3 or GM part #12377916) to prevent clutch chatter during tight turns. Expert Tip: If your vehicle is equipped with a Torsen (gear-type) locking differential, do not use friction modifier, as it reduces the torque-bias ratio effectiveness.
- Sealant: Permatex Ultra Black (85g sensor-safe RTV) or a reusable Lube Locker elastomer gasket.
- Tools: 3/8" and 1/2" drive torque wrenches, brake cleaner, gasket scraper, fluid pump or squeeze bottle, and a magnetic pick-up tool.
Step-by-Step Differential Fluid Change Procedure
Follow this precise sequence to ensure a clean, leak-free service without relying on chemical band-aids.
Step 1: Safely Elevate and Remove the Fill Plug FIRST
Jack up the vehicle and support it securely on jack stands, ensuring the axle housing is level. Critical Rule: Always remove the differential fill plug before removing the cover or drain plug. If the fill plug is seized or stripped, you do not want to discover this after you have already drained all the gear oil, leaving your vehicle immobilized. The fill plug typically requires a 3/8" or 1/2" drive ratchet. Set it aside in a clean location.
Step 2: Extract the Old Gear Oil and Remove the Cover
Place a large drain pan beneath the differential. If your axle has a dedicated drain plug, remove it. If not, loosen the bottom half of the differential cover bolts, then gently tap the cover with a rubber mallet to break the RTV seal, allowing the fluid to drain out the bottom edge. Once drained, remove all cover bolts. Keep track of any specific bracket locations for ABS sensor wires or track bar mounts.
Step 3: Inspect the Magnet and Clean the Housing
Locate the factory magnet inside the differential cover or housing. A fine, metallic grey 'fuzz' on the magnet is completely normal—it is the result of standard clutch pack and gear wear. However, if you find large metal chunks, needle bearing fragments, or brass-colored shavings (indicating spider gear thrust washer failure), a simple fluid change will not save you; a full differential rebuild is required. Spray the inside of the housing and the cover thoroughly with brake cleaner and wipe dry with lint-free shop towels.
Step 4: Resealing the Differential Cover (Skip the Stop Leak!)
Scrape all old RTV material from both the cover and the axle housing mating surfaces. Do not use abrasive wire wheels on aluminum housings, as this can gouge the metal and create permanent leak paths. Apply a continuous 1/4-inch bead of Permatex Ultra Black RTV to the cover, ensuring you circle every bolt hole. Reinstall the cover and hand-tighten the bolts.
Torque Specifications:
- Dana 44 / Dana 60 Cover Bolts: 30 - 35 lb-ft
- Ford 8.8" / 9.75" Cover Bolts: 28 - 38 lb-ft
- Toyota 8" Cover Bolts: 23 - 27 lb-ft
Step 5: Refilling to the Exact Specification
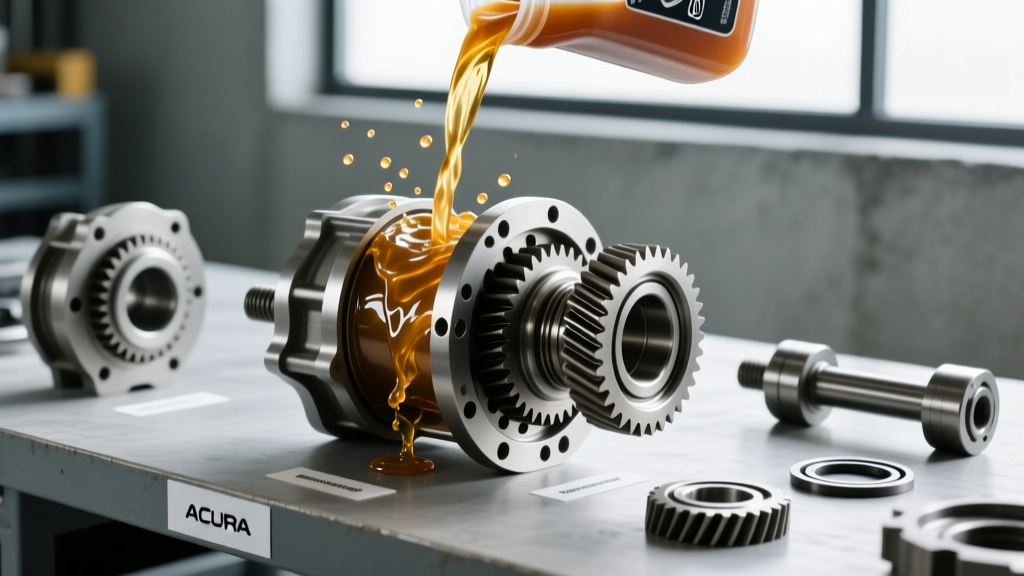
Using a fluid pump, transfer the new gear oil into the fill hole. If your differential requires a friction modifier, mix it into the pump reservoir or add it directly into the fill hole first. Continue pumping until the fluid level reaches the very bottom lip of the fill hole. Some modern axles require the fluid level to be exactly 1/4-inch to 1/2-inch below the fill hole to account for thermal expansion; always verify this in the Dana Spicer or OEM service manual. Reinstall the fill plug and torque it to 25 - 30 lb-ft.
Diagnosing Axle Leaks: When to Replace the Pinion or Axle Shaft Seals
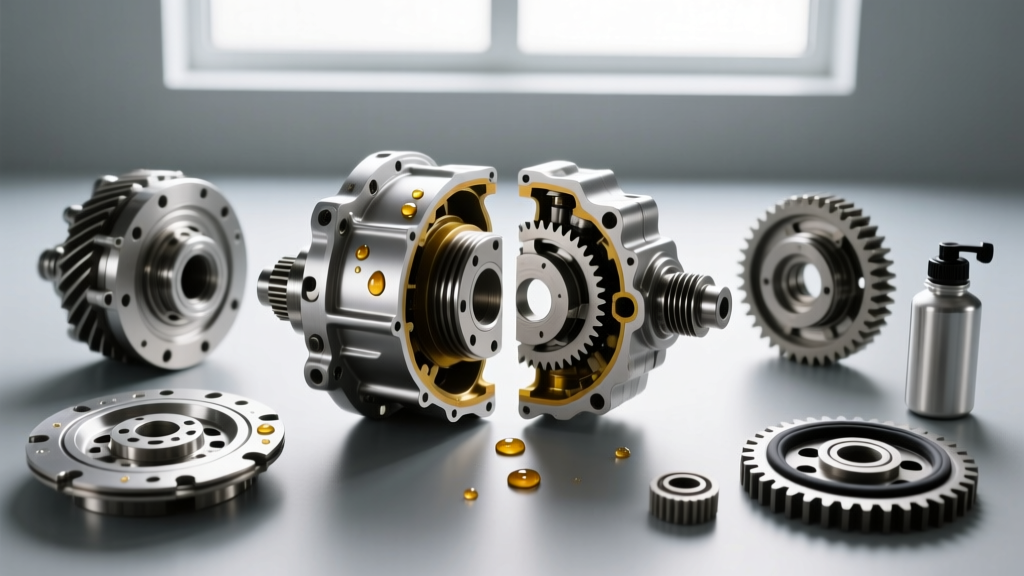
If your differential was losing fluid not from the cover, but from the axle tubes or the front pinion yoke, a fluid change alone will not solve the issue. This is where the myth of the differential stop leak is most dangerous. Axle shaft seals (like the common Timken or SKF national oil seals) fail due to age-hardening, bearing play, or a grooved axle shaft surface. Pinion seals fail due to yoke wear or over-torquing the pinion nut, which crushes the collapsible crush sleeve and destroys bearing preload.
To fix an axle tube leak, you must drain the differential, pull the C-clips (on semi-floating axles), extract the axle shaft, and use a slide hammer or seal puller to remove the old seal. Press in a new Timken seal, ensuring it is seated perfectly square, and apply a thin film of grease to the seal lip before reinserting the axle shaft. For pinion leaks, the driveshaft must be disconnected, and the pinion nut replaced with a new one, torqued to the exact inch-pound specification required to achieve the correct bearing rotational preload.
Summary: Protecting Your Ring and Pinion Investment
Relying on a differential stop leak additive is a gamble that compromises the extreme-pressure lubrication your hypoid gears require. By adhering to severe-service fluid intervals, utilizing the correct GL-5 synthetic gear oils, and addressing mechanical seal failures with proper teardown procedures, you ensure your drivetrain operates quietly and reliably for hundreds of thousands of miles. Whether you are wheeling a Dana 44 on the trails or towing a camper with a Ford 9.75-inch rear end, precision maintenance always outperforms chemical shortcuts.