The Hidden Danger in Drivetrain Rebuilds
When rebuilding a heavy-duty axle like the GM 14-bolt or a performance Ford 8.8-inch differential, most DIYers and even some novice technicians focus entirely on gear backlash and contact patterns. While gear mesh is critical, the foundation of any rear-end setup lies in the differential bearing and seal replacement process. A flawless ring and pinion setup will self-destruct in under 5,000 miles if the carrier and pinion bearings are improperly seated or if the axle seals are compromised during installation.
In 2026, with the rising costs of forged chromoly axle shafts and precision-cut ring and pinion sets, ruining a $300 carrier bearing set during installation is an expensive mistake. This is where advanced shop techniques come into play. Professional drivetrain builders rely on a concept known as differential pressure measurement during the hydraulic pressing of bearings and seals. By monitoring the hydraulic line pressure delta during interference-fit installations, experts can detect micro-fractures, cocked bearings, and journal scoring before the damage becomes catastrophic.
What is Differential Pressure Measurement in Bearing Installation?
In industrial and automotive machining, the term differential pressure measurement is frequently associated with fluid dynamics or DPF (Diesel Particulate Filter) diagnostics. However, in the context of precision differential assembly, it refers to the real-time monitoring of hydraulic press tonnage (PSI) to calculate the pressure delta between the initial seating of a bearing and its final shoulder seating.
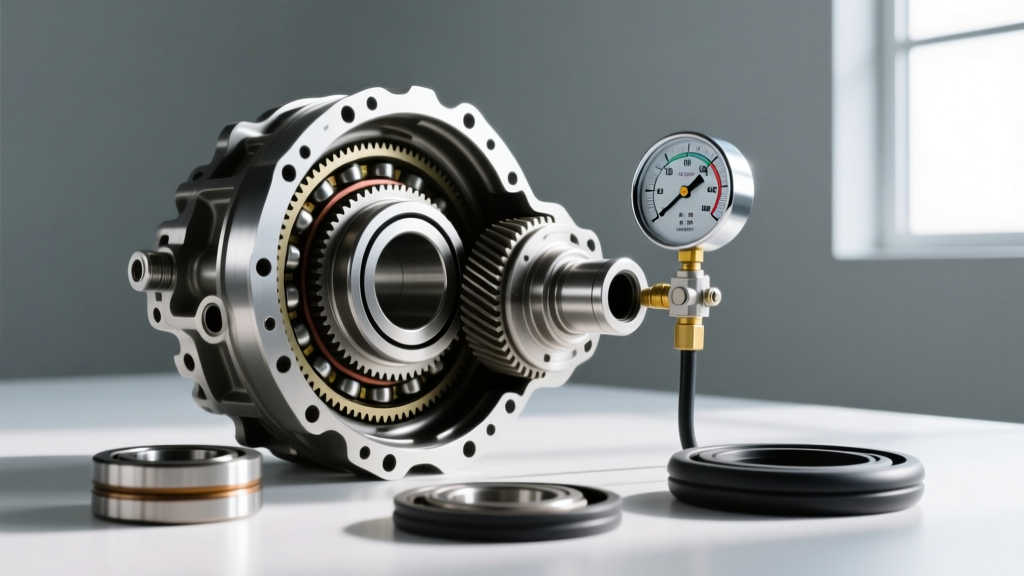
A standard 20-ton hydraulic shop press utilizes a ram cylinder with a specific surface area. By reading the pressure gauge, a technician can determine the exact tonnage being applied to the bearing inner race. When pressing a Timken tapered roller bearing (such as the LM501349 carrier bearing for a Ford 8.8) onto a differential carrier, the pressure should rise in a smooth, predictable curve.
The Physics of Interference Fits
Differential bearings utilize an interference fit, meaning the inner race bore is machined slightly smaller than the axle or carrier journal diameter. For a typical 1.5-inch journal, the interference is roughly 0.001 to 0.002 inches. Overcoming this mechanical lock requires significant force. If the differential pressure measurement on your press gauge spikes erratically—for example, jumping from a baseline of 1,200 PSI to a sudden peak of 3,800 PSI mid-stroke—it indicates the bearing is cocked, the journal is burred, or the bearing cage is binding. Ignoring this pressure anomaly will result in a spun inner race or a shattered roller cage once the differential is subjected to rotational torque.
Step-by-Step: Differential Bearing and Seal Replacement
Executing a flawless differential bearing and seal replacement requires patience, the correct tooling, and an understanding of thermal dynamics and hydraulic pressure. Below is the expert workflow for a standard semi-floating axle rebuild.
1. Carrier Bearing Extraction and Journal Inspection
Before pressing new bearings, the old carrier bearings must be removed using a dedicated bearing splitter and puller. Never hammer on the differential carrier casting, as this can warp the bearing bores and ruin your gear alignment. Once removed, clean the carrier journals with a crocus cloth and mineral spirits. Inspect for any galling or rust pitting. A pristine journal is mandatory for accurate differential pressure measurement during the installation of the new bearings.
2. Applying Differential Pressure Measurement During Press-In
When pressing the new inner races and bearing cones onto the carrier and pinion gear, always use a bearing installation sleeve that contacts only the inner race. Pressing on the outer race or the cage will instantly destroy the bearing.
- Thermal Assistance: Heat the new bearings using an induction heater to 220°F - 250°F (104°C - 121°C). This expands the inner race, temporarily reducing the interference fit.
- The Press Stroke: Align the carrier perfectly square to the press ram. Begin applying pressure slowly.
- Reading the Gauge: Note the baseline PSI required to start the bearing moving. As the bearing approaches the shoulder, the pressure will naturally rise. If the differential pressure measurement exceeds the manufacturer's baseline by more than 15% before the bearing is fully seated, STOP immediately. Release the pressure, check for squareness, and verify the journal diameter with a micrometer.
According to the Timken Automotive Aftermarket installation guidelines, uneven pressure distribution during pressing is the leading cause of premature tapered roller bearing failure.
Axle Seal Installation: Avoiding the "Blind Press" Trap
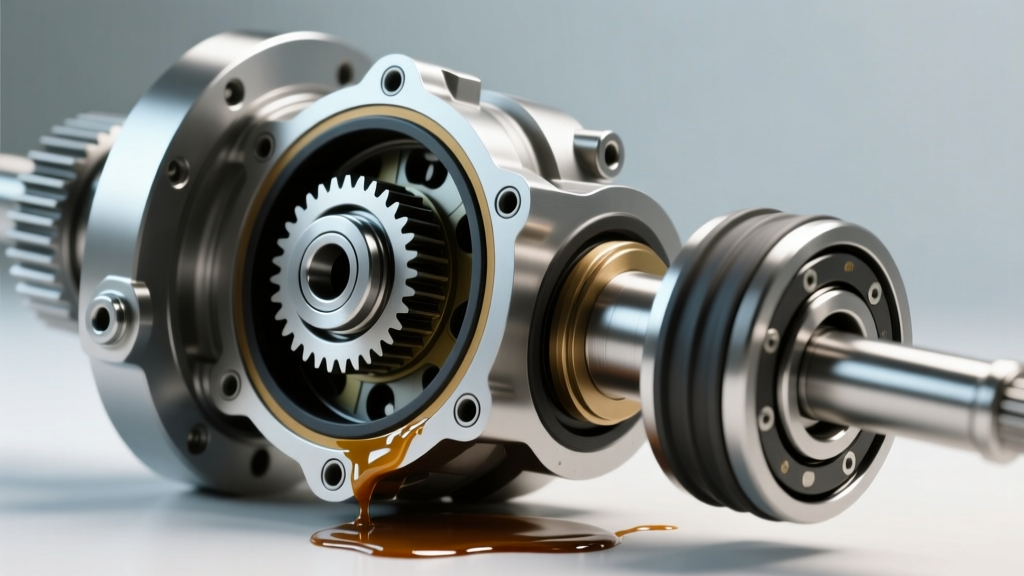
Axle seal replacement is often treated as an afterthought, but a leaking axle seal will drain your differential fluid and destroy your brake shoes or rotors. When installing seals like the National 8660S (Ford 8.8) or the SKF 22380 (GM 14-bolt), technicians often use a hammer and a generic seal driver. This "blind press" method frequently results in a cocked seal, cutting the delicate nitrile lip on the sharp chamfer of the axle tube.
Expert builders use a threaded seal installation tool or a hydraulic press with a flat, machined puck that matches the exact outer diameter of the seal housing. By applying the same differential pressure measurement principles used for bearings, you can ensure the seal is driven in perfectly square. If the pressure required to seat the seal suddenly drops to zero before it reaches the internal stop, the seal has likely folded or blown out of its retaining cup. Conversely, if the pressure spikes before the seal is flush, you are crushing the internal garter spring. Always chamfer the axle tube edge with a fine file and lubricate the seal lip with the exact gear oil you plan to use in the differential (e.g., 75W-90 or 75W-140 synthetic) before pressing.
Torque Specs and Preload Data Table
Once the bearings and seals are installed, setting the correct preload is vital. Preload ensures the bearings are tight enough to prevent gear deflection under load, but loose enough to prevent overheating and fluid breakdown. Consult the Randy's Ring & Pinion Installation Guides for vehicle-specific shim calculations. Below is a reference table for two of the most common axles rebuilt in 2026.
| Axle Model | Component | Part Number Reference | Target Preload / Spec | Press Tonnage Baseline (Est.) |
|---|---|---|---|---|
| Ford 8.8-Inch | Pinion Bearing (Inner) | Timken HM89446 / HM89410 | 8 - 14 in-lbs (rotational) | 2.5 - 4.0 Tons |
| Ford 8.8-Inch | Carrier Bearing Set | Timken LM501349 / LM501314 | 0.004" - 0.008" side bearing preload | 3.0 - 5.0 Tons |
| GM 10.5 / 14-Bolt | Pinion Bearing (Inner) | Timken HM89446 / HM89410 | 15 - 25 in-lbs (rotational) | 4.0 - 7.0 Tons |
| Dana 60 (Front) | Inner Axle Seal | National 10589 / SKF 23282 | Seat to internal snap-ring groove | 1.0 - 1.5 Tons (via installer) |
Cost Breakdown: DIY vs. Professional Machine Shop
Understanding the financial implications of a differential rebuild helps justify the investment in proper tooling. In 2026, the cost of raw materials and machine shop time has increased, making precision DIY highly attractive if you have access to a hydraulic press.
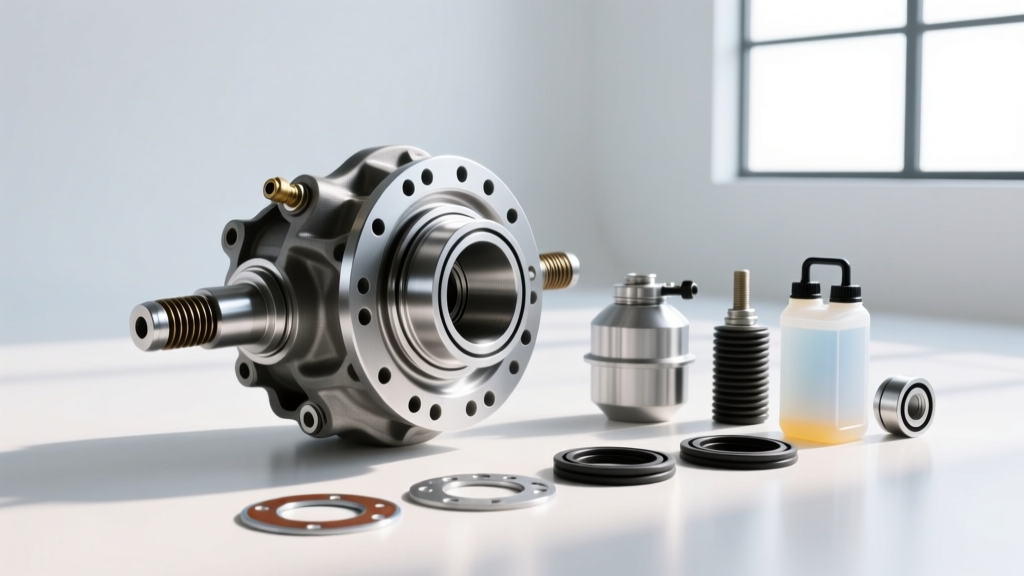
- Bearing and Seal Kits: A high-quality Master Overhaul Kit (Timken or SKF bearings, National seals, crush sleeve, pinion nut) typically ranges from $180 to $320, depending on the axle.
- Machine Shop Press Time: If you lack a 20-ton press, shops typically charge $95 to $150 per hour for press work and bearing pulling. Expect to pay around $120 just to have a shop press your carrier bearings and pinion races.
- Tooling Investment: A reliable 20-ton hydraulic shop press with a pressure gauge costs between $250 and $450. A bearing splitter and puller set is an additional $80 to $120.
By performing the differential bearing and seal replacement yourself and utilizing differential pressure measurement to guarantee perfect seating, you can easily save $200 to $400 per axle while ensuring a level of quality control that rushed machine shops often overlook.
Expert Troubleshooting: When the Pressure Gauge Spikes
If your differential pressure measurement indicates a severe spike during installation, do not attempt to "push through it." Releasing the pressure and inspecting the component is mandatory. Common culprits include:
- Debris on the Journal: A single grain of sand or metal shaving can act as a wedge, scoring the journal and spiking press tonnage.
- Out-of-Square Press Plates: Worn press plates will apply uneven lateral force, cocking the bearing inner race.
- Incorrect Bearing Dimension: Counterfeit bearings flooded the market in recent years. Always verify the bore diameter with a caliper before pressing. As noted in the Yukon Gear & Axle Technical Guides, using verified OEM or top-tier aftermarket bearings is the only way to guarantee dimensional accuracy.
Mastering differential pressure measurement transforms differential bearing and seal replacement from a brute-force chore into a precision science. By respecting the interference fit, monitoring hydraulic tonnage, and adhering to strict torque specs, your differential will operate silently and reliably for hundreds of thousands of miles.