Introduction to High-Performance Differential Rebuilds
Rebuilding a differential is one of the most mechanically demanding tasks in automotive drivetrain maintenance. Whether you are refreshing a worn Ford 8.8, upgrading a Dana 60 for off-road abuse, or fortifying a GM 14-bolt for heavy towing, precision is non-negotiable. As modern vehicles and aftermarket EV conversions push torque figures well past 800 lb-ft at the wheels, understanding the structural limits of your axle housing is critical. This step-by-step guide covers comprehensive differential rebuild procedures while exploring the various types of differential reinforcement available in the 2026 aftermarket to prevent catastrophic carrier cap walk and housing deflection.
Step 1: Teardown and Differential Fluid Forensics
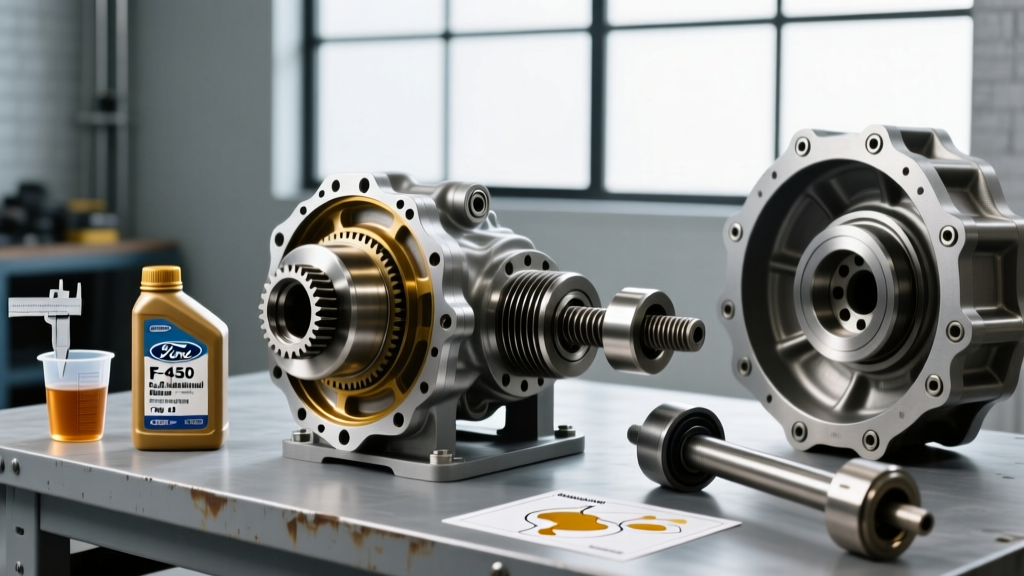
Before unbolting the carrier, the condition of your existing differential fluid tells a story. Drain the gear oil into a clean pan and inspect it under bright light. Because our focus often intersects with differential fluid maintenance, recognizing failure markers early saves money.
- Micro-Glitter (Paste-like): Indicates normal wear on thrust washers and spider gears, or early bearing degradation.
- Chunky Metal Shavings: Points to severe spalling on the ring and pinion teeth or a failing pinion bearing.
- Discoloration/Burnt Smell: Suggests the differential fluid exceeded its thermal breakdown point (typically above 300°F), often due to inadequate fluid capacity or missing friction modifiers in limited-slip setups.
Once drained, remove the bearing caps. Crucial Rule: Always mark the left and right caps and their corresponding housing saddles with a punch or paint pen. Bearing caps are line-bored at the factory with the housing; swapping them will ruin your bearing alignment and guarantee premature failure.
Step 2: Evaluating Types of Differential Reinforcement
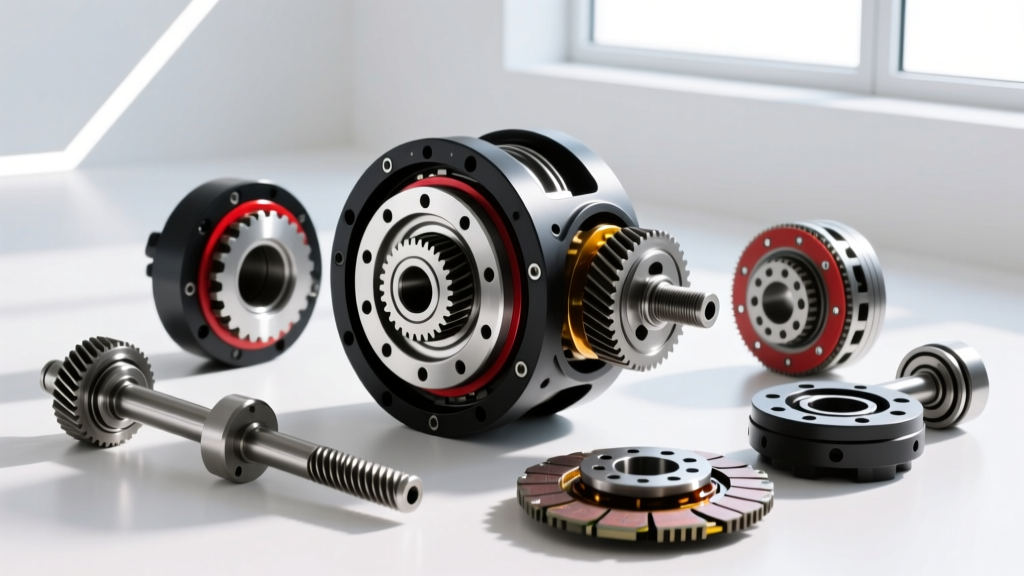
When high torque is applied, the ring gear attempts to climb the pinion gear, forcing the carrier upward and outward. In standard housings (like the Dana 44 or Ford 8.8), this causes 'cap walk,' where the bearing caps shift, destroying backlash tolerances. When planning your rebuild, selecting from the correct types of differential reinforcement is essential for managing high-horsepower applications.
| Reinforcement Type | Material & Design | Best Application | Approx. Cost (2026) |
|---|---|---|---|
| Load-Bolt Diff Cover | Cast Aluminum with threaded jacking bolts | Street/Strip, towing, up to 600 HP | $150 - $280 |
| Nodular Iron Carrier | Heavy-duty cast nodular iron replacement case | Heavy off-road, 35+ inch tires, rock crawling | $220 - $380 |
| Billet Steel Girdle | 4140 Billet Steel cross-bolted cap system | Dedicated drag racing, 1000+ HP shock loads | $450 - $850 |
| Weld-In Housing Braces | DOM Steel tubing welded to axle tubes | Prevents axle tube flex and housing distortion | $100 - $200 (Material) |
For a street-driven truck pushing 500 HP, a load-bolt differential cover from manufacturers like Yukon Gear & Axle is often sufficient. The load bolts thread through the cover and physically press against the bearing caps, preventing outward deflection. For dedicated race cars, a billet girdle replaces the factory caps entirely, tying the housing together with cross-bolts.
Step 3: Pinion Depth and Bearing Preload Setup
With the reinforcement strategy chosen and the housing prepped, the mathematical setup begins. Pinion depth is the distance from the centerline of the ring gear to the face of the pinion gear. This is adjusted via shims placed between the pinion bearing cone and the pinion head.
Establishing Pinion Bearing Preload
Pinion preload ensures the pinion bearings do not loosen under deceleration. For a crush-sleeve setup (common in Ford 8.8 and GM 10-bolt axles):
- Install a new crush sleeve and pinion seal.
- Thread the pinion nut and begin tightening. This requires immense force—often upwards of 250 lb-ft of torque to crush the sleeve.
- Stop frequently to check rotational torque with an inch-pound beam torque wrench.
- Target Spec: 18 to 24 inch-pounds of rotational drag for new bearings (or 10-14 inch-pounds if reusing original bearings).
Pro Tip: Never over-crush the sleeve. If you exceed the target preload, you must discard the crushed sleeve, install a new one, and start over. Using a solid pinion spacer kit (like those from Motive Gear) eliminates the crush sleeve entirely, allowing infinite preload adjustments via precision shims.
Step 4: Ring Gear Mounting and Backlash Adjustment
Mount the ring gear to the differential carrier. Clean the mating surfaces with brake cleaner—any oil or debris will cause runout. Apply a medium-strength threadlocker (like Loctite 272 Red) to the ring gear bolts and torque them in a star pattern. For standard 7/16-20 ring gear bolts, the torque specification is typically 75 to 85 lb-ft.
Dialing in Backlash
Backlash is the amount of free rotational play between the ring and pinion gears before the teeth engage. Mount a magnetic dial indicator to the axle housing, positioning the probe perpendicular to a ring gear tooth.
- Target Backlash: Most OEM and aftermarket street gears require 0.006 to 0.010 inches.
- Adjustment: Move the side bearing adjuster sleeves or swap side shims. To decrease backlash, move the ring gear closer to the pinion (tighten the right side, loosen the left). To increase backlash, move it away.
- Runout Check: Rotate the carrier 360 degrees. Backlash variance should not exceed 0.002 inches. If it does, your ring gear is warped, or debris is trapped between the gear and carrier face.
Step 5: Gear Pattern Verification
Backlash and pinion depth mean nothing if the gear pattern is flawed. Apply a liberal coat of yellow gear marking compound to the drive and coast sides of 3 to 4 ring gear teeth. Apply moderate resistance to the ring gear with a rag while rotating the pinion back and forth.
- Ideal Pattern: The contact patch should be centered vertically on the tooth face and slightly biased toward the toe (the inner end of the gear). It should not touch the root or the crest.
- Toe Contact (Too shallow): Pinion depth is too deep. Add pinion shims to move the pinion away from the ring gear.
- Heel Contact (Too deep): Pinion depth is too shallow. Remove pinion shims to move the pinion closer to the ring gear.
- Edge Loading: If the pattern rides high on the top land of the tooth, backlash is too tight or the gears are mismatched.
Step 6: Reassembly and Differential Fluid Specification
Once the pattern is verified and the reinforcement hardware (like load-bolt covers) is torqued to spec, the final step is sealing the system and selecting the correct differential fluid. High-stress, reinforced differentials generate immense localized heat at the gear mesh point.
Choosing the Right Gear Oil
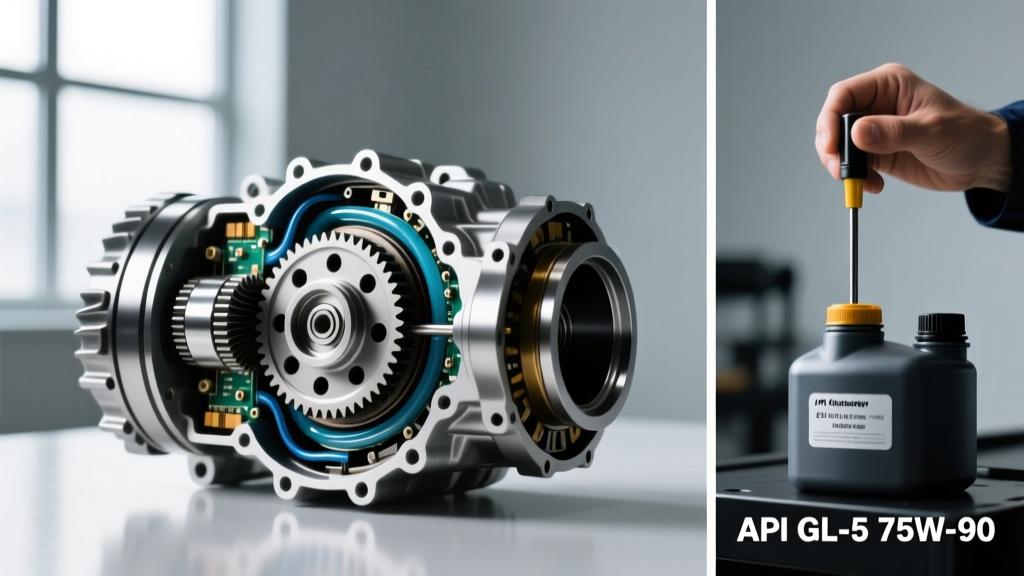
For standard rebuilt differentials, an 80W-90 API GL-5 mineral or synthetic blend is adequate. However, if you have installed billet reinforcement, are running a locking spool, or are subjecting the axle to severe shock loads, step up to a 75W-140 Full Synthetic API GL-5 gear oil (such as Amsoil Severe Gear or Royal Purple Max Gear). The higher viscosity maintains the hydrodynamic fluid film between the hypoid gears under extreme pressure, preventing metal-on-metal boundary lubrication.
Friction Modifier Warning: If your rebuild included a clutch-type limited-slip differential (like an Eaton Truetrac or Ford Traction-Lok), you must add the manufacturer-specified friction modifier (usually 4 oz per axle). Failing to do so will result in severe chatter, binding, and rapid destruction of the clutch packs during low-speed cornering. Note that synthetic oils labeled 'LS' already contain modifiers, but heavy-duty towing setups often require an additional top-off.
Summary of Rebuild Torque Specs (Ford 8.8 / GM 10-Bolt Reference)
| Component | Fastener / Spec | Torque Specification |
|---|---|---|
| Ring Gear Bolts | 7/16-20 (with Red Loctite) | 75 - 85 lb-ft |
| Bearing Cap Bolts | 1/2-13 | 70 - 85 lb-ft |
| Pinion Nut (Crush Sleeve) | 3/4-16 or 7/8-14 | 200 - 250 lb-ft (until preload met) |
| Differential Cover Bolts | 5/16-18 or 8mm | 15 - 25 lb-ft (RTV sealed) |
| Load-Bolt Adjusters | Set-screw to Cap | Snug + 1/8 turn, then locknut |
By meticulously following these differential rebuild procedures and properly integrating the appropriate types of differential reinforcement, you ensure that your axle assembly can handle the torque demands of modern performance driving. Always remember that the longevity of your rebuild is directly tied to your initial setup tolerances and your commitment to strict differential fluid maintenance schedules post-assembly.