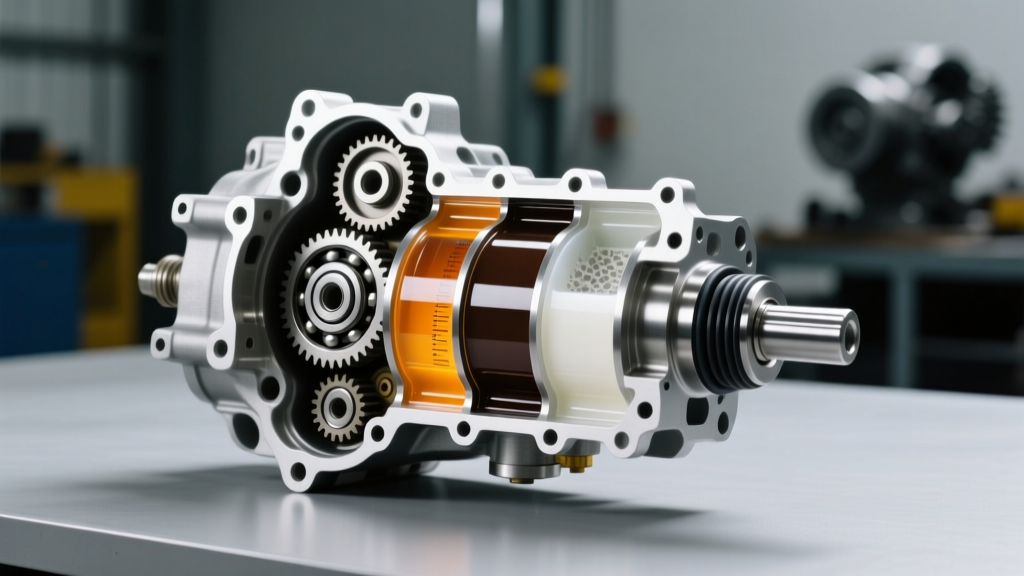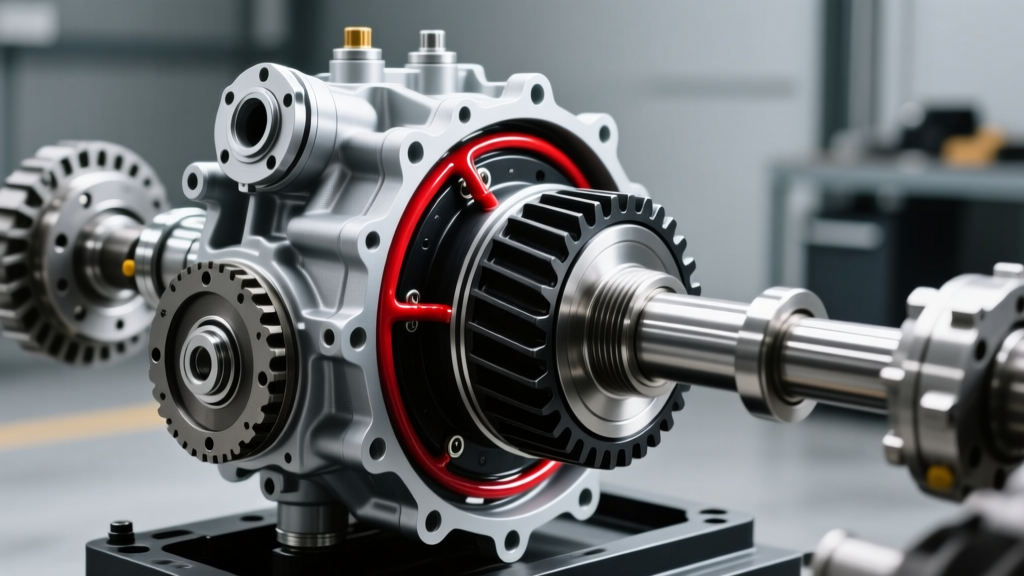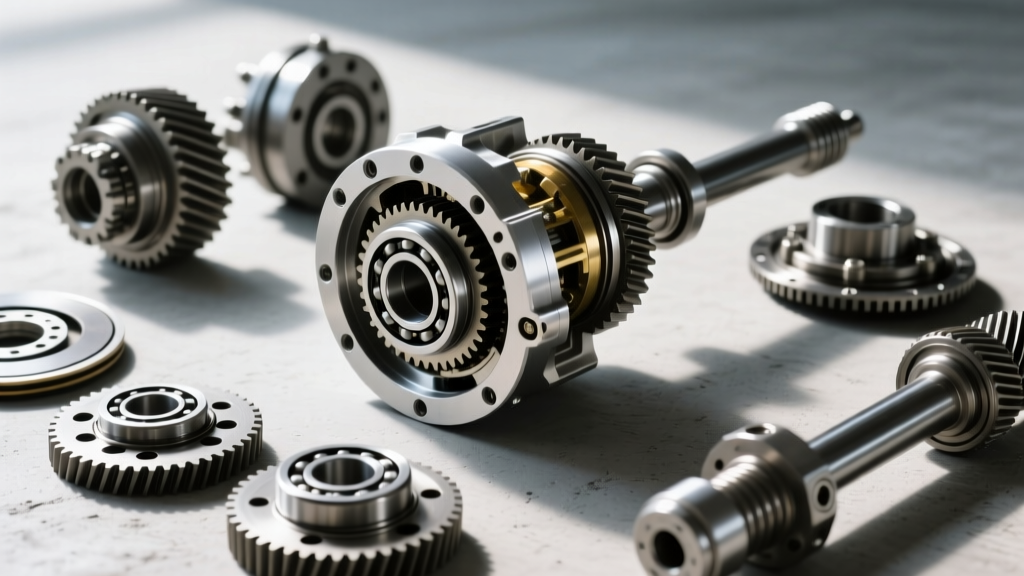
What Is a Differential Locker and Why Rebuild?
When off-roaders, rock crawlers, and track enthusiasts ask, 'what is a differential locker,' they are seeking the ultimate solution for traction. A differential locker is a mechanical device that replaces or modifies the factory open differential carrier to force both drive wheels to spin at the exact same RPM, regardless of available traction. While an open differential sends power to the path of least resistance (the wheel slipping in mud or on ice), a locker ensures 100% of the torque is distributed equally to both axle shafts.
If your ring and pinion gears are whining, your carrier bearings are howling, or you have metal shards on your drain plug, you are facing a mandatory axle rebuild. In 2026, the average machine shop charges between $250 and $400 just to set up a standard open differential. By combining a necessary differential rebuild with a locker upgrade (such as an Eaton Detroit Locker or ARB Air Locker), you eliminate redundant labor costs. This step-by-step guide details the exact rebuild procedures, torque specifications, and setup metrics required to install a locking differential correctly.
Essential Tools and Parts for the Rebuild
You cannot eyeball a differential rebuild. Precision measuring tools are mandatory to prevent catastrophic gear failure under load.
- Dial Indicator & Magnetic Base: Must read to 0.0001-inch increments for accurate backlash measurement.
- Inch-Pound and Foot-Pound Torque Wrenches: A 0-50 in-lb beam or dial wrench is critical for pinion bearing preload.
- Case Spreader Tool: Essential for Dana and Chrysler axles to prevent snapping carrier bearing cap bolts.
- Gear Marking Compound: Yellow for drive side, red or purple for coast side.
- Setup Bearings: Honed-out bearings that slip on and off the pinion and carrier without a press, saving hours of trial-and-error shimming.
- Consumables: Loctite 242 (Blue), RTV Silicone, and new crush sleeves or solid pinion spacers.
Pro-Tip: Never reuse ring gear bolts. The cyclic loading stretches the factory hardware. Always use new Grade 8 or OEM equivalent bolts coated in blue threadlocker.
Step 1: Teardown, Cleaning, and Case Inspection
Begin by draining the differential fluid and removing the axle shafts. Unbolt the bearing caps. Critical Rule: Carrier bearing caps are line-bored at the factory with the specific axle housing. They are not interchangeable. Mark them 'Left' and 'Right' with a paint pen before removal. If you mix them up or install them backward, the bearing bores will be out of round, destroying your new carrier bearings within 500 miles.
Once the carrier and pinion are removed, clean the housing with brake cleaner. Inspect the differential case bores for scoring or galling. If the housing is damaged, it must be replaced or line-bored by a professional machinist. For a standard GM 8.5-inch 10-bolt or Dana 60, replacement housings range from $300 to $600 in the current aftermarket.
Step 2: Setting Pinion Depth and Bearing Preload
Before installing the locker, the pinion gear must be set to the correct depth. The pinion head is stamped with a '+', '-', or '0' measurement relative to the ideal centerline. Using your setup bearing, install the pinion with the calculated shim thickness behind the inner bearing cup.
Adjusting Pinion Preload
Pinion bearing preload is the rolling resistance of the pinion bearings. Using a new crush sleeve (or a solid spacer with shims), tighten the pinion nut while checking the rotational torque with your inch-pound wrench.
- Used Bearings (Reusing old pinion): 15 to 25 in-lbs.
- New Bearings (Fresh rebuild): 25 to 35 in-lbs.
If you overshoot the preload with a crush sleeve, you must throw the sleeve away, install a new one, and start over. Never back off the pinion nut to reduce preload; this will collapse the sleeve unevenly and lead to premature bearing failure.
Step 3: Installing the Locker and Setting Backlash
With the pinion set, press your new carrier bearings (e.g., Timken LM501349 for Dana 44/60 inner) onto the locking differential carrier. Bolt the ring gear to the locker using a star pattern. Apply Loctite 242 to the threads and torque to spec.
Place the locker assembly into the housing. If working on a Dana axle, use the case spreader to open the housing by no more than 0.015 inches. Over-spreading can permanently warp the axle tubes. Drop the carrier in, install the caps, and release the spreader.
Measuring and Adjusting Backlash
Backlash is the rotational play between the ring gear and pinion gear teeth. Mount your dial indicator perpendicular to a ring gear tooth.
- Target Backlash for Street/Strip Lockers: 0.006 to 0.008 inches.
- Target Backlash for Heavy Rock Crawling: 0.008 to 0.010 inches (allows for thermal expansion and shock loading).
Adjust the side adjusters or swap carrier shims until the backlash is perfectly within spec and identical at four equidistant points around the ring gear. If backlash varies by more than 0.002 inches around the gear, your ring gear is warped or the locker carrier face was not machined flat.
Step 4: Reading the Gear Pattern
Backlash alone does not guarantee a quiet, long-lasting differential. You must verify the contact pattern. Apply marking compound to three or four teeth on both the drive (convex) and coast (concave) sides of the ring gear. Rotate the assembly under moderate resistance using a rag on the pinion yoke.
- Ideal Drive Pattern: Centered from top to bottom, slightly biased toward the toe (inner edge) of the tooth.
- Ideal Coast Pattern: Centered from top to bottom, slightly biased toward the heel (outer edge).
If the pattern is high on the tooth (toward the top land), the pinion is too deep; decrease the pinion shim thickness. If the pattern is low (toward the root), the pinion is too shallow; increase the shim thickness. Always refer to the Ring & Pinion setup guides for visual pattern charts specific to your gear manufacturer.
Step 5: Final Assembly Torque Specifications
Once the pattern and backlash are verified, remove the setup bearings and press on your final, brand-new carrier bearings. Reassemble the differential using the exact torque specifications below. Always consult Dana Spicer or Eaton manuals for model-specific variations.
| Component | Thread Size / Spec | Torque Specification | Notes |
|---|---|---|---|
| Ring Gear Bolts | 1/2'-20 or M12 | 70 - 85 lb-ft | Apply Loctite 242. Do not use impact. |
| Carrier Bearing Caps | Various | 60 - 75 lb-ft | Ensure caps are aligned and not swapped. |
| Pinion Nut (Crush Sleeve) | Various | 200 - 250+ lb-ft | Tighten until preload spec is met. |
| Pinion Nut (Solid Spacer) | Various | 250 - 400 lb-ft | Torque to yield spec, stake or use Loctite. |
| Locker Internal Bolts | Model Specific | Per Manufacturer | Eaton Detroit Locker usually 45-60 lb-ft. |
Step 6: Fluid Selection and Break-In Procedure
The type of gear oil you use is critical when running a locker. Because mechanical lockers like the Detroit Locker utilize internal dog clutches and thrust washers that engage and disengage under load, they generate significant localized heat and shear forces compared to open differentials.
Choosing the Right Gear Oil
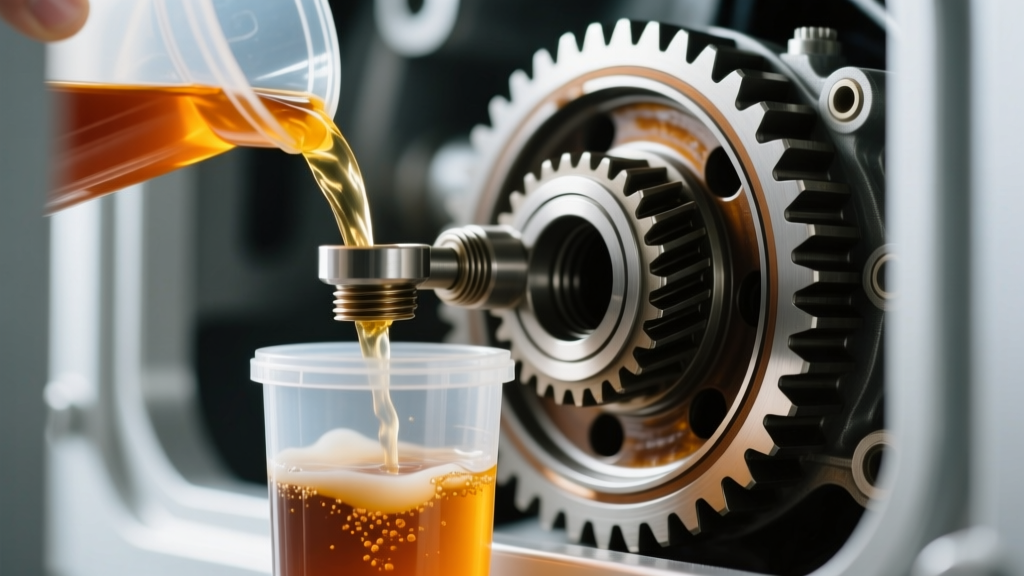
For heavy-duty applications and locking differentiators, step up to a 75W-140 Full Synthetic GL-5 gear oil (such as Lucas Oil or Red Line ShockProof). The higher viscosity maintains a protective film over the locker's internal cross-pins and side gears during extreme articulation. Warning: Do NOT add limited-slip friction modifiers to a mechanical locking differential. Friction modifiers are designed for clutch-based LSDs; in a Detroit Locker or lunchbox locker, they can cause the internal dog teeth to slip or chatter improperly during engagement.
The 500-Mile Break-In Protocol
New ring and pinion gears generate immense heat during the initial break-in phase as the microscopic machining marks wear smooth. After filling the axle with 75W-140 synthetic fluid:
- Drive the vehicle at varying speeds between 30 and 50 mph for the first 10 miles.
- Stop and let the differential cool completely to ambient temperature.
- Repeat this heat-and-cool cycle three times.
- Avoid heavy towing, high-speed highway driving, or extreme rock-crawling shock loads for the first 500 miles.
- Drain the break-in fluid at 500 miles. You will see a fine, glittery metallic paste on the drain plug magnet; this is normal machined metal wearing off. Refill with fresh synthetic fluid for long-term service.
By understanding what a differential locker is and executing these precision rebuild procedures, you transform a fragile open axle into an unbreakable, traction-maximizing assembly ready for the harshest environments of 2026 and beyond.