The Physics of Hypoid Gears and the Differential Gear Pattern
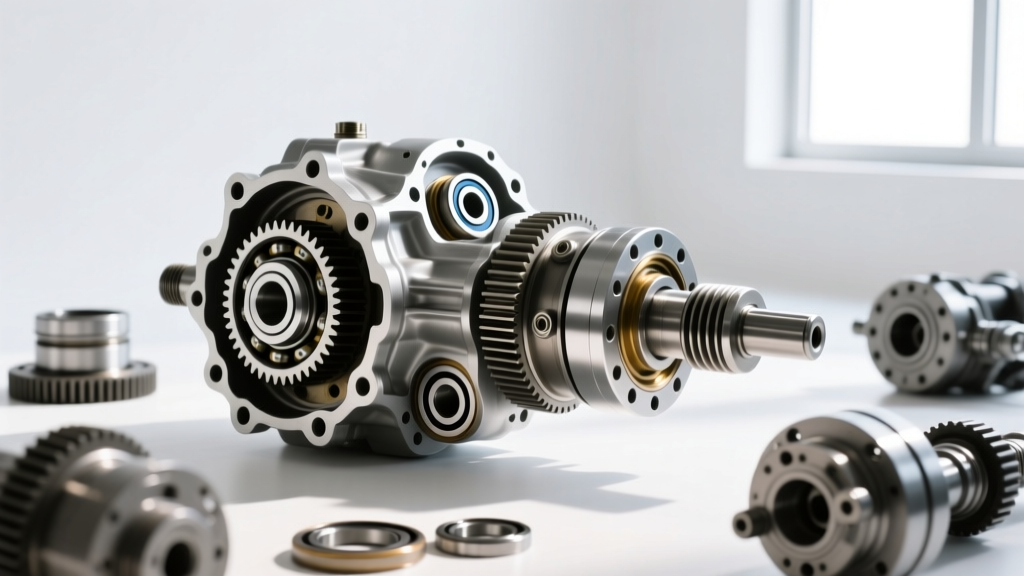
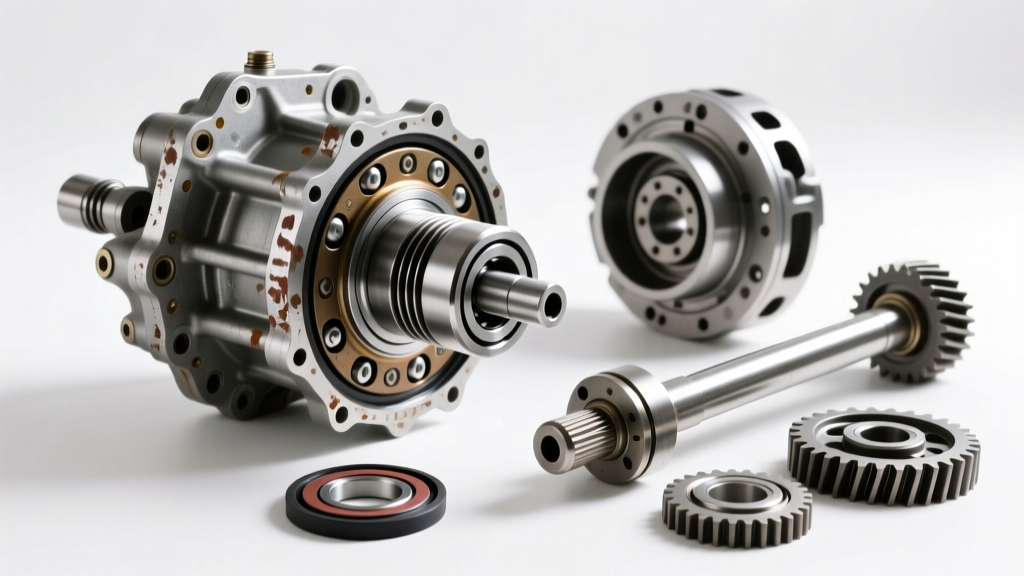
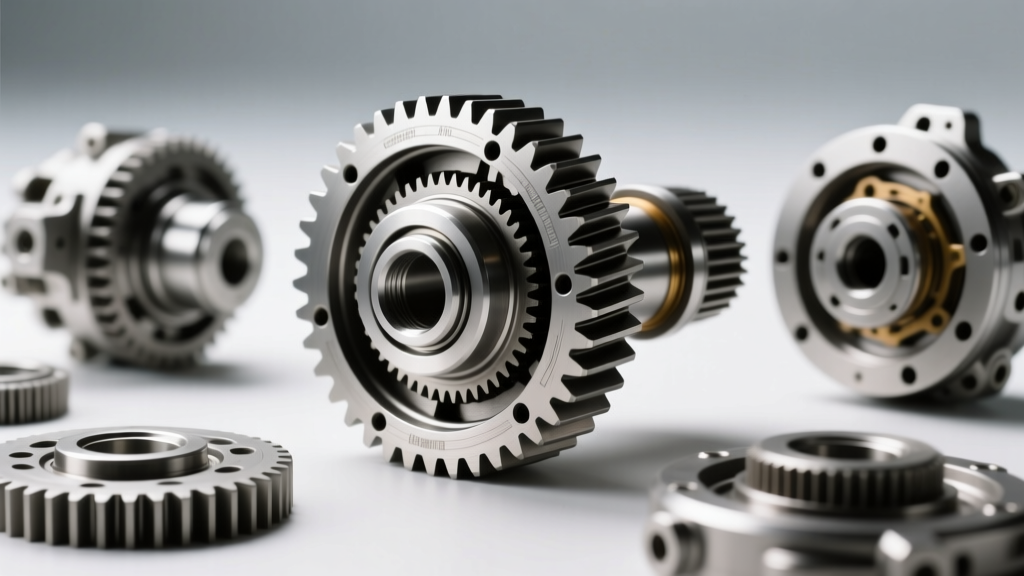
When rebuilding a solid axle differential—whether it is a ubiquitous Ford 8.8, a heavy-duty GM 14-bolt, or a classic Dana 44—you are not just bolting parts together; you are establishing a precise geometric relationship. The differential gear pattern is the physical footprint left by the ring and pinion gears as they mesh under load. Because hypoid gearsets feature an offset pinion axis that drops below the ring gear centerline, the teeth experience a combination of rolling and extreme sliding friction. If your pattern is incorrect, the sliding friction will generate excessive heat, shear the gear teeth, or produce an unbearable howl that ruins the driving experience.
This step-by-step guide details the exact procedures, torque specifications, and diagnostic frameworks required to achieve a flawless differential gear pattern during a complete rebuild.
Prerequisites: Specialized Tooling and Consumables
Do not attempt a differential rebuild with standard hand tools. The tolerances we are measuring are in the ten-thousandths of an inch. You will need:
- Inch-Pound Dial Torque Wrench: A 0-30 in-lb beam or dial-style wrench (not a click-type) to measure rotational bearing preload accurately.
- Dial Indicator with Magnetic Base: Must read in 0.001" increments to measure backlash accurately.
- Pinion Depth Setting Tool: Such as the Yukon Tool YT SHIM-01 or an OEM-specific master bearing kit.
- Gear Marking Compound: Use a dedicated yellow zinc-oxide paste (e.g., Permatex 80085). Never use Prussian blue or standard grease, as they are too thin and will not show the distinct edge of the contact patch.
- Assembly Lubricant & Threadlocker: Red Loctite 272 for ring gear bolts, and a high-quality GL-5 75W-90 or 75W-140 synthetic gear oil for the final fill.
Step 1: Establishing Pinion Depth
Pinion depth dictates how deeply the pinion gear penetrates the ring gear. This is adjusted via shims located either under the inner pinion bearing race (common on GM and Ford axles) or pressed onto the pinion shaft behind the bearing (common on Dana and Chrysler axles).
Reading the Pinion Head Variance
Look at the face of your new pinion gear. You will typically see a number etched into the metal, such as +2, -1, or 0. This number represents the variance in thousandths of an inch from the nominal factory setting block. If your setting tool reads 3.750" and the pinion is marked +2, your target shim stack must yield a depth of 3.752".
Expert Tip: Always use "setup bearings" (bearings with slightly honed-out inner diameters) when mocking up pinion depth. Pressing and pulling virgin, tight bearings repeatedly will ruin them and skew your depth readings.
Step 2: Setting Pinion Bearing Preload
Once depth is established, the pinion bearings must be preloaded to eliminate deflection under heavy throttle. Modern differentials use either a crush sleeve or a solid spacer.
- Crush Sleeves: Require massive torque (often 200-250 ft-lbs) to deform the sleeve. It is incredibly easy to over-crush a sleeve, forcing a complete teardown to replace it.
- Solid Spacers (Recommended): Kits from manufacturers like Ratech Engineering replace the crush sleeve with a hardened steel spacer and a stack of micro-shims. This allows you to dial in exactly 15-25 in-lbs of rotational preload without the risk of over-torquing.
Wrap a rag around the pinion yoke and pull your inch-pound dial wrench. The needle should smoothly sweep between 15 and 25 in-lbs. If it is lower, add shims; if higher, remove shims.
Step 3: Carrier Installation and Backlash Adjustment
Torque the ring gear to the carrier using a star pattern. For a Ford 8.8, the ring gear bolts require 85 ft-lbs with Red Loctite 272. For a Dana 44, it is typically 70 ft-lbs. For larger axles like the GM 14-bolt 10.5", torque specs jump to 120 ft-lbs.
Mount your dial indicator so the plunger is perfectly perpendicular to the face of a ring gear tooth. Hold the pinion yoke completely stationary and rock the ring gear back and forth. The total movement indicated on the dial is your backlash.
- Target Street Backlash: 0.008" to 0.010"
- Target Off-Road/Heavy Duty Backlash: 0.012" to 0.015" (allows for thermal expansion and shock loading)
Adjust backlash by moving the carrier side bearing adjuster nuts or swapping carrier shims. Remember: moving the ring gear closer to the pinion decreases backlash; moving it away increases backlash. Do not alter pinion depth to fix backlash.
Step 4: Applying Compound and Reading the Differential Gear Pattern
This is the critical diagnostic phase. Apply a thin, even coat of yellow marking compound to three or four teeth on both the drive side (convex) and coast side (concave) of the ring gear.
To read the pattern accurately, you must simulate load. Have a helper apply slight resistance to the ring gear with a gloved hand or a brass drift while you rotate the pinion yoke back and forth through the marked teeth. Inspect the resulting differential gear pattern against the diagnostic matrix below.
| Pattern Location | Visual Symptom | Corrective Action |
|---|---|---|
| High on Flank (Towards Root) | Contact patch is too close to the bottom of the tooth. | Increase Pinion Depth (move pinion closer to ring gear). |
| Low on Face (Towards Crown) | Contact patch is too close to the top outer edge of the tooth. | Decrease Pinion Depth (move pinion away from ring gear). |
| Heavy on Heel (Inner Diameter) | Pattern is concentrated near the ring gear center hole. | Increase Backlash (move ring gear away from pinion). |
| Heavy on Toe (Outer Diameter) | Pattern is concentrated near the outer edge of the ring gear. | Decrease Backlash (move ring gear closer to pinion). |
An ideal pattern will be centered vertically on the tooth face (between the flank and the crown) and centered horizontally (between the heel and the toe), often biasing slightly toward the heel on the drive side to account for gear deflection under heavy load. For comprehensive visual references, consult the Yukon Gear & Axle installation guides, which provide excellent photographic examples of acceptable and unacceptable patterns.
Step 5: Final Assembly and Fluid Selection
Once the differential gear pattern is verified and backlash is locked in, install the pinion seal and the final pinion nut. If using a crush sleeve, torque the nut incrementally while checking rotational preload until you hit your target 15-25 in-lbs. For reference, detailed torque sequences and fluid capacities for specific axles can be found in the Ring-Pinion technical article library.
The Role of Differential Fluid in Pattern Preservation
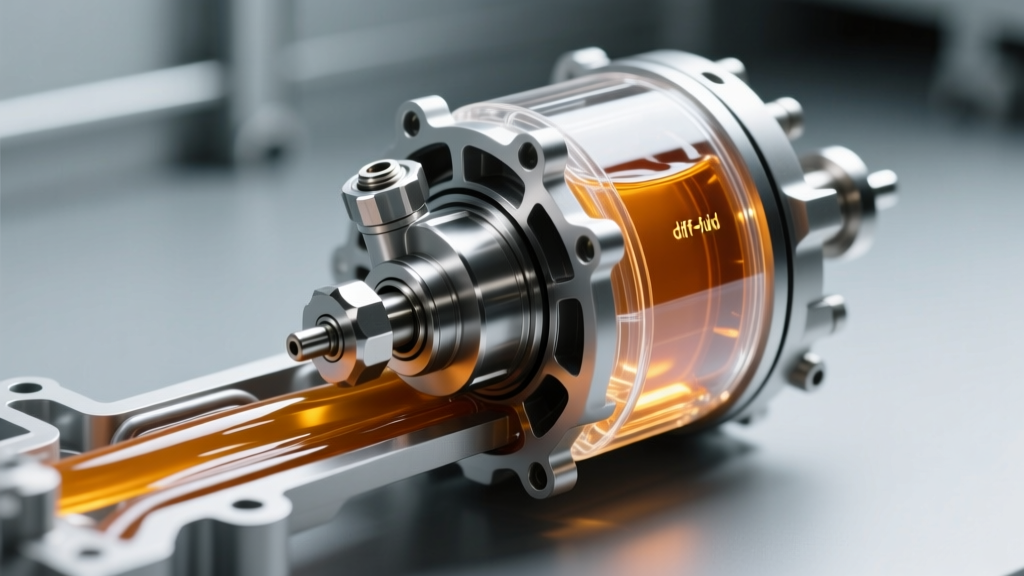
A perfect gear pattern is useless if the lubrication fails. The sliding friction inherent in hypoid gears generates massive localized heat at the contact patch. You must fill the housing with a high-quality API GL-5 rated synthetic gear oil, such as Amsoil Severe Gear 75W-90 or Lucas Oil 75W-140. GL-5 fluids contain extreme pressure (EP) additives—typically sulfur-phosphorus compounds—that chemically bond to the gear metal. This sacrificial layer prevents micro-welding and spalling under the immense pressure of the contact patch, preserving the physical geometry of your gear pattern.
If your rebuild includes a clutch-type Limited Slip Differential (LSD), you must add the manufacturer-specific friction modifier (e.g., Ford XL-3 or GM POSI additive) before sealing the cover. Failing to do so will result in chatter, binding, and rapid destruction of the clutch packs, which can subsequently alter carrier tolerances and ruin your newly established gear pattern.
Post-Rebuild Break-In Procedure
The first 500 miles are critical. The gears are lapping themselves into their final micro-geometry. Drive conservatively, avoiding full-throttle acceleration and sustained highway speeds over 55 mph. Every 50 miles, pull over and let the axle housing cool completely to ambient temperature. After 500 miles, drain the break-in fluid—which will be filled with microscopic metallic paste from the lapping process—and refill with fresh synthetic GL-5 gear oil. By following these exact procedures, your ring and pinion will deliver a lifetime of quiet, reliable operation.