Understanding the Polaris Front Gearcase Architecture
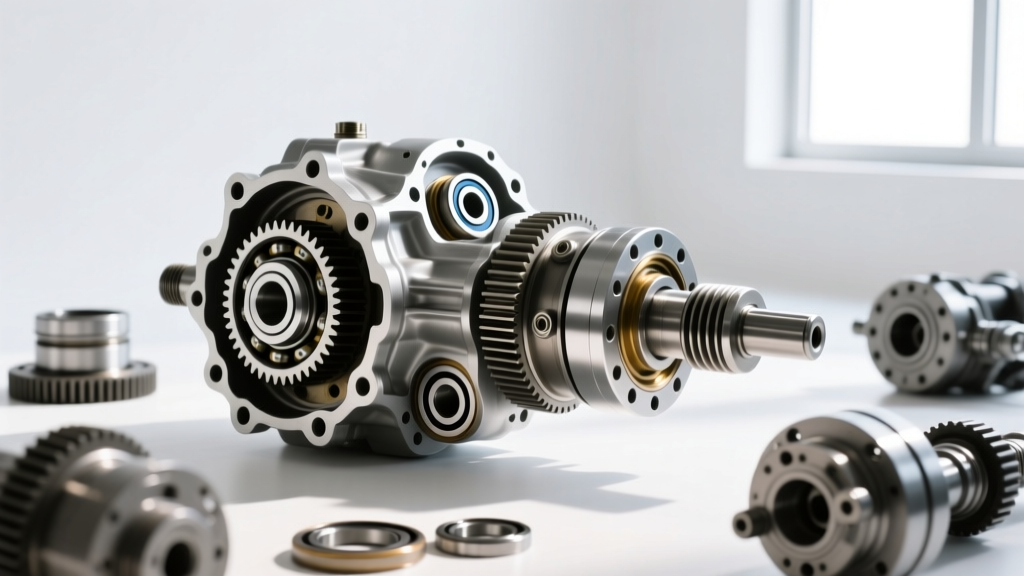
Rebuilding a Polaris front differential requires a fundamental understanding of its unique architecture. Unlike traditional solid-axle automotive differentials, modern Polaris UTVs and ATVs (such as the Ranger, RZR, and Sportsman lines) utilize a specialized front gearcase integrated with a Hilliard-engineered sprague clutch system. This setup allows for seamless, on-the-fly engagement when the rear wheels lose traction. However, the strut-type sprague clutch, pinion bearings, and ring-and-pinion gear sets are highly susceptible to catastrophic failure if subjected to water intrusion, improper fluid levels, or aggressive binding on high-traction surfaces.
As we move through the 2026 service season, the prevalence of aftermarket big-tire kits and heavy-duty axles has placed unprecedented stress on OEM front gearcases. This step-by-step guide details the complete teardown, inspection, and reassembly of a standard Polaris front differential, emphasizing precise torque specifications, backlash adjustment, and the critical dual-fluid fill protocol.
Mandatory Tools and OEM Consumables
Before unbolting the gearcase from the chassis, ensure your workbench is equipped with the proper measurement and extraction tools. Guessing bearing preload or reusing crushed crush-sleeves will result in immediate whining and premature pinion failure.
- Measurement: Magnetic base dial indicator (0.0001" resolution), digital calipers, and an inch-pound torque wrench for bearing preload verification.
- Extraction: 3-jaw gear puller, brass drift punches, and a specialized pinion holding fixture.
- Consumables: Polaris AGL (All Gear Lubricant), Demand Drive Hub Fluid, RTV silicone (high-temp black), and a complete OEM seal and shim kit.
| Component | OEM Part Number | Application / Notes |
|---|---|---|
| AGL Synthetic Lubricant (1 Gallon) | 2878068 | Main gearcase cavity fill |
| Demand Drive Hub Fluid (1 Quart) | 3235022 | Front wheel hub / sprague cavity |
| Front Gearcase Rebuild Kit | 2202015 (Varies by Model) | Includes seals, O-rings, shims |
| Sprague Clutch Assembly | 1323354 (Verify via VIN) | Hilliard strut-type engagement unit |
Phase 1: Extraction and Case Splitting
Begin by elevating the machine and removing the front wheels, brake calipers, and axle nuts. Extract the front half-shafts using a slide hammer or a pry bar, taking care not to damage the output shaft splines. Drain the existing gearcase fluid into a clean pan. Inspect the magnetic drain plug closely; a fine metallic paste is normal wear, but distinct steel chunks or brass-colored shavings indicate severe cage or bearing failure.
Once drained, unbolt the gearcase from the chassis mounts. Transfer the unit to a clean bench. Remove the output shaft seals using a hooked seal puller. Unbolt the perimeter case bolts (typically 10mm or 13mm heads). Use a dead-blow mallet to gently separate the case halves. Never pry between the machined mating surfaces with a flathead screwdriver, as scoring the aluminum will guarantee future oil leaks.
Phase 2: Sprague Clutch and Gear Train Inspection
The heart of the Polaris front differential is the engagement mechanism. Once the case is split, lift the ring gear and carrier assembly out of the housing. The sprague clutch is housed within the carrier or the output hub, depending on the specific model year.
Inspecting the Sprague and Armature
Clean the sprague assembly in solvent and blow it dry with compressed air. Inspect the inner and outer races for brinelling (indentations) or spalling. The strut-type sprague relies on tiny spring-loaded wedges to lock the inner and outer races. If the struts show rounded edges or if the retaining cage exhibits hairline fractures, the entire sprague assembly must be replaced. According to engineering data from Hilliard Corporation, a sprague that slips under load will generate immense friction heat, effectively welding the internal components together and destroying the differential case.
Ring and Pinion Gear Evaluation
Examine the ring and pinion teeth for pitting, chipping, or abnormal wear patterns. A wear pattern concentrated on the toe of the gear indicates the pinion is too close to the ring gear, while heel wear indicates it is too far away. If the gears are serviceable, press the pinion gear out of the housing using a hydraulic press, catching the pinion depth shim located behind the inner bearing race. Measure this shim with a micrometer; it is your baseline for reassembly.
Phase 3: Shimming, Backlash, and Reassembly
Reassembly is a meticulous process of establishing pinion depth and carrier bearing preload. Begin by pressing the new inner pinion bearing onto the pinion shaft, ensuring the original depth shim is seated perfectly against the gear head. Install the pinion into the gearcase housing, followed by the outer bearing, crush sleeve, and seal.
Install the ring gear onto the differential carrier using new ring gear bolts. Apply a medium-strength threadlocker (blue Loctite) to the bolts and torque them in a star pattern. Mount the carrier into the case halves, inserting the appropriate side shims to achieve the correct bearing preload and gear backlash.
Measuring Backlash and Preload
Mount a dial indicator to the gearcase housing with the plunger resting perpendicular to the ring gear teeth. Rotate the carrier back and forth while holding the pinion stationary. The target backlash for most Polaris front differentials is between 0.005" and 0.009". If backlash is too tight, move shims from the ring gear side to the opposite side. If too loose, reverse the process. Bearing preload should require approximately 15 to 25 inch-pounds of rotational torque to turn the assembly without binding.
| Fastener / Component | Torque Specification | Notes |
|---|---|---|
| Pinion Nut | 120 - 140 ft-lbs | Use new crush sleeve; verify rotational drag |
| Ring Gear Bolts | 55 - 65 ft-lbs | Apply Blue Loctite 243 |
| Case Half Perimeter Bolts | 18 - 22 ft-lbs | Tighten in alternating crisscross pattern |
| Front Axle Nuts | 80 - 90 ft-lbs | Use new cotter pins; do not reuse castle nuts |
Phase 4: Sealing and the Dual-Fluid Fill Protocol
Once the internal components are verified, mate the case halves using a thin, continuous bead of high-temp black RTV silicone. Allow the RTV to skin over for 10 minutes before torquing the case bolts to 20 ft-lbs. Install new output shaft seals, driving them in flush with a seal driver to avoid cocking the seal lip.
The AGL vs. Demand Drive Hub Fluid Distinction
The most common mistake made during a Polaris front differential rebuild is misunderstanding the fluid architecture. The main gearcase cavity requires Polaris AGL (All Gear Lubricant), which is formulated for high-pressure hypoid gear protection. However, the front wheel hubs and the outer engagement cavities require Demand Drive Hub Fluid.
Expert Warning: Never fill the entire front axle assembly with AGL. AGL lacks the specific friction modifiers required for the sprague clutch to engage smoothly. Flooding the sprague cavity with standard gear oil will result in delayed 4WD engagement, violent driveline binding, and ultimate sprague destruction. Always consult the Polaris OEM Parts Catalog to verify fluid routing for your specific VIN.
Fill the main gearcase through the top fill plug until fluid reaches the bottom threads (typically 8 to 12 oz, depending on the model). Fill the front wheel hubs via the grease zerk or specific hub fill plug using the Demand Drive fluid or designated hub grease, ensuring the sprague mechanism is properly lubricated without hydraulic locking the engagement struts.
Top 3 Failure Modes to Avoid Post-Rebuild
- Water Intrusion via Compromised Breather Tubes: The front differential relies on a breather tube routed up into the engine bay or fender well. If this tube is cracked, disconnected, or submerged during deep mud bogging, the resulting vacuum pulls water directly past the output seals. Always upgrade to extended, filtered breather kits post-rebuild.
- Binding on High-Traction Surfaces: The Polaris front sprague is designed to engage only when the rear wheels spin faster than the front wheels. Forcing the vehicle to turn sharply on pavement while in 4WD creates immense binding torque that will snap the sprague struts or strip the ring gear teeth. Educate users on proper 4WD disengagement procedures.
- Ignoring the Partzilla Polaris Schematics for Shim Thickness: Guessing pinion depth shims will ruin a $400 ring and pinion set in under 50 miles. Always measure the factory shim and account for any variations in aftermarket bearing stack heights.
By adhering to strict measurement protocols, utilizing OEM-specified fluids, and respecting the mechanical limits of the Hilliard sprague design, your rebuilt Polaris front differential will deliver reliable, silent operation across the most demanding off-road environments.