When a drivetrain begins to whine, clunk, or leak, amateur mechanics often assume a simple drain-and-fill will solve the problem. However, as any seasoned drivetrain specialist knows, a failing pinion bearing or a compromised axle seal introduces microscopic metallic debris into the gear oil, degrading its shear stability and friction-modifying properties. Performing a thorough differential fluid exchange is not just a standalone maintenance task; it is an absolute prerequisite when executing a differential bearing and seal replacement. In this expert guide, we break down the precise diagnostics, OEM-level torque specifications, and fluid protocols required to rebuild and reseal heavy-duty axle systems like the Ford 8.8 and Dana 44.
The Symbiosis: Why Bearing Replacement Demands a Fluid Exchange
Replacing a pinion seal or carrier bearing without performing a complete differential fluid exchange is a recipe for premature failure. When a needle-roller bearing begins to spall, it sheds high-carbon steel particulates into the hypoid gear oil. If you simply pull the yoke, swap the National 710589 pinion seal, and top off the housing with fresh 75W-140, the residual contaminated fluid trapped in the deepest recesses of the differential case will immediately compromise the new seal lip and accelerate wear on the fresh bearings. A proper teardown allows you to flush the housing with a dedicated solvent, inspect the ring and pinion for spalling, and refill with modern synthetic formulations designed for extreme-pressure (EP) environments.
Diagnosing Bearing and Seal Failures Before the Teardown
Before you order your Timken bearing kits and unbox your seal drivers, you must accurately isolate the source of the drivetrain noise or leak. Misdiagnosing a wheel bearing as a pinion bearing is one of the most common—and expensive—mistakes made in driveway drivetrain repairs. Use a mechanic's stethoscope and a chassis ear to isolate the frequency of the noise under load.
| Component | Failure Symptom | Diagnostic Test |
|---|---|---|
| Pinion Bearing | High-pitch whine on acceleration/deceleration | Check pinion yoke for radial play; inspect seal for gear oil slinging. |
| Carrier Bearing | Low-frequency rumble or clunk on load reversal | Remove cover, check carrier side-to-side play and ring gear runout with a dial indicator. |
| Axle Tube Seal | Gear oil pooling on the inside edge of the brake rotor | Pull axle shaft; inspect seal lip for scoring from worn axle shaft bearings. |
According to the comprehensive Ford 8.8 Axle Guide by The Ranger Station, excessive pinion yoke play is almost always indicative of a crushed pinion sleeve that has lost its rotational preload, rather than just a worn seal. This distinction dictates whether you are doing a simple seal swap or a full pinion bearing reset.
Essential Tooling and OEM Part Cross-References
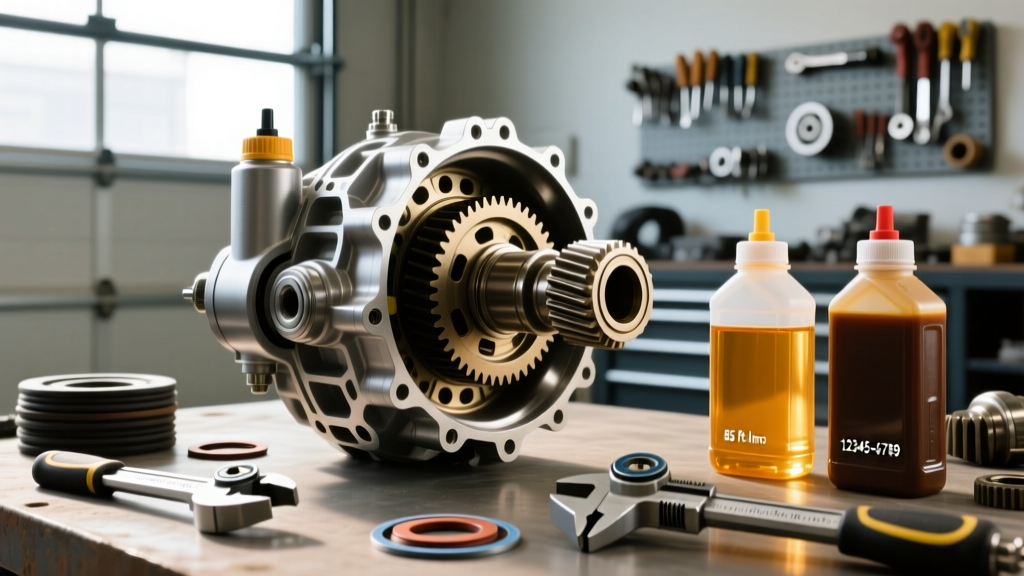
You cannot achieve factory tolerances with standard hand tools. To execute a professional-grade bearing and seal replacement, your toolkit must include an inch-pound torque wrench (crucial for measuring rotational preload), a dial indicator with a magnetic base, a bearing puller set, and a dedicated seal driver kit. For a standard Ford 8.8 or Dana 44 rebuild, we recommend the following OEM and high-quality aftermarket part numbers:
- Pinion Bearing Kit: Timken SET 1021 (Includes inner/outer races and cones)
- Pinion Seal: National 710589 or Motorcraft BRSD-15
- Carrier Bearings: Timken SET 1022 (Matched set for carrier side bearings)
- Crush Sleeve: Mandatory replacement item; never reuse a collapsed crush sleeve.
- Threadlocker: Loctite 243 (Medium strength, oil-tolerant) for ring gear and carrier cap bolts.
Step-by-Step Expert Teardown and Reassembly Best Practices
Pinion Seal Replacement and Preload Reset
If your diagnostic tests reveal that the pinion bearings are in good condition but the seal is leaking, you might be tempted to simply remove the pinion nut, swap the seal, and reuse the crush sleeve. Do not do this. The pinion nut on a solid-spacer or crush-sleeve axle is a torque-to-yield fastener. Once removed, the preload is lost. You must install a new crush sleeve and a new pinion nut.
For the Ford 8.8, the target rotational preload for used bearings is 8-14 inch-pounds, and 16-29 inch-pounds for brand-new Timken bearings. You will need to apply upwards of 200 to 250 ft-lbs of torque to the pinion nut to begin crushing the sleeve. Use your inch-pound torque wrench to measure the drag every half-turn. Overtightening by even a fraction of a turn will over-preload the bearings, causing them to overheat and fail within 500 miles. If you overtighten, you must throw away the crush sleeve and start over.
Carrier Bearing and Seal Reseating
When replacing the carrier bearings and axle tube seals, cleanliness is paramount. Pack the new Timken carrier bearings with high-temp wheel bearing grease before installation to prevent dry-start scoring. When reinstalling the carrier bearing caps, torque them to 70-85 ft-lbs (always verify your specific axle's service manual). Crucially, you must check the ring gear backlash using a dial indicator. Acceptable backlash for most hypoid gearsets is between 0.006 and 0.010 inches. If the backlash is out of spec after installing new carrier bearings, you must adjust the carrier shims or threaded adjusters accordingly.
The Mandatory Differential Fluid Exchange Protocol
With the bearings seated, the seals driven flush, and the cover resealed with a high-quality RTV silicone (like Permatex Ultra Black), it is time for the differential fluid exchange. This is not merely a top-off; it is a precision fill designed to ensure optimal gear protection and limited-slip differential (LSD) operation.
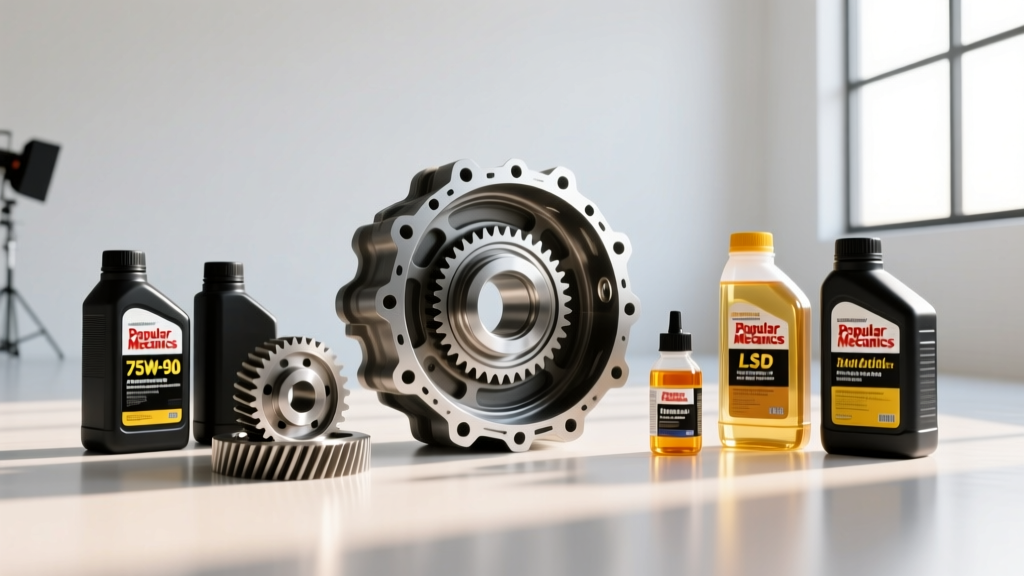
Expert Tip: Never use a generic 80W-90 mineral oil in a modern limited-slip differential. The extreme pressures of hypoid gears require synthetic 75W-90 or 75W-140 fluids with specific sulfur-phosphorus EP additive packages. For severe towing or off-road use, 75W-140 provides a thicker protective film at high operating temperatures. Consult the Red Line Oil Gear Lubricant Guide for specific application matching.
If your axle is equipped with a clutch-type limited-slip differential (such as Ford's Trac-Lok or GM's Eaton Posi), you must add the correct friction modifier. For Ford applications, this means adding exactly 4 ounces of Motorcraft XL-3 (or equivalent) before filling the rest of the housing with your chosen synthetic gear oil. Failing to add the modifier will result in aggressive clutch chatter during low-speed cornering, which can ultimately shatter the carrier pin cross-shaft.
Fill the differential until the fluid level is exactly even with the bottom of the fill hole. For most solid rear axles, this equates to roughly 2.5 to 3.0 quarts. Allow the vehicle to sit for 15 minutes to let trapped air pockets escape, then recheck the level before installing the fill plug. The fill plug should be torqued to 15-30 ft-lbs, depending on the thread pitch and housing material.
2026 Cost Breakdown: DIY vs. Professional Drivetrain Shops
Understanding the financial landscape of differential bearing and seal replacement helps you make an informed decision on whether to tackle the job yourself or hand it to a specialist. As of 2026, drivetrain shop labor rates have climbed significantly, averaging between $150 and $225 per hour in major metropolitan areas.
- DIY Cost (Parts & Fluid): $180 - $320. This includes a Timken bearing/seal kit ($60-$90), a high-quality synthetic 75W-140 fluid ($45-$70), RTV, Loctite, and friction modifier.
- Professional Shop Cost (Pinion Seal & Bearing Reset): $650 - $950. This accounts for 3-4 hours of skilled labor, shop supplies, and OEM-grade parts.
- Professional Shop Cost (Full Carrier & Pinion Rebuild): $1,200 - $1,800. This involves pulling the entire third member or carrier assembly, pressing bearings, setting backlash, and performing a complete differential fluid exchange.
For those with the mechanical aptitude, the inch-pound torque wrench, and the patience to measure preload iteratively, the DIY route offers massive savings. However, if you lack the specialized bearing pullers or dial indicators, paying a certified drivetrain specialist ensures the job is done to factory tolerances. Always reference the Yukon Gear & Axle Tech Guides for model-specific torque charts and shim calculation formulas before turning your first wrench. By combining meticulous bearing installation with a high-quality differential fluid exchange, you guarantee your axle system will deliver quiet, reliable performance for the next 150,000 miles.