The Visual Diagnostic: Decoding Differential Fluid Color
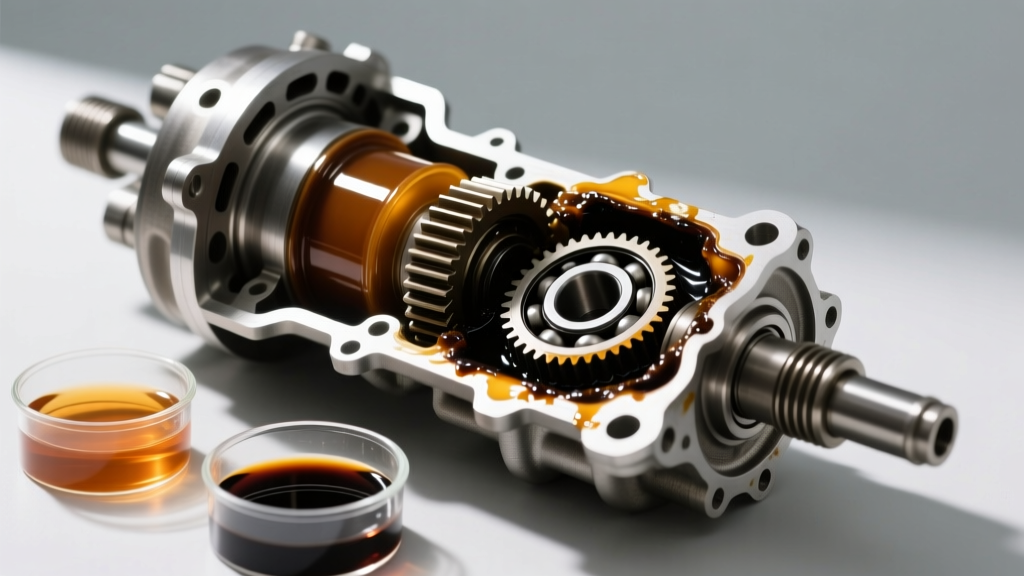
While engine oil changes are etched into every driver's maintenance schedule, differential fluid is frequently ignored until a catastrophic failure occurs. The gear oil inside your front and rear axles operates under extreme pressure, lubricating the hypoid ring and pinion gears, bearings, and limited-slip clutches. Because differentials lack the active filtration systems found in engines or automatic transmissions (like the 6L80 or ZF 8HP), the fluid itself acts as the primary diagnostic indicator of internal axle health.
Reading your differential fluid color and condition is the first step in a proactive preventive maintenance routine. However, accurately assessing the fluid requires dropping the differential cover—a process that inherently demands a thorough understanding of surface preparation and the correct application of a high-quality differential cover sealant to prevent future contamination.
Fluid Color and Condition Matrix
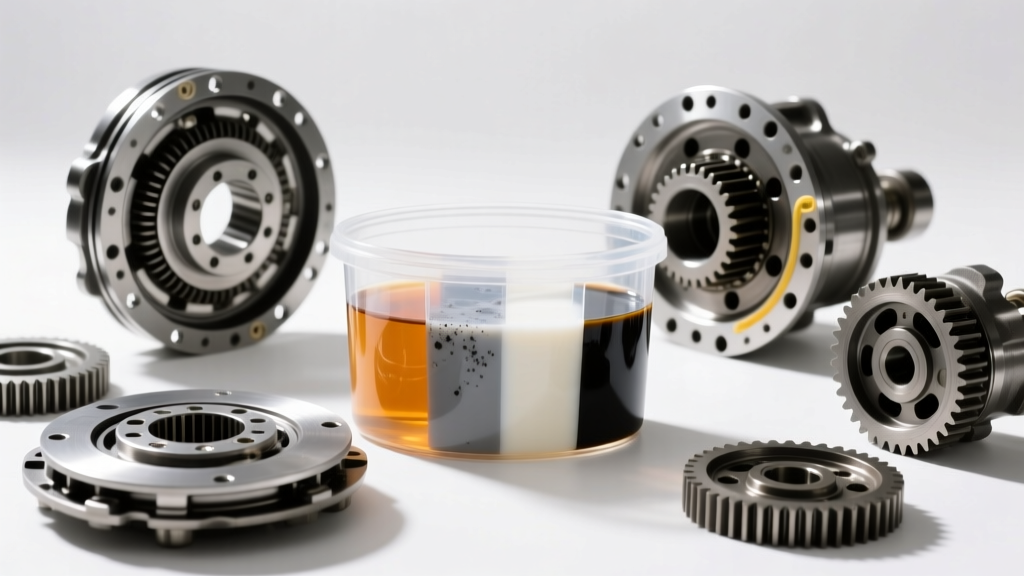
Before unbolting the cover, drain a small sample into a clear glass or white paper cup. Evaluate the fluid against the following diagnostic matrix to determine the internal state of your axle assembly.
| Fluid Color | Consistency & Smell | Root Cause & Diagnosis | Required Action |
|---|---|---|---|
| Clear / Light Amber | Smooth, slight sulfur odor | New or healthy synthetic 75W-90 / 75W-140 GL-5 gear oil. | No action required. Re-check at next interval. |
| Dark Brown / Opaque | Thick, strong burnt smell | Normal thermal breakdown and oxidation over 50k+ miles. EP additives are depleted. | Perform full drain, clean magnets, and refill. |
| Jet Black | Gritty, acrid burn odor | Severe overheating, heavy clutch pack wear (if LSD), or neglected service. | Immediate service. Inspect carrier and pinion bearings for play. |
| Milky / Chocolate | Emulsified, frothy | Water intrusion. Often caused by a failed axle breather or degraded differential cover sealant. | Immediate flush. Locate leak path and reseal cover. |
| Amber with 'Glitter' | Reflective under light | Normal break-in wear or standard operational shedding from ring/pinion gears. | Clean internal magnet. Safe to refill. |
| Amber with Chunks | Visible metal shards | Catastrophic bearing cage failure, chipped gear teeth, or spider gear disintegration. | Do not drive. Complete differential teardown and rebuild required. |
The Milky Fluid Mystery: Sealant Failure and Water Intrusion
One of the most alarming sights for a drivetrain technician is fluid that resembles chocolate milk. This emulsification occurs when water mixes with the sulfur-phosphorus extreme pressure (EP) additives in GL-5 gear oil. Water destroys the fluid's film strength, leading to rapid scoring of the hypoid gear faces and premature bearing spalling.
While a submerged axle or a clogged differential breather tube are common culprits, a failing differential cover sealant is a frequent, overlooked cause of moisture ingress. When an axle cools down after heavy use, it creates a vacuum inside the housing. If the differential cover sealant has degraded, cracked, or was improperly applied during the last service, this vacuum will actively suck in ambient humidity, rainwater, or road-splash directly past the cover mating surface.
Expert Insight: If your fluid is milky but the axle hasn't been submerged, inspect the differential cover perimeter for weeping. A compromised differential cover sealant will often show a crusty, white or yellow residue on the outside of the housing, indicating that the seal is no longer maintaining a hydrostatic barrier.
Dropping the Cover: Inspection and Magnet Analysis
To properly evaluate the differential fluid color and condition, you must remove the stamped steel or cast aluminum cover. This is also the only way to access and clean the internal rare-earth magnet, which captures ferrous wear metals.
When removing the cover on common axles like the Ford 8.8, GM 8.5/8.6 10-bolt, or Dana 44, use a dedicated gasket scraper or a plastic trim tool to break the seal. Avoid using flathead screwdrivers, as gouging the soft aluminum or steel mating surface will guarantee a future leak, regardless of the differential cover sealant you use upon reassembly.
Once the cover is off, inspect the magnet. A fine, metallic paste (often resembling black grease) is completely normal for a differential with 60,000+ miles. However, if you find wire-like shards or distinct metallic chips, the fluid's dark color is masking a mechanical failure that requires a bearing and gear inspection.
Selecting the Right Differential Cover Sealant
Reusing an old cork or rubber gasket is a rookie mistake that leads to leaks and subsequent fluid contamination. Modern preventive maintenance dictates the use of high-grade Room Temperature Vulcanizing (RTV) silicone as your primary differential cover sealant. Not all RTVs are created equal; standard blue or clear silicones will dissolve when exposed to the harsh chemical makeup of synthetic 75W-90 gear oils.
You must use an oil-resistant, sensor-safe RTV. The industry gold standards include:
- Permatex 'The Right Stuff' (Grey or Black): Part #81182 (Grey) or #22072 (Black). This high-tack formula allows for immediate return-to-service in many applications and resists gear oil blowout. Permatex Technical Data confirms its resistance to petroleum-based lubricants.
- Loctite 598 Black RTV: Excellent for stamped steel covers that experience high vibration and flex, such as those found on heavy-duty Dana 60 or Dana 70 axles.
- Toyota / Honda OEM Bond 1207B or Ultra-Flange: While more expensive, OEM formulations offer superior adhesion to cast aluminum differential housings found in modern SUVs and light trucks.
Surface Preparation: The Key to Sealant Longevity
The most expensive differential cover sealant will fail if the mating surfaces are not perfectly prepped. Follow this exact protocol:
- Mechanical Cleaning: Remove all old RTV and gasket material using a brass-bristle brush or a dedicated aluminum-safe gasket remover tool. Brass is softer than steel and aluminum, preventing gouges.
- Chemical Degreasing: Spray both the axle housing flange and the differential cover with a non-chlorinated brake cleaner. Wipe with a lint-free shop towel.
- The Final Wipe: Dampen a clean towel with isopropyl alcohol and wipe both surfaces one last time. This removes any residual brake cleaner film, ensuring the RTV bonds directly to the bare metal.
Torque Specifications and Reassembly Protocol
Applying the differential cover sealant requires a continuous, unbroken bead (approximately 3mm to 5mm thick) along the inside edge of the bolt holes. Do not encircle the bolt holes, as this can cause the cover to sit unevenly and create a leak path. Allow the RTV to skin over for 10-15 minutes before mating the cover to the housing.
Over-torquing the cover bolts is a primary cause of sealant blowout. The excessive clamping force squeezes the uncured RTV out of the joint, leaving a metal-on-metal gap. Always use a calibrated inch-pound or low-range foot-pound torque wrench.
| Axle Model | Cover Bolt Torque Spec | Fluid Capacity (Approx.) | Recommended Fluid Spec |
|---|---|---|---|
| Ford 8.8 (Super 8.8) | 28 - 38 lb-ft | 2.5 - 3.0 Quarts | 75W-140 Synthetic GL-5 |
| GM 8.5 / 8.6 (10-Bolt) | 22 - 27 lb-ft | 2.0 - 2.5 Quarts | 75W-90 Synthetic GL-5 |
| Dana 44 (JK/JL Wrangler) | 30 - 40 lb-ft | 2.0 - 2.5 Quarts | 75W-85 / 75W-90 GL-5 |
| Chrysler 8.25 (C213R) | 30 - 35 lb-ft | 2.2 Quarts | 75W-90 Synthetic GL-5 |
| Dana 60 (Heavy Duty) | 35 - 45 lb-ft | 3.5 - 4.0 Quarts | 75W-140 Synthetic GL-5 |
Note: Always consult your specific vehicle's factory service manual, as torque specs can vary slightly by model year and fastener grade. For more on API gear oil classifications, refer to the API Lubricants Standards.
Refilling and Limited-Slip Additives
Once the differential cover sealant has fully cured (typically 24 hours for maximum chemical resistance, though 'The Right Stuff' allows for immediate filling), refill the axle through the fill plug until the fluid reaches the bottom of the fill hole threads.
If your vehicle is equipped with a clutch-type Limited Slip Differential (LSD), such as the Ford Traction-Lok or Auburn Gear cone-style units, you must add the manufacturer-specified friction modifier (usually 4 oz per axle) before topping off with the base gear oil. Failure to do so will result in severe chatter during low-speed turns, which will quickly degrade the fresh fluid's condition and destroy the clutch packs.
By combining rigorous fluid color diagnostics with meticulous differential cover sealant application, you ensure the drivetrain remains sealed, lubricated, and ready to handle the extreme torque loads of modern towing and off-road use.