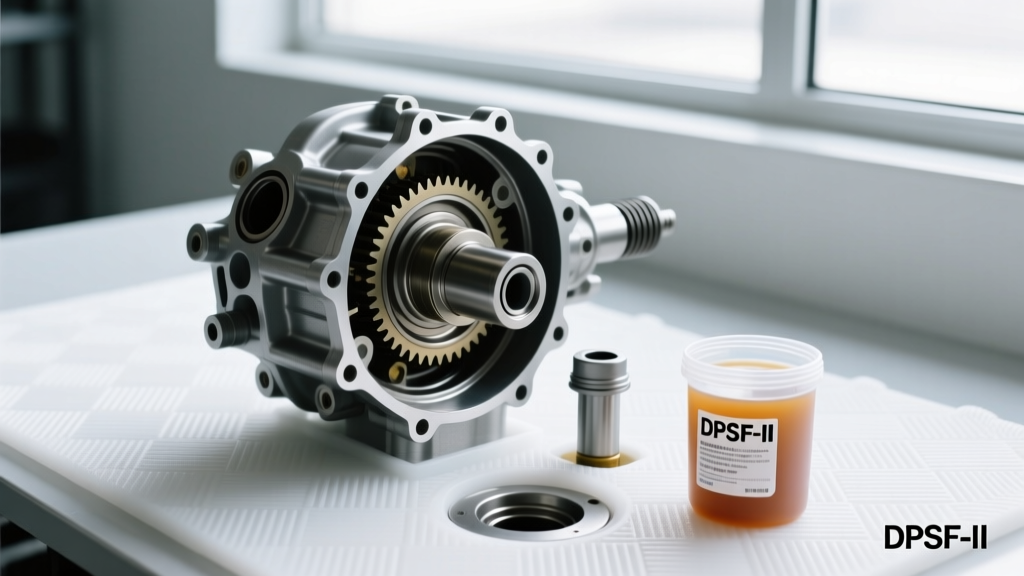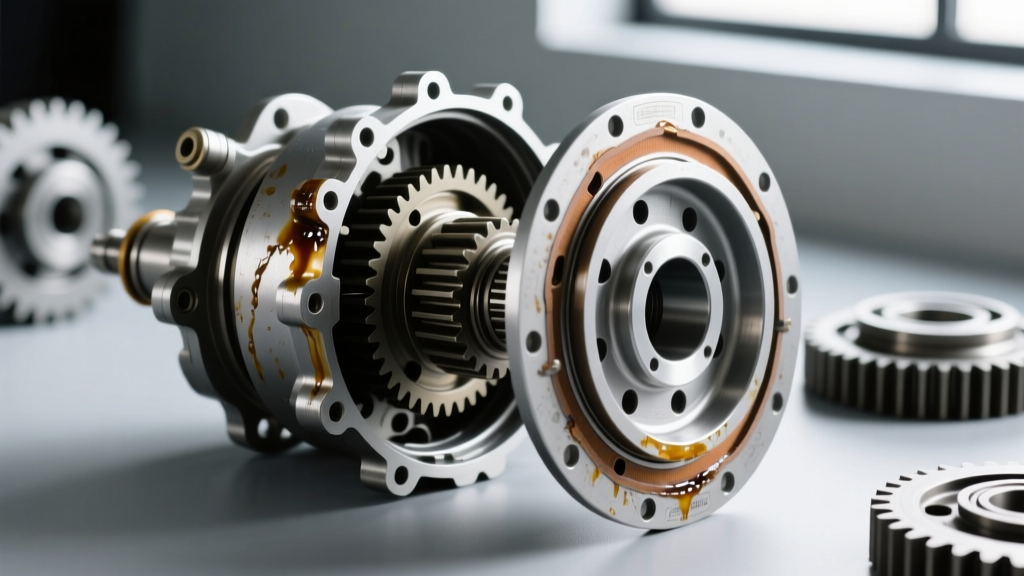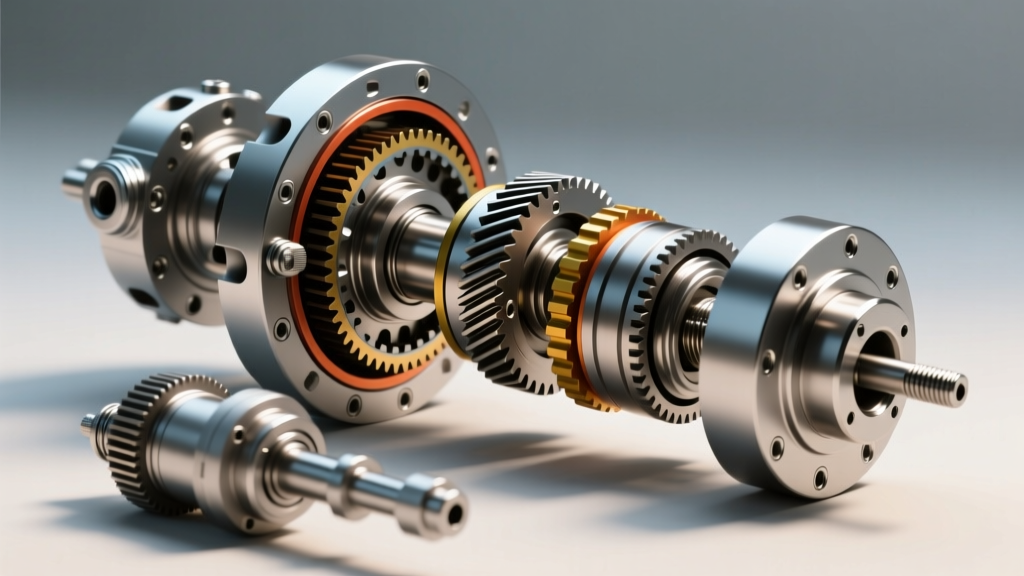
Upgrading the drivetrain of a 2018-2026 Jeep Wrangler JL Rubicon to accommodate heavier, larger-diameter tires requires more than just a suspension lift. When moving from factory 33-inch mud-terrains to aggressive 37x12.50R17 or 40-inch setups, the factory differential gear ratio becomes a severe performance bottleneck. Furthermore, performing a ring and pinion swap on the JL's rear axle requires a deep understanding of its electronic locking mechanism. In this model-specific repair guide, we dissect the Dana 44 M220 rear axle, answer the fundamental question of how the electronic locker operates, and provide a master-class blueprint for swapping gear ratios while preserving locker functionality and optimizing highway performance.
How Does a Locking Rear Differential Work? The Eaton ELocker Mechanism
To successfully rebuild or upgrade the JL Rubicon's rear axle, a technician must first understand the internal architecture of the locker. Unlike traditional pneumatic air-lockers or cable-actuated systems, the JL Rubicon utilizes an advanced, Eaton-manufactured electromagnetic locking differential. But exactly how does a locking rear differential work in this specific application?
The mechanism relies on an electromagnetic coil mounted directly to the rotating differential case. When the driver engages the rear locker via the dashboard switch, the axle control module sends a 12-volt pulse through a stationary wire harness that interfaces with the rotating case via a magnetic pickup ring (exciter ring). This pulse energizes the electromagnetic coil, generating a powerful magnetic field.
Expert Insight: The magnetic field pulls an internal armature plate against the coil housing. This linear movement actuates a shift fork, which physically slides a hardened steel locking collar across the internal splines of the passenger-side gear. The collar bridges the side gear and the differential case, effectively locking the axle shaft to the case and forcing both wheels to rotate at a 1:1 ratio, regardless of traction loss.
When performing a gear ratio swap, the differential case itself is retained, but the ring gear must be unbolted from it. Technicians must exercise extreme caution when handling the exciter ring and coil wiring; a nicked wire or damaged magnetic pickup will result in a 'Service Axle Locker' dashboard warning and a disabled locking system.
The JL Rubicon Dana 44 M220: Gear Ratio & Performance Matrix
The JL Rubicon is equipped with the Dana 44 M220 rear axle. The 'M220' designation refers to the 220mm ring gear diameter, a significant strength upgrade over the older JK generation's 216mm Dana 44. The factory ZF 8HP75 (850RE) 8-speed transmission is highly sensitive to effective final drive ratios. When you increase tire diameter without changing the differential gear ratio, you drastically reduce the mechanical leverage at the wheel hub, forcing the ZF transmission to constantly hunt for lower gears, generating excessive heat and destroying fuel economy.
Below is the performance matrix for a JL Rubicon equipped with the factory 4.10 gear set versus upgraded Yukon Gear 4.88 and 5.13 ratios, paired with 37-inch tires.
| Tire Size | Diff Ratio | Effective Final Drive | RPM @ 70 MPH | Highway Performance & ZF 850RE Behavior |
|---|---|---|---|---|
| 33" (Factory) | 4.10 | 4.10 | ~2,150 | Optimal. Transmission stays in 8th gear on flat grades. |
| 37" | 4.10 | 3.65 | ~1,900 | Poor. Excessive downshifting, high EGTs, sluggish off-road crawl. |
| 37" | 4.88 | 4.35 | ~2,250 | Ideal. Restores factory-like leverage, keeps ZF in optimal torque band. |
| 37" | 5.13 | 4.57 | ~2,380 | Aggressive. Best for heavy armor, towing, and 4.0L crawl ratio crawling. |
| 40" | 5.13 | 4.21 | ~2,200 | Required for 40s to maintain highway drivability and prevent trans slip. |
For the vast majority of 2026 JL Rubicon builds running 37-inch tires, the 4.88 ratio is the golden standard. It perfectly compensates for the rotational mass increase while keeping the engine in the sweet spot of its torque curve.
Precision Setup: M220 Threaded Adjusters & Backlash
The most critical divergence between the older Dana 44 axles and the JL's M220 is the method of setting backlash and carrier bearing preload. Older designs relied on shimming behind the carrier bearings—a tedious process requiring a bearing puller and press for every micro-adjustment. The M220 utilizes threaded carrier bearing adjusters housed within the axle tubes.
Step-by-Step Backlash Adjustment
- Install the Carrier: Seat the new or reused electronic locker assembly (with the new ring gear bolted on) into the axle housing with the bearings installed.
- Thread the Adjusters: Use a dedicated M220 spanner wrench to thread the adjuster rings inward. This moves the carrier laterally and applies preload to the tapered roller bearings.
- Measure Backlash: Mount a magnetic dial indicator on the axle housing. Position the probe perpendicular to the face of a ring gear tooth. Rotate the gear back and forth while holding the pinion yoke stationary. The target backlash for a new Spicer or Yukon gear set is between 0.006" and 0.010".
- Adjusting the Mesh: To increase backlash (move the ring gear away from the pinion), loosen the passenger-side adjuster by one notch and tighten the driver-side adjuster by one notch. To decrease backlash, reverse the process. Always ensure you maintain carrier bearing preload; if you loosen one side, you must tighten the other by the exact same amount.
- Check the Pattern: Apply yellow gear marking compound to the ring gear. Rotate the pinion through the mesh under slight braking pressure. The drive side pattern should be centered on the tooth face, slightly biased toward the heel under load.
Critical Torque Specifications & Assembly
Failure to adhere to precise torque specifications will result in catastrophic ring gear separation or pinion bearing failure, especially under the high-torque loads generated by the Rubicon's 4:1 Rock-Trac transfer case. Below are the mandatory torque specs for the Dana 44 M220 rear axle rebuild.
- Ring Gear to Case Bolts (3/8"-24 UNF): 75 lb-ft. Crucial: Must use Red Loctite 272 (high-strength, high-temperature) on the threads. Allow 24 hours to cure before loading the axle.
- Pinion Nut (Crush Sleeve Eliminator / Solid Spacer): 200 - 250 lb-ft. When using a solid pinion spacer kit (highly recommended over factory crush sleeves for off-road use), torque the nut while measuring rotating torque with an inch-pound dial torque wrench. Target 15-20 in-lb of rotating drag on new bearings.
- Crosspin / Spider Gear Retaining Bolt: 15 lb-ft with Blue Loctite 242. (Note: The locking collar mechanism limits spider gear movement, but retaining bolt integrity is vital).
- Carrier Bearing Cap Bolts: 60 lb-ft. Always mark the caps and housing with a punch before teardown; caps are line-bored from the factory and are not interchangeable.
- Differential Cover Bolts (M8): 25 lb-ft. Use a criss-cross pattern to ensure the RTV silicone or gasket seals evenly.
Differential Fluid Selection for Electronic Lockers
The type of gear oil used in the M220 is directly tied to the longevity of both the ring and pinion and the electronic locker mechanism. Because the JL Rubicon utilizes a true locking differential and not a clutch-based limited-slip differential (LSD), you must NOT use gear oils containing friction modifiers. Friction modifiers are designed to allow clutch packs to slip smoothly; in an ELocker, these additives can coat the electromagnetic coil and the shift fork collar, leading to sluggish engagement or complete locker failure.
For 2026 JL Rubicons running 37-inch tires and heavy off-road loads, the factory 75W-85 is insufficient. We recommend stepping up to a dedicated 75W-140 Full Synthetic API GL-5 gear oil, such as AMSOIL Severe Gear or Royal Purple Max Gear. The 75W-140 viscosity maintains its protective hydrodynamic film across the hypoid gear faces even when axle housing temperatures exceed 220°F during low-speed, high-torque rock crawling.
Fluid Capacity and Fill Procedure
The Dana 44 M220 rear differential holds approximately 2.0 quarts (1.9 liters) of fluid. When filling, ensure the vehicle is on a level surface. The correct fluid level is achieved when the oil reaches the bottom edge of the fill hole on the differential cover. If your JL is equipped with an aftermarket heavy-duty diff cover featuring a higher fill plug, always fill to the level of the factory OEM fill plug height to prevent overfilling, which can cause fluid aeration and seal blowout at the axle shafts.
The 500-Mile Break-In Protocol
New hypoid gear sets require a meticulous break-in procedure to work-harden the metal surfaces and prevent thermal runaway. For the first 500 miles, limit highway speeds to 60 MPH. Drive for 15-20 miles, then stop and allow the axle housing to cool completely to ambient temperature. Repeat this heat-cycle process at least three times. Only after the initial 500 miles should the differential be subjected to sustained highway speeds or heavy towing loads. Neglecting this break-in procedure is the number one cause of premature gear whine and pinion bearing failure in regear jobs.