The Financial Reality: Front and Rear Differential Fluid Change Cost vs. Rebuild
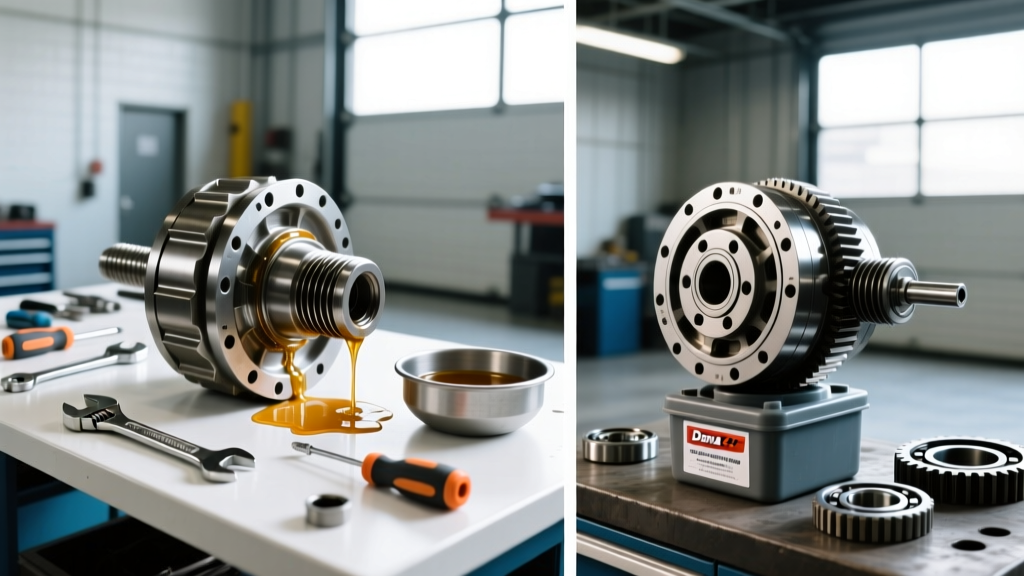
In the 2026 automotive repair landscape, drivetrain maintenance is often deferred until catastrophic failure occurs. Many fleet managers and DIY enthusiasts weigh the upfront front and rear differential fluid change cost against the perceived hassle of the service. However, ignoring this $150 to $350 routine maintenance inevitably leads to a complete differential rebuild—a procedure that demands precision, specialized tooling, and a significantly higher investment.
This step-by-step guide details the exact rebuild procedures for a standard solid rear axle (such as the Dana 44 or GM 8.6-inch) and highlights the unique nuances of Independent Front Suspension (IFS) front differentials. We will cover teardown, pinion depth setup, backlash adjustment, and the critical break-in fluid protocol.
Cost Analysis: Preventative Maintenance vs. Catastrophic Rebuild
Before unbolting the differential cover, it is crucial to understand the financial stakes. The table below contrasts standard fluid service pricing against a full gear and bearing overhaul.
| Service Type | Parts Cost (2026 Est.) | Labor Hours | Total Estimated Cost |
|---|---|---|---|
| Front & Rear Fluid Change (Standard) | $60 - $120 (Synthetic 75W-90) | 1.0 - 1.5 | $150 - $350 |
| Rear Differential Rebuild (Ring, Pinion, Bearings, Seals) | $350 - $650 (Master Kit) | 6.0 - 9.0 | $1,200 - $2,400 |
| Front IFS Differential Rebuild | $400 - $750 (Includes Disconnects) | 8.0 - 12.0 | $1,600 - $3,200 |
| Complete Crate Axle Replacement | $2,500 - $4,500 | 3.0 - 5.0 | $3,000 - $5,500+ |
Expert Insight: The front and rear differential fluid change cost is roughly 10% of a standard rebuild. If your drained fluid resembles glitter paint, you have crossed the threshold from maintenance into the rebuild territory outlined below.
Phase 1: Teardown and Case Inspection
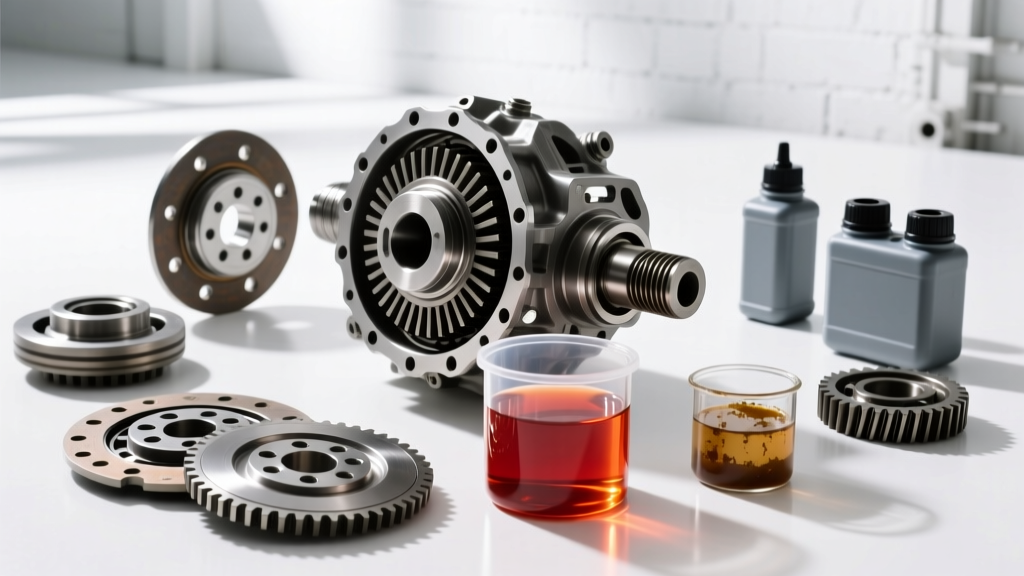
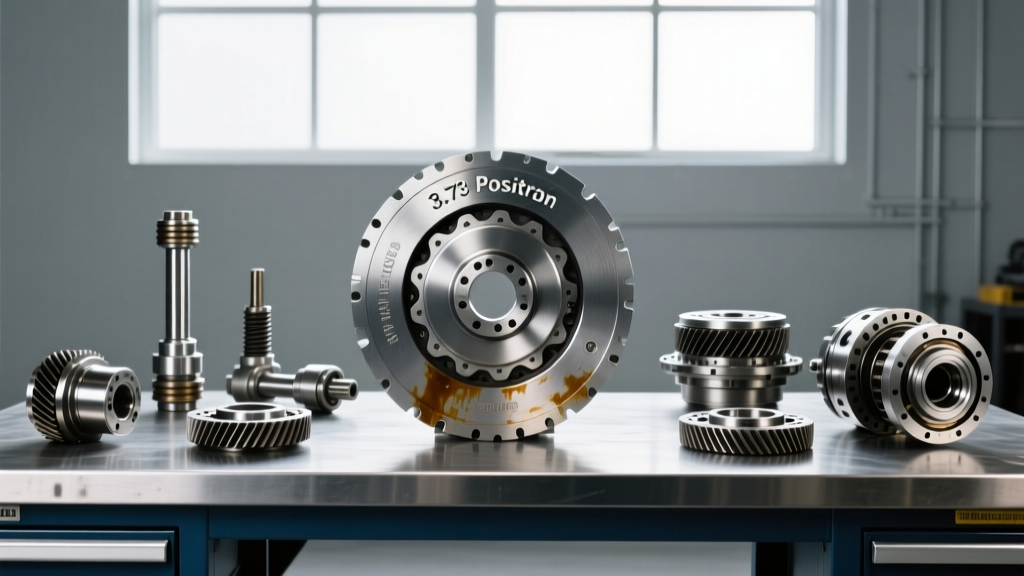
A proper rebuild begins with forensic analysis of the failure. Drain the gear oil and inspect the magnetic drain plug. Fine metallic paste is normal; chunky shavings or shattered roller bearings indicate race spalling.
- Remove the Carrier Assembly: Unbolt the bearing caps. Crucial: Mark the caps and their respective sides (e.g., 'L' and 'R' with a stamping die). Bearing caps are line-bored with the housing and are not interchangeable.
- Extract the Pinion: Remove the driveshaft yoke and the pinion nut. Note that the pinion nut on most solid axles is a prevailing-torque, one-time-use crush nut.
- Clean and Inspect: Hot-tank or solvent-wash the bare housing. Inspect the bearing bores for galling. If the housing is out-of-round by more than 0.002 inches, it must be line-bored or replaced.
Phase 2: Pinion Depth and Bearing Setup
The pinion gear must be set at an exact depth relative to the ring gear centerline. This is dictated by a number stamped on the face of the pinion head (e.g., '+2' or '-1'), representing thousandths of an inch deviation from nominal.
Utilizing Setup Bearings
Never use brand-new, tight bearings to check your gear pattern. Honed-out 'setup bearings' allow you to slide the pinion in and out of the housing by hand to swap shims rapidly.
- Shim Calculation: Measure the distance from the pinion bearing seat to the housing centerline. Add the pinion head variance to determine the exact shim pack thickness required behind the inner pinion bearing cup.
- Rotating Torque Check: Install a new crush sleeve and pinion nut. Torque the nut incrementally (up to 250 lb-ft) while checking rotating torque with an inch-pound beam torque wrench. Target 15-25 in-lb for used bearings, or 25-35 in-lb for new bearings.
Phase 3: Ring Gear Mounting and Backlash
With the pinion depth established, mount the ring gear to the differential carrier. According to Spicer Parts Technical Documentation, ring gear bolts must be secured with a high-strength threadlocker like Red Loctite 272.
Dial Indicator Setup
Backlash is the rotational play between the ring and pinion gear teeth. Mount a magnetic dial indicator to the housing, resting the plunger perpendicular to the face of a ring gear tooth.
| Measurement Parameter | Target Specification (Dana 44 / GM 8.6) | Acceptable Tolerance |
|---|---|---|
| Ring Gear Backlash | 0.008 inches | 0.006' - 0.010' |
| Ring Gear Runout | 0.003 inches | Max 0.005' |
| Ring Gear Bolt Torque | 75 lb-ft | 70 - 85 lb-ft (Star Pattern) |
Adjust the carrier side shims (or threaded adjusters on Ford 8.8 axles) to achieve the target 0.008-inch backlash. Once set, apply yellow gear marking compound to three teeth on the drive and coast sides. Rotate the gear to read the pattern. A perfect pattern sits centered on the face, slightly biased toward the heel under load. For deeper pattern reading techniques, consult the Ring & Pinion Tech Support Library.
Phase 4: Front Differential IFS Rebuild Nuances
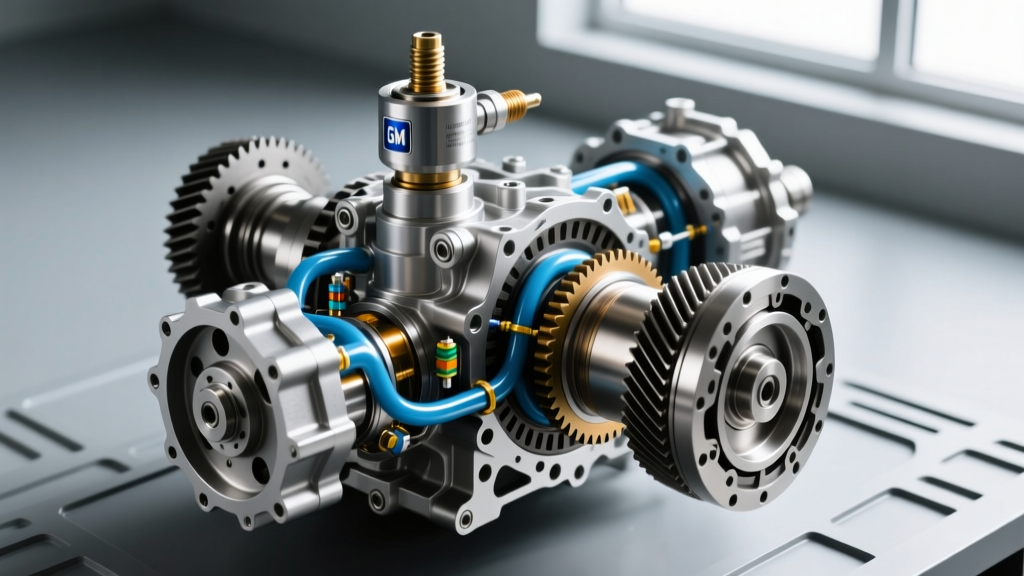
Rebuilding a front Independent Front Suspension (IFS) differential—such as those found in modern 4x4 trucks (e.g., GM Autotrac or ZF-based systems)—introduces complexities not found in solid axles.
- Clamshell Housings: Many IFS front diffs use a two-piece clamshell design sealed with RTV silicone or a proprietary paper gasket. Sealant bead width must be exactly 3mm to 5mm; excess RTV can break off internally and clog the fluid pickup or oil galleries.
- Disconnect Mechanisms: If the axle features a vacuum or electronic disconnect (like the Dana 30 IFS or GM G80 variants), the shift fork and collar must be inspected for wear. A worn collar will result in 4WD engagement failure, even if the ring and pinion are perfectly set.
- CV Axle Seals: Always replace the inner axle tube seals during a front rebuild. Driving out the old seal requires a specialized slide-hammer seal puller to avoid scoring the aluminum housing bore.
Post-Rebuild Fluid Fill and Break-In Protocol
The final step validates why the initial front and rear differential fluid change cost is such a vital metric for long-term ownership. A fresh rebuild requires strict adherence to fluid specifications and break-in procedures to ensure gear longevity.
- Fluid Selection: Fill the housing to the bottom of the fill hole with a high-quality synthetic 75W-90 or 75W-140 GL-5 gear oil (e.g., AMSOIL Severe Gear or Mobil 1 Synthetic). Note: If your rebuild included a clutch-type Limited Slip Differential (LSD), you must add 4 oz of a dedicated friction modifier (like GM EOS or Ford XL-3) to prevent chatter.
- The 500-Mile Rule: New ring and pinion gears generate immense friction and heat as the microscopic machining marks wear into each other. Drive the vehicle normally for the first 15-20 miles, then allow the axle to cool completely. Avoid highway speeds over 55 mph and heavy towing for the first 500 miles.
- The First Drain: At 500 miles, drain the break-in fluid. You will notice a heavy concentration of fine metallic paste on the drain plug—this is the normal lapping compound wearing off the gears. Refill with fresh synthetic fluid, and your differential is set for another 100,000+ miles of service.
By understanding the intricate mechanical procedures and the stark financial contrast between maintenance and repair, you can make informed decisions regarding your vehicle's drivetrain. Never let the relatively low front and rear differential fluid change cost deter you from scheduled service; the alternative is a bench full of shattered gears and a four-figure repair bill.