The Hidden Link Between Differential Breathers and Fluid Life
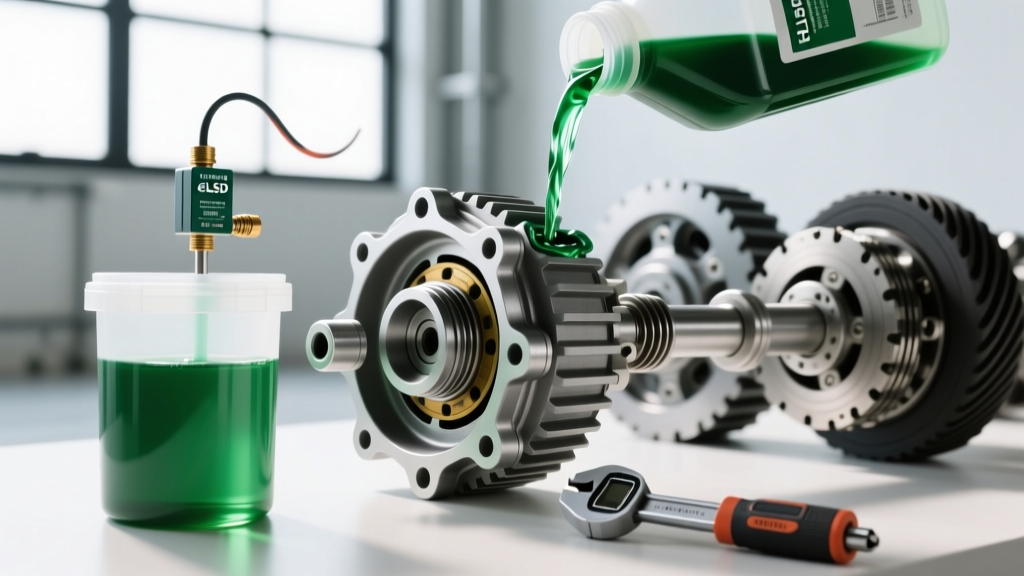
When enthusiasts and fleet managers think of a differential fluid change, the focus is almost entirely on draining old gear oil and pumping in fresh synthetic lubricant. However, as of 2026, drivetrain engineers and heavy-duty off-road specialists emphasize a critical, often-overlooked component that dictates the lifespan of your fresh fluid: the differential breathers.
Axle housings are not perfectly sealed environments; they are dynamic pressure vessels. As the differential operates under load, gear friction and ambient heat cause the internal air and fluid to expand. If the differential breathers are clogged with mud, ice, or factory defect, this thermal expansion creates immense internal pressure. The path of least resistance? Your inner pinion seals and axle shaft seals. Conversely, when a hot axle is suddenly submerged in cold water (a common scenario in off-roading or deep puddle driving), the rapid cooling creates a severe vacuum. If the breather is blocked, the differential will literally suck water past the lip seals, contaminating your brand-new gear oil and emulsifying it into a destructive, milky sludge.
This step-by-step guide covers the complete differential fluid change procedure, real-world service intervals, and the mandatory breather verification process required to protect your investment.
Factory Service Intervals vs. Real-World Severe Duty
Owner's manuals from the early 2010s often listed differential fluid as a "lifetime" fill or recommended intervals upwards of 100,000 miles. Modern engineering consensus has completely debunked this. High-torque turbo-diesel engines, heavy towing, and aggressive off-road use degrade the extreme-pressure (EP) additives in GL-5 gear oil long before the base oil breaks down.
| Axle Platform | Fluid Capacity | OEM Spec / Viscosity | Severe Duty Interval | Normal Interval |
|---|---|---|---|---|
| Dana 44 (Jeep/Truck) | 2.0 - 2.2 Quarts | 75W-140 Synthetic GL-5 | 15,000 Miles | 40,000 Miles |
| Ford 9.75 (F-150) | 2.7 - 3.0 Quarts | 75W-140 Synthetic GL-5 | 30,000 Miles | 150,000 Miles* |
| GM 9.5 (14-Bolt Semi) | 2.75 Quarts | 75W-90 Synthetic GL-5 | 25,000 Miles | 50,000 Miles |
| Spicer 60 (HD Diesel) | 3.5 - 4.0 Quarts | 75W-140 Synthetic GL-5 | 15,000 Miles | 50,000 Miles |
*Note: While some OEMs claim 150k miles for normal use, independent tribology labs recommend changing factory-fill gear oil by 50,000 miles to remove initial manufacturing metallic particulates.
Tools, Consumables, and Part Numbers
Executing a professional-grade fluid service requires more than a drain pan and a socket set. Gather the following specific materials before lifting the vehicle:
- Gear Oil: AMSOIL Severe Gear 75W-140 or Mobil 1 Synthetic 75W-140.
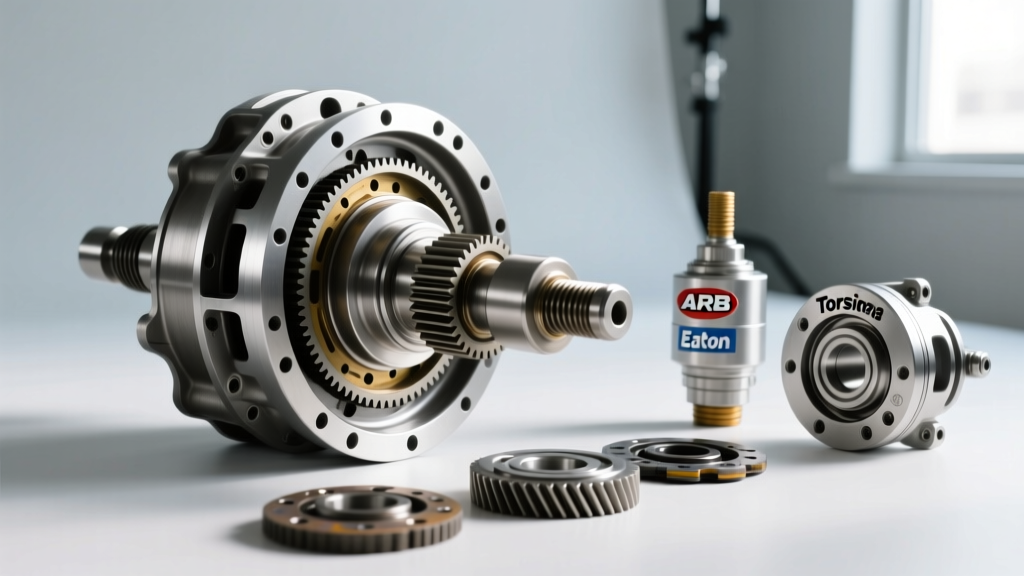
- Friction Modifier: Required ONLY for clutch-type Limited Slip Differentials (LSD). Mopar Part #04318060AD or Ford XL-3.
- Sealant: Permatex Ultra Black Maximum Oil Resistance RTV (Part #85084). Do not use standard silicone; it swells and fails in the presence of EP gear oil additives.
- Breather Upgrade: ARB Extended Differential Breather Kit (Part #1701102) or Rugged Ridge Extended Breather Kit for submerged water crossings.
- Tooling: 3/8-inch drive torque wrench, gasket scraper, brass bristle brush, and a Mityvac vacuum tester.
Step-by-Step Differential Fluid Change Procedure
Phase 1: Draining and Forensic Inspection
- Prep and Vent: Before removing the cover or drain plug, locate the fill plug on the front face of the differential housing and break it loose with a 3/8-inch square drive or appropriate hex socket. Critical: If you cannot remove the fill plug, do not drain the fluid, or you will strand the vehicle.
- Drop the Pan/Cover: Place a catch pan capable of holding at least 4 quarts beneath the axle. Remove the perimeter bolts on the differential cover. Leave the top two bolts finger-tight, use a flathead screwdriver to gently pry the bottom edge, and allow the fluid to drain.
- Forensic Fluid Analysis: Inspect the drained fluid.
- Fine metallic fuzz on the magnetic plug is normal ring-and-pinion wear.
- Chunky metal shards indicate bearing cage or spider gear disintegration.
- Milky, chocolate-milk consistency confirms water intrusion, usually pointing directly to a failed differential breather or compromised axle seal.
- Clean the Housing: Use a brass bristle brush and brake cleaner to scrub the inside of the housing and the magnet. Wipe the mating surfaces with isopropyl alcohol to ensure a perfect seal.
Phase 2: Differential Breather Verification and Service
This is the step most DIYers skip, leading to premature seal failure. The factory differential breather is typically a small plastic or metal cap located on the top of the differential pumpkin or the upper axle tube.
- Locate and Remove: Find the OEM breather cap. Pull it off the barbed fitting. Inspect the internal diaphragm or mesh screen. On many modern trucks, these are one-way valves designed to keep water out, but they easily clog with road grime and axle grease.
- Test the Passage: Attach a Mityvac to the breather hose or fitting. You should be able to pull a slight vacuum and watch it hold or bleed off slowly. If the line is blocked, use compressed air (at low PSI) to blow out the axle tube passage. Warning: Do not use high-pressure air, or you risk blowing out the inner axle seals from the inside.
- Upgrade for Severe Duty: If you tow heavy loads or ford water, replace the factory cap with an extended breather kit. Route the polyurethane hose up into the engine bay or under the bed rail, securing it with zip-ties away from exhaust heat. This ensures that when the axle cools rapidly, it draws in clean, dry air from a high point rather than sucking in mud or water from the axle surface.
Expert Drivetrain Insight: According to Dana Spicer's technical service bulletins, over 40% of premature pinion seal leaks in off-road applications are not caused by seal wear, but by internal pressure buildup from submerged, clogged differential breathers. Upgrading to a remote breather is the cheapest insurance for your axle seals.
Phase 3: Sealing, Torquing, and Refilling
- Apply RTV: If your axle uses RTV instead of a pre-cut gasket, apply a continuous 3mm bead of Permatex Ultra Black to the cover. Circle the inside of every bolt hole to prevent oil from weeping through the threads. Allow the RTV to skin over for 10 minutes before mating the cover to the housing.
- Torque Sequence: Reinstall the cover bolts hand-tight. Using a calibrated torque wrench, tighten the bolts in a crisscross star pattern to ensure even clamping force.
- Dana 44 / 10-Bolt: 30-35 lb-ft.
- Ford 8.8 / 9.75: 28-38 lb-ft.
- GM 14-Bolt: 35-40 lb-ft.
- Cure Time: Wait a minimum of 1 hour before filling with fluid to allow the RTV to set and prevent hydraulic blowout.
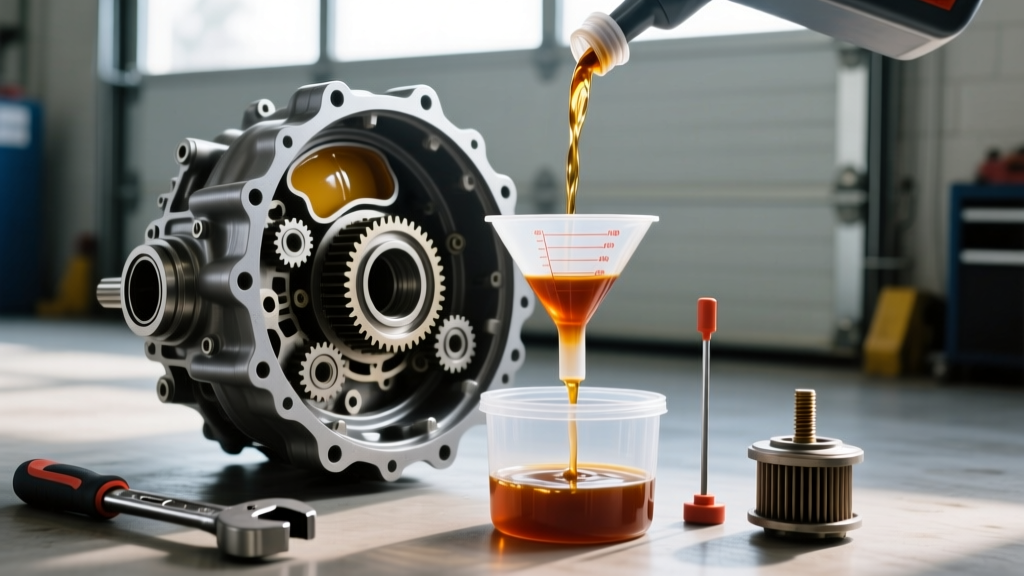
- Fill and Additive: Using a fluid transfer pump, fill the differential with the specified 75W-140 or 75W-90 synthetic gear oil until it reaches the absolute bottom of the fill hole threads. If equipped with a clutch-type LSD, add the exact OEM-specified dose of friction modifier (usually 4 oz) before the final top-off of gear oil.
- Seal the Fill Plug: Wrap the fill plug threads with 2-3 layers of PTFE thread seal tape or apply a dab of thread sealant, then torque to 25-30 lb-ft.
Post-Service Troubleshooting and Break-In
After completing the differential fluid change and breather service, drive the vehicle for 15-20 miles to bring the new gear oil up to operating temperature. This allows the fluid to expand, venting any excess pressure through the newly serviced differential breather.
Diagnosing LSD Chatter
If you experience a binding, chattering sensation during tight, low-speed turns, your limited-slip differential clutches are not engaging smoothly. This indicates either an insufficient amount of friction modifier, or the modifier has not fully circulated. Perform three figure-eight maneuvers in an empty parking lot to force the clutches to slip and absorb the additive with friction modifier. According to AMSOIL's technical lubrication guides, synthetic GL-5 fluids already contain baseline friction modifiers, but OEM clutch packs often require the specific proprietary additive to prevent stick-slip vibration.
Checking for Leaks
Park the vehicle over a clean piece of cardboard overnight. Inspect the differential cover perimeter and the pinion yoke. If you spot weeping at the pinion seal, verify that your extended breather hose is not kinked or pinched under the chassis. A blocked breather will force the expanding hot gear oil past the pinion seal within the first 50 miles of highway driving.
Conclusion
A proper differential fluid change is about more than just swapping out dirty oil; it is a holistic service of the axle's pressure management system. By adhering to severe-duty intervals, utilizing high-quality synthetic GL-5 lubricants, and ensuring your differential breathers are fully functional and routed safely, you effectively eliminate the primary causes of catastrophic axle seal failure and gear wear. Whether you are maintaining a daily-driven half-ton truck or prepping a dedicated rock-crawler, respecting the thermal dynamics of the axle housing is the hallmark of true drivetrain expertise.