The True Cost of Ignoring Axle Bearings and Seals
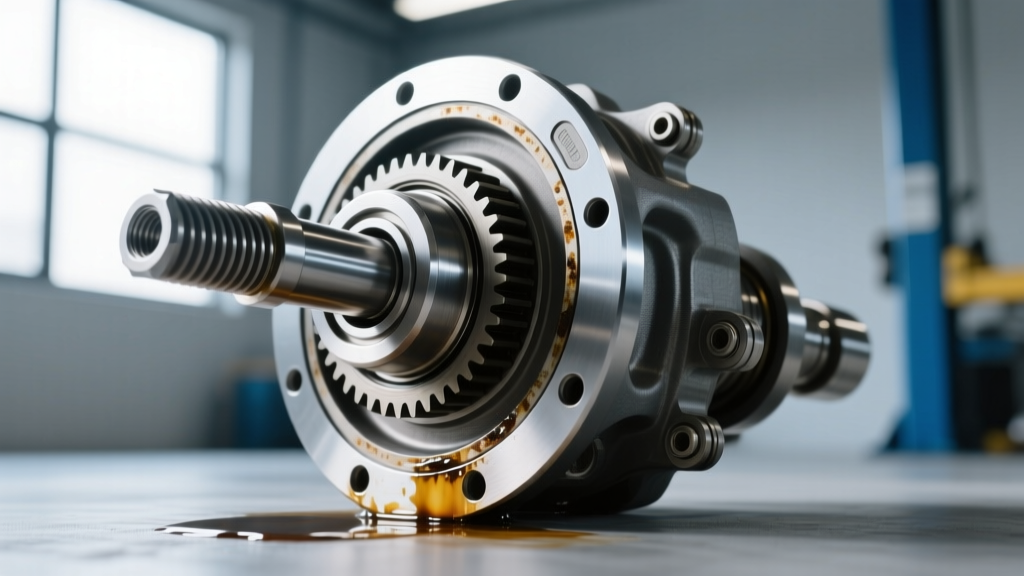
When a rear axle begins to whine, howl, or leak gear oil onto the driveway, the immediate culprit is usually a failing pinion bearing, worn carrier bearings, or degraded axle seals. For professional drivetrain technicians and serious DIYers, a differential bearing and seal replacement is a standard procedure. However, there is a hidden variable that causes an alarming number of premature seal failures post-rebuild: a clogged or inadequate differential breather.
Replacing bearings and seals requires precision. You are dealing with crush sleeves, shims, and exact rotational preloads. According to industry data, up to 30% of 'defective' new axle seals that leak within the first 1,000 miles are actually perfectly good seals that were blown out by internal differential pressure. In this expert guide, we break down the mechanical best practices for differential bearing and seal replacement, while highlighting the critical, often-overlooked role of the differential breather in maintaining seal integrity and fluid retention.
Why the Differential Breather Dictates Seal Longevity
To understand why the differential breather is the linchpin of your seal replacement job, you must understand the thermodynamics of gear oil. Standard 75W-90 or 80W-90 hypoid gear oil expands in volume as it heats up. During heavy towing, off-road crawling, or high-speed highway driving, differential temperatures can easily exceed 220°F (104°C). At these temperatures, the gear oil and the trapped air inside the axle housing expand significantly.
If the factory differential breather—which is often a cheap, $3 plastic labyrinth cap pressed into the top of the axle tube—is clogged with mud, ice, or road grime, the expanding gases have nowhere to escape. Internal housing pressure can quickly spike past 15 PSI. Axle seals, such as the widely used National Oil Seals 710999 or SKF 21175, are designed with a garter spring to keep fluid in; they are not designed to act as blow-off valves. When internal pressure exceeds the seal lip's retention force, the lip inverts, and 75W-90 gear oil is forced out onto your brake rotors and tires.
Expert Insight: Never complete a differential bearing and seal replacement without physically removing, inspecting, and cleaning the differential breather. If your vehicle sees water crossings or heavy dust, upgrading to an extended remote breather kit is mandatory.
Mastering the Rebuild: Bearings, Seals, and Preload
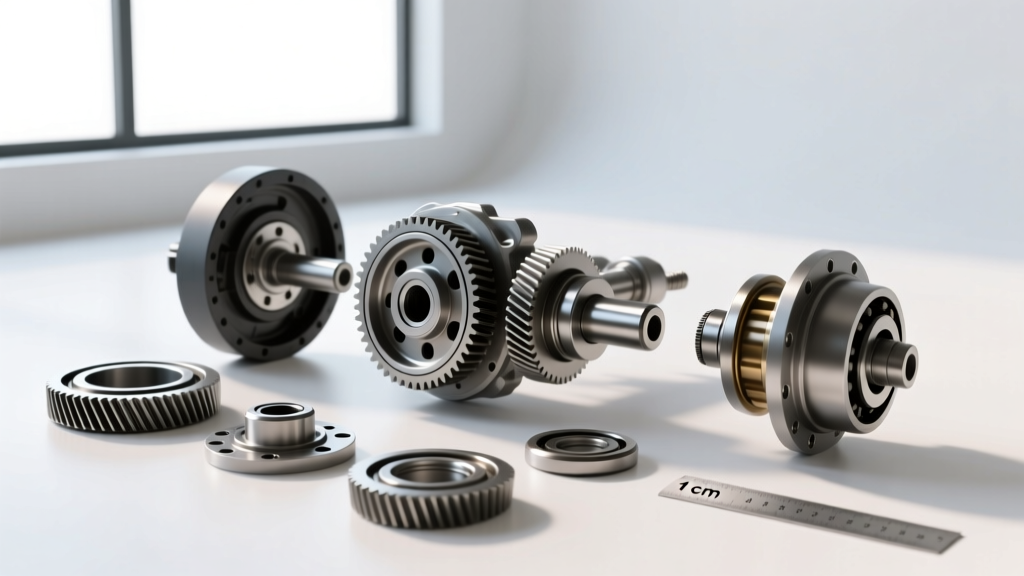
A proper differential rebuild goes far beyond swapping parts. It requires restoring the exact geometric relationship between the ring and pinion gears while ensuring the bearings are preloaded correctly to handle thrust and radial loads. Here is the professional workflow for tackling the bearings and seals.
1. Pinion Bearing Preload vs. Nut Torque
Amateurs use a massive impact wrench to tighten the pinion nut until it 'feels tight.' Professionals use a dial-type inch-pound torque wrench to measure rotational preload. The pinion nut torque (often 150 to 250 ft-lbs) is simply the force required to crush the steel crush sleeve and achieve the target rotational resistance.
- New Bearings: Typically require 16 to 29 in-lbs of rotational preload to account for the tightness of the new bearing races and the crush sleeve.
- Used Bearings: If you are reusing the original pinion bearings (not recommended, but sometimes done in budget seal swaps), the target drops to 8 to 14 in-lbs.
For the inner and outer pinion bearings, Timken remains the gold standard. A Dana 44 inner pinion bearing set (Timken LM501349 cup and LM501314 cone) costs roughly $45 to $65. Always use a hydraulic press and the correct bearing race driver to seat the cups into the housing; hammering them in risks micro-fractures in the raceway.
2. Carrier Bearing and Backlash Adjustment
The carrier bearings (e.g., Timken SET-10 for standard Dana 44 applications) support the differential case and ring gear. Preload here is achieved via threaded adjusters or shims, depending on the axle design. You must achieve zero end-play while maintaining proper gear backlash. Using a magnetic base dial indicator, measure backlash at three points around the ring gear. Most street-driven hypoid setups require a backlash between 0.006 and 0.010 inches. If your backlash varies wildly around the ring gear, the ring gear is not seated flush against the case, or the carrier bearings are not fully seated.
3. Axle Seal Installation Best Practices
When pressing in new axle seals, avoid the temptation to use a hammer and a random socket. An unevenly driven seal will bind on the axle shaft, tearing the inner rubber lip the moment the vehicle is driven. Use a dedicated seal driver set, such as the Lisle 20250 or a specific OEM service tool. Lubricate the outer metal casing of the seal with a thin film of gear oil or RTV to prevent outer-edge weeping, and pack the inner rubber lip with wheel bearing grease to prevent dry-start friction when the axle shaft is inserted.
Axle Specification & Torque Data Table
Reference this table for common light-duty truck and SUV axle specifications. Always verify with your specific factory service manual, as variations exist between model years and specific gear ratios.
| Axle Type | Pinion Preload (New Bearings) | Typical Pinion Nut Torque | Carrier Bearing Preload / Backlash | Common Axle Seal Part # |
|---|---|---|---|---|
| Ford 8.8 (Super 8.8) | 16 - 29 in-lbs | 200 - 250 ft-lbs | Shimmed / 0.008 - 0.012 in. | National 710999 / SKF 21175 |
| GM 10-Bolt (8.5 / 8.6) | 20 - 30 in-lbs | 150 - 220 ft-lbs | Shimmed / 0.006 - 0.010 in. | National 710951 |
| Dana 44 (JK / TJ Rear) | 14 - 19 in-lbs | 180 - 240 ft-lbs | Adjuster Nut / 0.006 - 0.010 in. | National 710928 |
| Toyota 8.0 (Tacoma/4Runner) | 4.3 - 6.1 in-lbs (w/o oil seal) | 80 - 120 ft-lbs (flange nut) | Shimmed / 0.005 - 0.008 in. | Toyota 90311-47013 |
Upgrading the Differential Breather: Expert Best Practices
Given the critical nature of pressure equalization, replacing the factory differential breather should be a standard line item on your rebuild invoice. The factory caps are prone to failure. When the axle cools down after a hot run, it creates a vacuum. If the breather is clogged, this vacuum will literally suck water, mud, and debris past the axle seals and into your fresh 75W-90 gear oil, turning it into a milky, abrasive slurry that will destroy your new Timken bearings in less than 5,000 miles.
The Remote Breather Solution: Brands like ARB, Yukon Gear, and Dodge offer extended breather kits (typically priced between $25 and $45). These kits replace the OEM cap with a brass or steel barbed fitting. You then attach a length of reinforced polyurethane tubing and route it up into the engine bay or onto a high frame rail, terminating in a filtered, one-way check valve. This ensures that the differential can breathe freely regardless of water depth or mud accumulation, entirely eliminating the pressure spikes that blow out new seals.
For deep-dive technical installation procedures and visual guides on axle teardowns, resources like the Ring & Pinion technical library provide excellent OEM-level schematics. Furthermore, consulting Timken's automotive bearing catalogs ensures you are sourcing genuine, high-carbon chromium steel bearings rather than counterfeit, soft-metal imports that spall under heavy loads.
Post-Rebuild Fluid Fill and Break-In Procedures
Once the bearings are preloaded, the seals are driven, and the differential breather is upgraded, the final step is fluid selection. The type of fluid you use directly impacts the operating temperature of the differential, which in turn affects the thermal expansion managed by your breather.
- Standard Open Differentials: A high-quality synthetic 75W-90 GL-5 gear oil (e.g., Amsoil Severe Gear or Red Line 75W-90) offers superior thermal stability compared to conventional 80W-90, keeping operating temps lower and reducing the stress on your breather system.
- Clutch-Type Limited Slip Differentials (LSD): If your rebuild includes a clutch-based LSD (like a Ford Traction-Lok or GM Positraction), you MUST add the manufacturer-specified friction modifier (e.g., Ford XL-3 or GM POSI Additive). Failure to do so will result in severe chatter, rapid clutch wear, and spiked fluid temperatures.
- Gear-Type LSDs (Torsen / Detroit Truetrac): These do NOT require friction modifiers. Standard GL-5 synthetic gear oil is all that is needed.
The Break-In Cycle: After filling the axle to the bottom of the fill plug hole (usually 2.5 to 3.5 quarts depending on the housing), do not immediately take the vehicle on a highway trip. Drive the vehicle for 15 to 20 miles at varying speeds under 45 MPH to allow the new bearings and gears to seat. Let the axle cool completely. Check the fluid level again and top off if necessary. Finally, verify that your new differential breather is clear and that your newly installed axle seals remain bone dry.