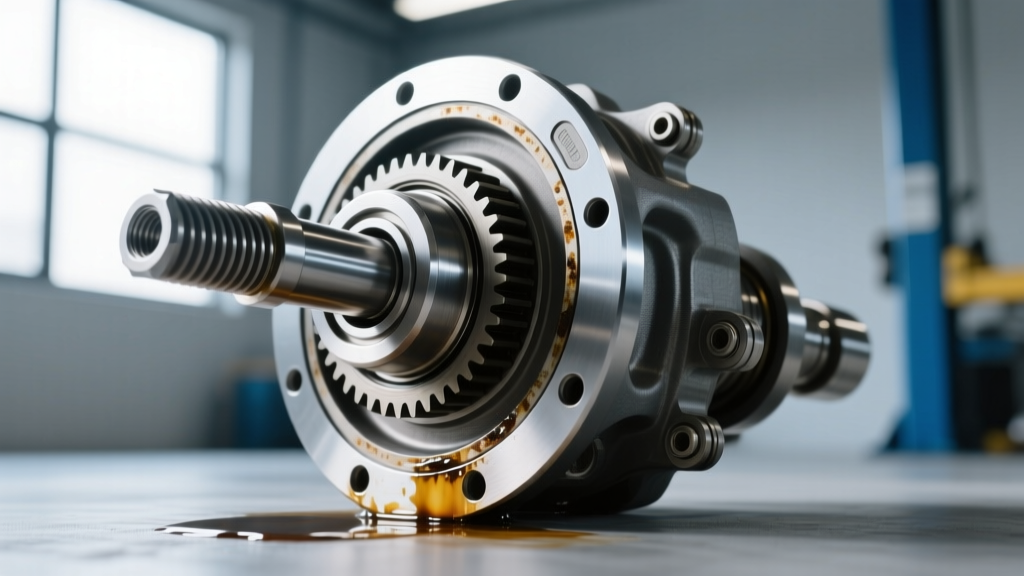
Spotting a puddle of thick, sulfur-smelling fluid in your driveway is a rite of passage for truck, SUV, and classic car owners. If you are dealing with an oil leak from rear differential assemblies, your first instinct might be to simply top off the gear oil and ignore the mess. However, understanding the relationship between that external leak and the internal ring and pinion gear setup is crucial for long-term drivetrain survival.
Many beginners assume a leak is just a worn-out piece of rubber. While that is often true, a recurring oil leak from rear differential pinion seals is frequently the direct result of an improper gear setup. In this beginner-friendly explainer, we will break down why your differential is leaking, how the ring and pinion gear setup affects seal longevity, and the exact torque specs and part numbers you need to fix it right the first time.
The Three Main Culprits of Differential Leaks
Before tearing into your gear setup, you must accurately diagnose where the fluid is escaping. Rear differentials typically leak from three locations:
- The Pinion Seal: Located at the front of the differential where the driveshaft yoke connects. This is the most common source of leaks and the one most heavily influenced by gear setup.
- The Axle Seals: Located at the ends of the axle tubes. These seal the press-fit axle shafts and keep gear oil from leaking onto your brake rotors or drums.
- The Differential Cover: Sealed by an RTV silicone bead or a pre-cut cork/rubber gasket. Overtightening the cover bolts (often 10mm or 1/2-inch) can warp the mounting surface and cause weeping.
How Ring and Pinion Gear Setup Causes Seal Failure
Why would an internal gear setup cause an external oil leak from rear differential seals? The answer lies in pinion bearing preload and harmonic vibration.
The pinion gear is supported by two tapered roller bearings (an inner and an outer). During a ring and pinion gear setup, a crush sleeve or solid spacer is used between these bearings to establish a specific amount of rotational resistance, known as bearing preload. This preload ensures the pinion gear does not wobble under the immense torque transferred from the driveshaft.
If a previous mechanic or DIYer set the preload too loose, the pinion gear will have microscopic lateral play. At highway speeds, this play translates into high-frequency wobble at the pinion yoke. The rubber lip of the pinion seal is designed to ride against a perfectly smooth, spinning surface. When the yoke wobbles, it acts like a file, chewing up the seal lip and scoring the sealing surface. Within a few hundred miles, you will notice gear oil slung all over the underside of your vehicle.
Conversely, if the preload is too tight, the bearings will overheat, expand, and push outward against the seal housing, potentially warping the seal retainer or burning the rubber lip due to excessive friction.
Critical Setup Measurements Every Beginner Must Know
Whether you are simply replacing a pinion seal or doing a full gear swap, you must verify the setup. According to the Ring and Pinion Technical Setup Guide, a proper setup relies on three measurements:
1. Pinion Bearing Preload
Measured in inch-pounds (not foot-pounds!), this is the amount of force required to rotate the pinion gear without the carrier installed. You must use a dedicated inch-pound torque wrench (such as the CDI 1002MFRMH) to measure this. Guessing this measurement by hand is the number one cause of premature seal failure.
2. Backlash
Backlash is the amount of rotational play between the ring gear and the pinion gear teeth. It is measured using a magnetic base dial indicator (like a Mitutoyo 2046S) mounted to the differential housing. Proper backlash ensures the gears do not bind when they heat up and expand, while remaining tight enough to prevent clunking.
3. Gear Contact Pattern
Using yellow gear marking compound, you check where the pinion gear teeth contact the ring gear. The pattern dictates the pinion depth (how far the pinion sits into the ring gear), which is adjusted via shims behind the inner pinion bearing.
Reference Table: Common Differential Setup Specs
Always consult your specific factory service manual, but here are the baseline setup targets for the most popular light-truck and SUV differentials:
| Differential Model | Pinion Preload (New Bearings) | Pinion Preload (Used Bearings) | Target Backlash | Pinion Nut Torque (Approx) |
|---|---|---|---|---|
| Ford 8.8-Inch | 16 - 29 in-lbs | 8 - 14 in-lbs | 0.008' - 0.012' | 250 ft-lbs (Yield) |
| Dana 44 (Standard) | 14 - 19 in-lbs | 10 - 15 in-lbs | 0.006' - 0.010' | 175 - 220 ft-lbs |
| GM 8.5' 10-Bolt | 18 - 25 in-lbs | 12 - 18 in-lbs | 0.006' - 0.010' | 150 - 200 ft-lbs |
| Toyota 8-Inch (V6) | 13 - 19 in-lbs | 8 - 12 in-lbs | 0.005' - 0.009' | 80 - 120 ft-lbs |
Diagnosing the Leak: A Step-by-Step Guide
If you suspect your oil leak from rear differential components is tied to a bad setup, follow these diagnostic steps before ordering parts:
- Clean and Inspect: Degrease the pinion yoke and differential housing. Look for a 'wear groove' on the yoke where the seal lip rides. If the yoke is deeply grooved, a new seal will not stop the leak. You must replace the yoke or use a speed-sleeve repair kit.
- Check for Play: Grab the driveshaft near the yoke and attempt to wiggle it up and down. Any vertical or lateral movement indicates loose pinion bearings or a worn yoke spline.
- Measure Rotational Preload: Remove the rear wheels and brake calipers to eliminate drag. Use an inch-pound torque wrench on the pinion nut. If it takes less than 5 in-lbs to rotate the pinion, your preload is dangerously loose, guaranteeing seal destruction and eventual gear failure.
Repair Costs, Part Numbers, and Fluid Selection
Fixing a pinion seal is an affordable DIY job, but doing a full setup requires specialized tools. For a deeper look at installation procedures, the Yukon Gear Installation Guides offer excellent visual references for bearing and shim placement.
Essential Part Numbers
- Ford 8.8 Pinion Seal: National Seal 710599 (Approx. $12)
- Dana 44 Pinion Bearings: Timken SET10 (Approx. $45 per set)
- GM 10-Bolt Master Install Kit: Motive Gear KIT8.5 (Includes Timken bearings, seals, and shims - Approx. $110)
Cost Breakdown
A simple pinion seal replacement (assuming the yoke is undamaged and preload is correct) costs between $30 and $60 in parts and gear oil. However, if the preload is loose and the bearings are worn, a professional shop will charge between $800 and $1,400 to perform a complete tear-down, bearing replacement, and precision ring and pinion gear setup.
Choosing the Right Fluid Post-Repair
Once the leak is sealed, refilling with the correct fluid is paramount. Most standard differentials require a 75W-90 GL-5 synthetic gear oil (like Mobil 1 Synthetic Gear Lube). If you tow heavy loads or run larger off-road tires, stepping up to a 75W-140 provides better high-heat shear stability.
Critical Warning for LSDs: If your differential is equipped with a clutch-type Limited Slip Differential (LSD), you must add a friction modifier additive (such as Ford XL-3 or GM 1052358) before topping off. Failing to do so will result in chatter, binding, and rapid destruction of the clutch packs during low-speed turns.
Final Thoughts
An oil leak from rear differential assemblies should never be dismissed as a simple annoyance. While a worn seal is the immediate symptom, the root cause often traces back to improper pinion bearing preload and a neglected ring and pinion gear setup. By investing in an inch-pound torque wrench, verifying your specs, and using high-quality OEM or Timken replacement parts, you can stop the leak and ensure your drivetrain operates quietly and reliably for the next 100,000 miles.