Introduction to the Skyactiv AWD Rear Drive Unit
As we navigate through 2026, a massive wave of first and second-generation Mazda CX-5 AWD models are crossing the 120,000-mile threshold. While the Skyactiv-Drive powertrains are remarkably reliable, the compact rear drive module (often referred to as the rear differential) is a known wear item when subjected to harsh climates, neglected fluid intervals, or aggressive towing. Rebuilding a Mazda CX-5 rear differential is not a simple swap; it requires precision measurement, an understanding of hypoid gear geometry, and strict adherence to torque specifications.
This comprehensive, step-by-step guide will walk you through the complete teardown, measurement, and reassembly process of the Mazda CX-5 rear differential. Whether you are addressing a whining pinion bearing, a leaking seal, or excessive backlash causing drivetrain clunk, this procedure will restore your AWD system to factory-fresh condition.
Diagnosing the Failure: When is a Rebuild Necessary?
Before tearing into the differential, confirm the failure mode. The CX-5 rear differential is a compact, independent unit that houses a hypoid ring and pinion gear set, supported by taper roller bearings. Common failure modes include:
- Deceleration Whine: A high-pitched howl when lifting off the throttle indicates pinion bearing wear or improper pinion depth.
- Acceleration Howl: Noise under load typically points to ring gear backlash issues or carrier bearing wear.
- Drivetrain Clunk: Excessive rotational play (backlash) between the ring and pinion gears, often caused by worn side gears or spider gears inside the carrier.
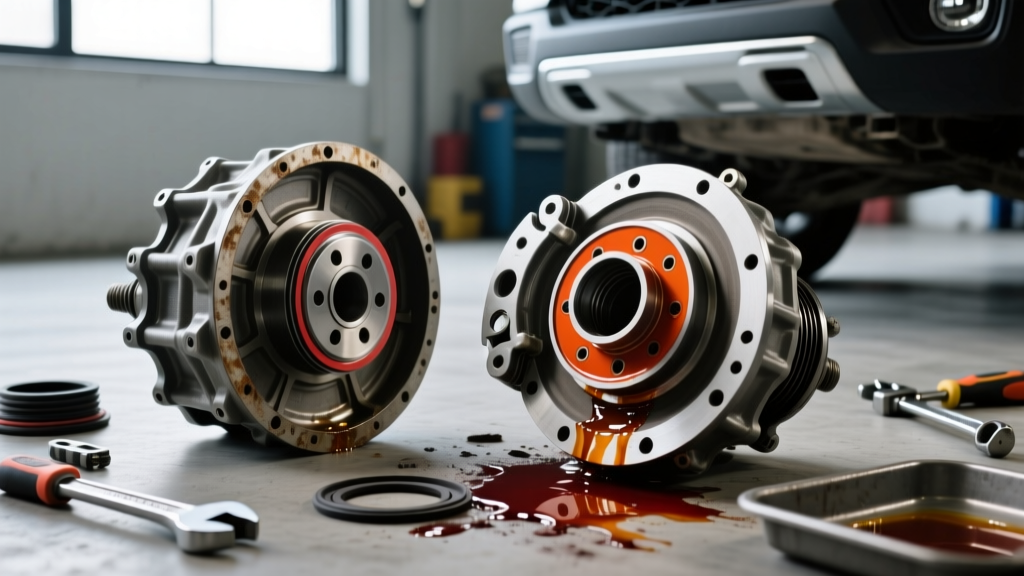
- Pinion Seal Leaks: Fluid weeping onto the exhaust or subframe. If caught early, a seal swap suffices; if ignored, fluid starvation destroys the bearings, necessitating a full rebuild.
Essential Tooling and Parts Required
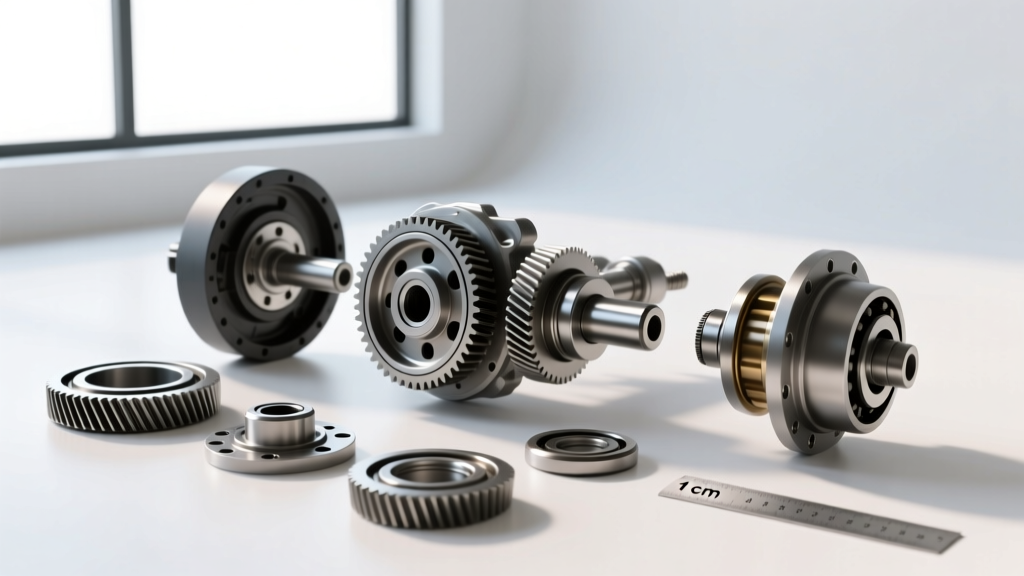
Do not attempt this rebuild with standard hand tools alone. Differential setup requires precision measuring instruments. You will need a dial indicator with a magnetic base, an inch-pound torque wrench (crucial for preload setting), a hydraulic press, and a pinion depth gauge.
For parts, we highly recommend sourcing a master rebuild kit from a reputable supplier like RANDYS Worldwide or checking OEM cross-references on RockAuto. Your kit should include:
- Inner and outer pinion taper roller bearings
- Carrier (side) bearings
- Pinion seal and crush sleeve (or solid spacer eliminator kit)
- Ring gear bolts (never reuse old stretch bolts)
- Complete shim pack
Phase 1: Extraction and Teardown
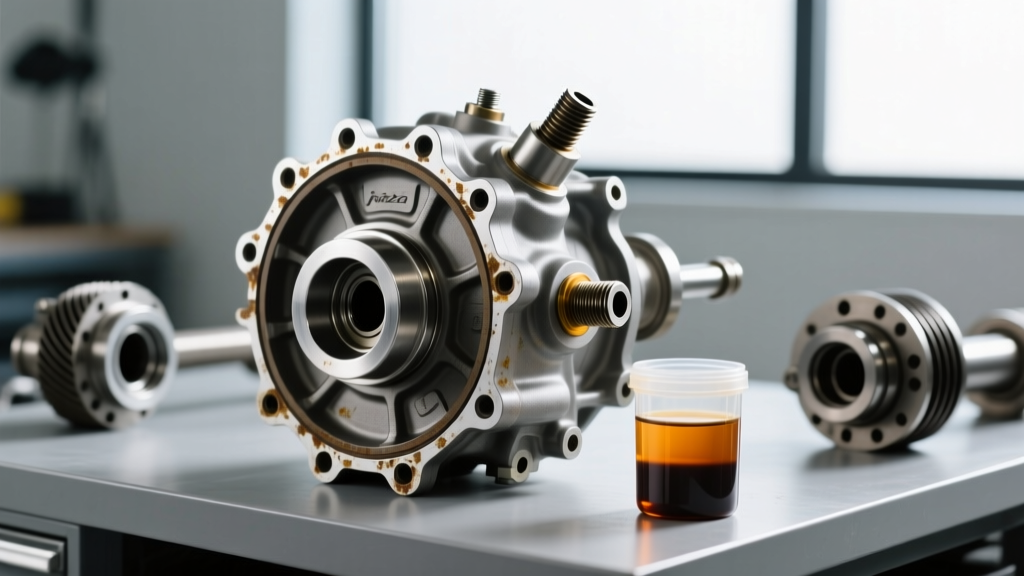
Begin by safely lifting the vehicle and supporting it on jack stands. Drain the rear differential fluid into a catch pan. Inspect the fluid: a metallic glitter paste indicates bearing failure, while chunky metal shards mean gear tooth spalling has occurred.
Disconnect the rear driveshaft at the differential flange (mark the alignment for reassembly). Remove the rear half-shafts (axles) by unbolting the wheel hub assemblies and pulling the axles from the differential side seals. Unbolt the differential mounting bushings and lower the unit from the subframe.
Once on the bench, use an impact wrench to remove the pinion flange nut. Note that this nut is torqued to over 150 lb-ft from the factory; an impact gun or a specialized flange-holding tool is mandatory. Pull the flange using a three-jaw puller. Remove the ring gear carrier bolts, carefully extract the carrier assembly, and finally, drive the pinion gear out through the carrier bore using a brass drift to avoid damaging the machined housing.
Phase 2: Pinion Depth and Bearing Preload Setup
The pinion depth is the most critical measurement in any hypoid differential rebuild. It dictates how deeply the pinion gear meshes into the ring gear. Look at the face of your original pinion gear; Mazda engraves a deviation number (e.g., +2 or -1). This number represents the variance from the nominal factory setting. You must replicate this depth using the shims provided in your kit, which sit behind the inner pinion bearing cup.
Press the new inner bearing onto the pinion gear. Install the depth shim, then press the pinion assembly into the differential housing. Install the outer bearing, the new crush sleeve (or solid spacer), the pinion seal, and the flange.
Setting Pinion Preload
Pinion bearing preload is the rotational friction required to spin the pinion shaft. If you are using a traditional crush sleeve, you must tighten the pinion nut incrementally, checking the rotational torque with your inch-pound torque wrench after every 10-degree turn.
Expert Tip: We strongly advise using a solid pinion spacer eliminator kit instead of a crush sleeve. Crush sleeves are a one-time-use OEM compromise. A solid spacer with a precision shim pack allows you to set the exact preload without the risk of over-crushing and having to start over with a new sleeve.
For the Mazda CX-5 rear differential, the target rotating torque for new bearings is between 12 and 16 inch-pounds. If using reused bearings, target 8 to 10 inch-pounds.
Phase 3: Carrier Setup and Backlash Adjustment
Clean the ring gear and the carrier mating surface with brake cleaner. Apply a high-strength threadlocker (like Loctite 272) to the new ring gear bolts. Install the ring gear in a star pattern, torquing to 72 lb-ft. Press the new carrier bearings onto the sides of the differential case.
Install the carrier into the housing. The CX-5 utilizes a shim-based carrier bearing setup. You will need to select the appropriate side shims to achieve two things simultaneously: carrier bearing preload and proper gear backlash.
Mount your dial indicator so the probe sits perpendicular to the face of a ring gear tooth. Pry the ring gear back and forth to measure the rotational play (backlash). The factory specification for the Mazda CX-5 rear differential is 0.13 mm to 0.18 mm (0.005 to 0.007 inches). Adjust the side shims—adding thickness to one side while removing an equal amount from the other—until you hit the sweet spot of 0.006 inches, while maintaining a slight drag (preload) on the carrier bearings.
Phase 4: Gear Contact Pattern Analysis
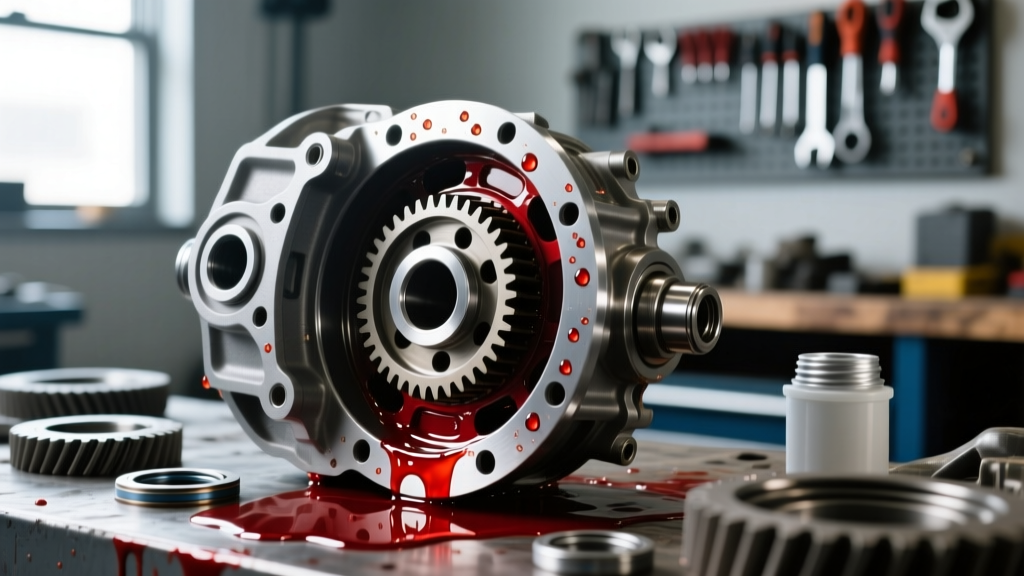
Numbers on a dial indicator only tell half the story. You must verify the physical contact pattern using yellow gear marking compound (like Dykem Hi-Spot). Apply a thin, even layer to three or four teeth on both the drive (convex) and coast (concave) sides of the ring gear.
Apply rotational resistance to the ring gear using a gloved hand or a rag, and rotate the pinion gear through the marked teeth. Inspect the pattern:
- Ideal Pattern: The contact mark should be centered vertically on the tooth face and slightly biased toward the heel (the wider, inner end of the tooth).
- Toe Bias: If the pattern is too close to the toe (outer edge), the pinion is too deep. Remove pinion depth shims.
- Heel Bias: If the pattern runs off the heel, the pinion is too shallow. Add pinion depth shims.
- High/Low Bias: Indicates backlash is incorrect. Adjust carrier side shims accordingly.
If the pattern is off, you must pull the carrier, adjust the shims, and re-test. Do not rush this step; a poor contact pattern will result in catastrophic gear failure within 5,000 miles.
Phase 5: Sealing and Fluid Specification
Once the pattern and preload are verified, clean all mating surfaces. If your CX-5 rear differential case halves use RTV silicone, apply a continuous 3mm bead of high-temp black RTV, ensuring no gaps exist near the bearing bores. If it uses a machined gasket, install the new OEM paper/rubber composite gasket.
Torque the differential housing bolts to 35 lb-ft in a crisscross pattern. Reinstall the differential into the vehicle, reconnect the axles, and mate the driveshaft.
The Critical Role of Differential Fluid
Because this category intersects heavily with fluid maintenance, selecting the right gear oil is paramount for the rebuilt unit's survival. The Mazda CX-5 rear differential requires an API GL-5 rated gear oil. Mazda's OEM specification is Long Life Gear Oil G1. However, in the aftermarket, a high-quality synthetic 75W-90 GL-5 is the gold standard for 2026 rebuilds.
The total fluid capacity of the CX-5 rear differential is remarkably small: exactly 0.45 Liters (15.2 US oz). Overfilling can cause fluid aeration and seal blowout, while underfilling leads to immediate starvation of the pinion bearings. Use a precision fluid pump to inject the oil until it reaches the exact bottom edge of the fill plug threads.
For community-verified fluid discussions and teardown photos specific to your exact model year, the CX-5 Forum remains an invaluable resource for AWD owners tackling this job in their home garages.
Final Torque Specifications Reference Table
| Component | Specification / Torque | Notes |
|---|---|---|
| Pinion Flange Nut | 130 - 160 lb-ft | Torque to achieve target preload, not a fixed number. |
| Ring Gear Bolts | 72 lb-ft | Apply Loctite 272. Use star pattern. |
| Differential Housing Bolts | 35 lb-ft | Use RTV or OEM gasket. Crisscross pattern. |
| Driveshaft Flange Bolts | 28 lb-ft | Replace if stretched. Align factory marks. |
| Axle Nut (Hub Side) | 165 lb-ft | Prevailing torque nut. Do not reuse. |
| Target Pinion Preload | 12 - 16 in-lbs | Measured with inch-pound torque wrench (new bearings). |
| Target Backlash | 0.005 - 0.007 in | 0.13 - 0.18 mm. Verify at 3 points on the ring. |
| Fluid Capacity | 0.45 L (15.2 oz) | API GL-5 75W-90 Synthetic or Mazda G1. |
Rebuilding the Mazda CX-5 rear differential is a meticulous process that rewards patience with decades of whisper-quiet AWD operation. By respecting the pinion depth math, utilizing solid spacers, and filling with the correct volume of GL-5 synthetic fluid, your drivetrain will be ready to handle whatever the road throws at it.