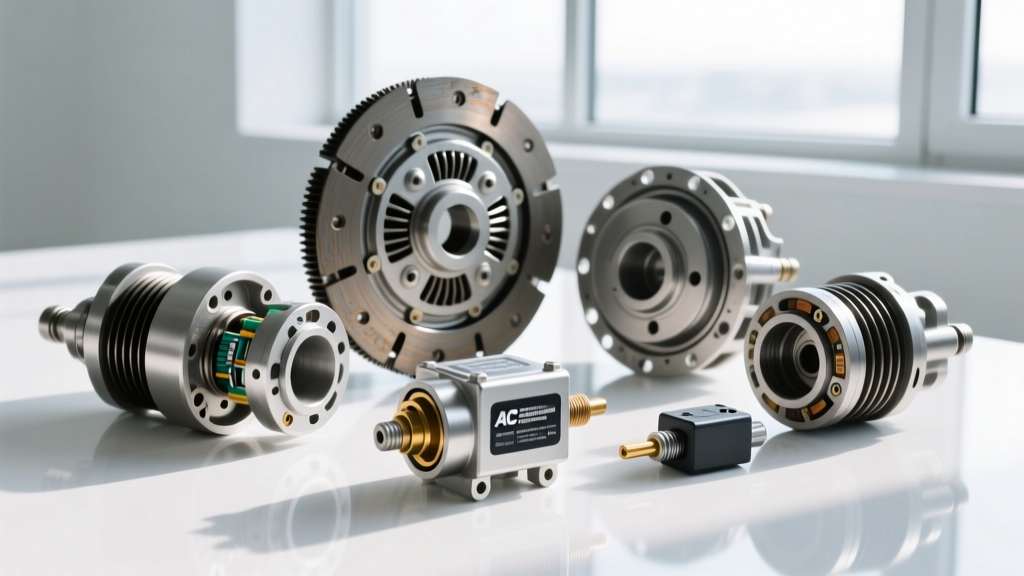
The Short Answer: Do All Motorcycles Have Clutches?
When enthusiasts and new riders ask, "do all motorcycles have clutches," the technical answer is no. As of 2026, the powersports market features numerous clutchless or automated drivetrains. Scooters utilize Continuously Variable Transmissions (CVTs) with internal centrifugal clutches, while advanced machines like the Honda Africa Twin and Gold Wing use automated Dual-Clutch Transmissions (DCT). Furthermore, Honda's recent E-Clutch technology automates clutch actuation via electronic servos while retaining a manual shift lever. However, the vast majority of traditional, performance, and commuter motorcycles still rely on a manual, multi-plate wet clutch system bathed in engine oil. When these manual systems degrade, they present specific, diagnosable symptoms. This step-by-step guide will teach you how to diagnose motorcycle clutch issues by isolating lever feel, abnormal noise, and drivetrain vibration.
Step 1: Diagnosing Clutch "Feel" (Lever Feedback & Engagement)
The first point of failure in any motorcycle clutch system is usually perceived at the left hand. A healthy hydraulic or cable-actuated clutch should offer a predictable engagement zone (the "friction zone") without sudden drops in pressure or erratic grabbing.
1. Measure Lever Free Play
Before tearing into the engine cases, verify your lever free play. Most Japanese and European manufacturers (Yamaha, Kawasaki, BMW) specify 10mm to 15mm of free play measured at the tip of the lever. Insufficient free play prevents the clutch from fully engaging, causing the friction plates to slip under load, glazing the material and boiling the engine oil. Excessive free play prevents full disengagement, leading to clunky gear shifts and creeping at stoplights.
2. Isolate Sponginess vs. Grabbing
- Spongy Lever (Hydraulic Systems): If your bike uses a hydraulic master cylinder (e.g., Brembo or Nissin), a spongy feel indicates air in the lines or degraded DOT 4/DOT 5.1 fluid. Note that some European brands like KTM and Husqvarna often use Magura Mineral Oil systems. Never mix DOT fluid with mineral oil, as it will destroy the internal rubber cup seals, requiring a $150-$250 master cylinder rebuild kit.
- Erratic Grabbing: If the lever feels smooth but the clutch "grabs" violently when released, the aluminum fingers on the inner hub or outer basket are likely notched. The friction plate tabs get stuck in these notches, preventing smooth separation. This requires filing the basket or replacing it entirely.
Step 2: Isolating Clutch Noise (Rattles, Squeals, and Chatter)
Motorcycle engines are inherently noisy, but the clutch assembly should only produce a faint, mechanical whir. Abnormal noises are critical diagnostic clues that point to specific internal failures.
1. The "Neutral Rattle" (Clutch Basket Dampers)
If you hear a distinct metallic clatter that disappears the moment you pull the clutch lever in, you are hearing clutch basket rattle. The outer clutch basket on modern street bikes features rubber damper cushions located between the primary drive gear and the basket body. Over time, heat and oil degradation cause these rubber dampers to compress and fail. According to Cycle World technical archives, ignoring this rattle can lead to the primary gear loosening or shearing the basket rivets, which will send metal shards through your oil pump. Replacing the OEM rubber dampers ($40-$60) or upgrading to an aftermarket billet basket with spring-loaded dampers (like a Hinson or Rekluse unit costing $800-$1,200) resolves this.
2. Throwout Bearing Whine
A high-pitched squeal or whine that changes pitch as you modulate the lever indicates a failing clutch release (throwout) bearing. On shaft-driven bikes like the BMW R1250GS, this bearing is housed inside the rear engine cover. On chain-driven sportbikes, it is located behind the clutch pushrod. If the bearing seizes, it will melt the aluminum clutch cover and snap the pushrod.
3. Ducati Dry Clutch Specifics
While most modern Ducatis use wet clutches, legacy models and track-focused variants (like the Superleggera) use open, dry multi-plate clutches. Dry clutches are naturally noisy, sounding like a box of rocks at idle. However, a sharp metallic ringing indicates worn sintered friction plates or a failing pressure plate bearing. Dry clutches require strict adherence to stack height measurements; adding a shim incorrectly will result in immediate slip.
Step 3: Tracking High-Speed Vibration & Chatter
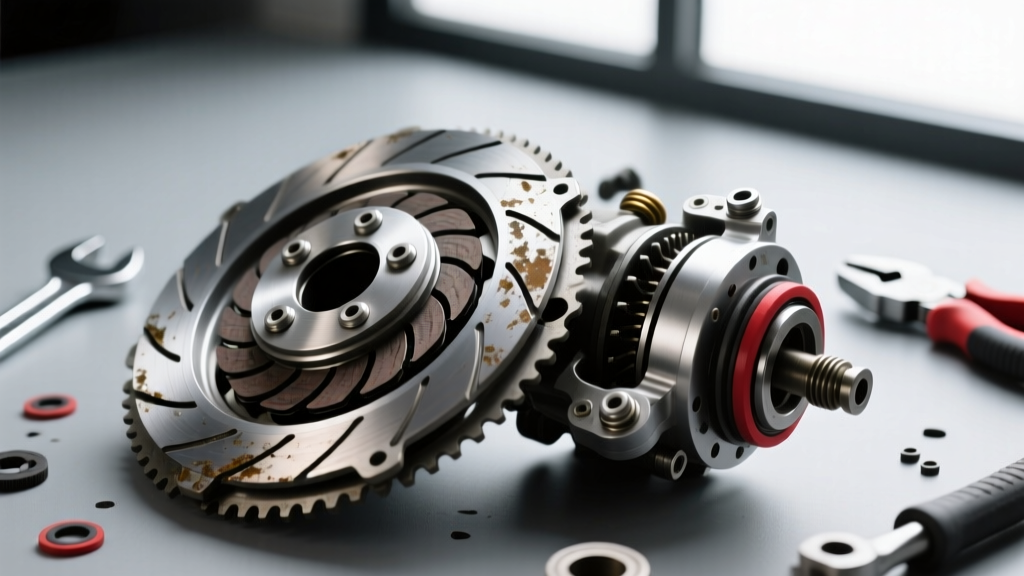
Vibration during clutch engagement (chatter) or high-RPM slipping is a hallmark of degraded internal stack components. Diagnosing this requires draining the oil, removing the right-side engine cover, and measuring the clutch pack.
1. Measuring Friction and Steel Plates
Using a micrometer and a surface plate with a feeler gauge, measure your clutch pack. Standard OEM friction plates usually measure 3.0mm when new. The absolute service limit is typically 2.6mm to 2.8mm (always consult your specific factory service manual). If the plates are within spec but the bike still chatters, the steel separator plates are likely warped. Place the steel plates on a machined flat surface and measure the gap with a feeler gauge. Any runout exceeding 0.3mm means the steel plates are warped from heat and must be replaced. Warped plates prevent uniform clamping force, causing the clutch to grab and release microscopically, which translates to chassis shudder.
2. Checking Clutch Spring Tension
Coil clutch springs lose their temper (heat treatment) over time, reducing clamping force. Measure the free length of the springs with digital calipers. If the OEM specification is 48.0mm and your springs measure 45.5mm or less, they have sagged past the service limit. Heavy-duty springs (like EBC or Barnett) can increase clamping force by 15%, but be aware this will increase lever pull effort, which can cause hand fatigue in stop-and-go traffic.
Diagnostic Data Table: Symptom vs. Probable Failure Point
| Observed Symptom | Diagnostic Test | Probable Culprit | Est. Repair Cost (Parts) |
|---|---|---|---|
| Lever pulls to bar with no resistance | Inspect cable for fraying or check hydraulic fluid level | Snapped cable, blown master cylinder seal, or disconnected pushrod | $30 (Cable) - $180 (Master Rebuild) |
| Clutch slips in 4th/5th gear under heavy throttle | Measure friction plate thickness and check spring free-length | Worn friction material, glazed plates, or sagged coil springs | $90 - $160 (Friction & Spring Kit) |
| Violent shudder/chatter when releasing lever from stop | Check steel plate runout on flat surface (Limit: 0.3mm) | Warped steel separator plates or notched aluminum basket fingers | $120 (Steel Plates) - $350 (OEM Basket) |
| Metallic clatter at idle that stops when lever is pulled | Inspect outer basket rubber dampers for compression/cracking | Failed primary drive rubber dampers inside the clutch basket | $50 (OEM Rubbers) - $900 (Billet Basket) |
| High-RPM slip with assist/slipper clutch equipped | Inspect slipper/assist ramp angles for wear or loose bolts | Worn assist ramps or backed-out slipper ramp bolts (common on Yamaha CP4 engines) | $250 (OEM Inner Hub Assembly) |
Essential Tools and Torque Specifications for Clutch Service
Diagnosing a clutch is only half the battle; proper reassembly is where most home mechanics fail. As highlighted by the technical experts at RevZilla's Common Tread, using improper tools during clutch reassembly is the leading cause of catastrophic engine failure post-rebuild.
1. The Clutch Hub Holding Tool
The clutch center locknut requires significant torque to remove and install (typically between 55 Nm and 85 Nm, depending on the model). You cannot hold the clutch basket by hand or with soft-jaw pliers. You must use a dedicated clutch hub holding tool (e.g., Motion Pro 08-0411 or the OEM Yamaha tool) that locks into the basket teeth and inner hub simultaneously. Applying 75 Nm of torque without this tool will result in stripped basket gears or a broken wrist.
2. Threadlocking and Peening
Many motorcycle manufacturers do not use traditional lock washers on the clutch center nut. Instead, the nut must be tightened to the exact specification (e.g., 65 Nm on a Honda CBR600RR) and then peened into a groove on the transmission shaft using a blunt punch and hammer. If your shaft lacks a peening groove, you must apply medium-strength threadlocker (Blue Loctite 243) to the threads before torquing. Failure to secure this nut will allow it to back off under engine braking, destroying the transmission input shaft.
3. Oil Selection Matters
Because the majority of motorcycle clutches are "wet" (sharing oil with the engine and transmission), you must never use automotive oil containing friction modifiers (labeled "Energy Conserving" or "Resource Conserving" on the API donut). These modifiers will cause a brand-new clutch pack to slip immediately. Always use motorcycle-specific 10W-40 or 20W-50 oil certified to JASO MA or MA2 standards to ensure proper friction plate grip.
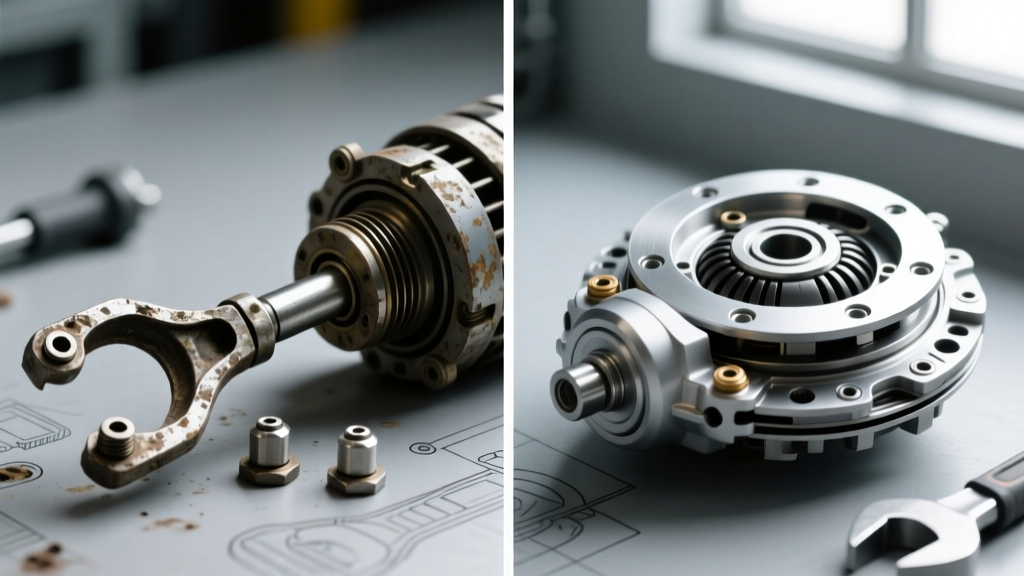
When to Rebuild vs. Replace the Entire Basket Assembly
If your diagnostic measurements show worn friction plates but the aluminum basket fingers are deeply notched (exceeding 1mm of wear depth), installing new plates is a waste of money. The new plates will simply catch on the old notches, causing immediate grabbing and premature wear. In this scenario, you must replace the outer basket. For riders who track their motorcycles or ride high-horsepower liter bikes, upgrading to a billet aluminum basket from manufacturers like Hinson or Rekluse is highly recommended. These units feature hard-anodized coatings that prevent notching entirely and often include built-in spring-loaded dampers to eliminate neutral rattle, providing a permanent fix to the most common mechanical clutch complaints.