The Unique Acoustics of a Foot Clutch Motorcycle Setup
Building, maintaining, or restoring a foot clutch motorcycle—often referred to in custom chopper circles as a "suicide clutch" setup or a vintage-correct WL/FL bobber—requires a masterful understanding of mechanical linkages. Unlike modern hydraulic or cable-actuated hand clutches, a foot clutch motorcycle relies on a direct mechanical rod, heavy-duty cable, or hydraulic slave linkage originating from a left-foot pedal to actuate the clutch release arm. When this system develops grinding, squealing, or chirping noises, it is rarely just an acoustic annoyance; it is a critical warning of misalignment, lubrication failure, or catastrophic primary drive wear.
In 2026, with the continued surge of high-torque custom V-twin builds and resto-mod classics, diagnosing these specific acoustics requires precision. The kinetic chain from your left boot to the transmission mainshaft involves multiple pivot points, bearings, and friction surfaces. This expert guide breaks down the exact failure modes, torque specifications, and best practices for diagnosing and eliminating clutch noise in foot-operated motorcycle setups.
Isolating the Source: Linkage vs. Primary vs. Basket
Before tearing down the primary chaincase, you must isolate the origin of the noise. A foot clutch motorcycle introduces external linkage variables that standard motorcycles do not possess. We categorize the diagnosis into three distinct acoustic profiles: chirping, squealing, and grinding.
1. Chirping: The Release Bearing and Linkage Bind
Chirping is a high-frequency, rhythmic sound that correlates directly with engine RPM or clutch pedal actuation. In a foot clutch motorcycle, the first suspect is the external linkage. Most custom foot pedals utilize 3/8"-24 or 1/2"-20 Heim joints (rod ends) at the pivot points. If these unsealed or poorly sealed joints lack proper lubrication, they will emit a sharp chirp as the suspension compresses or the pedal is depressed.
Expert Fix: Disassemble the linkage and pack the Heim joints with a high-pressure molybdenum disulfide (Moly) grease. Standard lithium grease is insufficient for the high-shear environment of a clutch pedal pivot.
If the chirping only occurs when the pedal is depressed, the issue lies inside the primary. The clutch release bearing (throw-out bearing) is likely failing. Many custom V-twin setups use a sealed radial ball bearing riding against a diaphragm spring or a mechanical release ramp. According to technical service guidelines from S&S Cycle, a dry or scored release ramp will chirp violently under load. Inspect the bearing for axial play; if it exceeds 0.010 inches, replace it immediately.
2. Squealing: Glazed Plates and Primary Chain Deflection
Squealing typically occurs during the engagement or disengagement phase—when the clutch is "slipping" by design to get the motorcycle moving. However, excessive squealing indicates abnormal friction or interference.
- Glazed Friction Plates: If the foot clutch linkage is adjusted too tightly (lacking freeplay), the clutch pack remains partially disengaged. This constant micro-slipping burns the friction material, creating a glass-like glaze that squeals under load. Barnett Kevlar or carbon-fiber composite plates are highly recommended for heavy custom builds to resist glazing.
- Primary Chain Interference: A loose primary chain can whip and rub against the primary chain tensioner shoe or the inner chaincase wall, creating a high-pitched squeal that mimics clutch slip. Cold primary chain deflection on most custom Big Twin setups should be strictly maintained between 3/8" and 1/2" (9.5mm - 12.7mm) at the midpoint of the bottom run.
3. Grinding: Basket Notching and Hub Failure
Grinding is the most severe symptom and usually indicates hard metal-on-metal contact. When you pull the clutch lever (or press the foot pedal) and hear a metallic crunch or grind, the clutch basket fingers are likely notched.
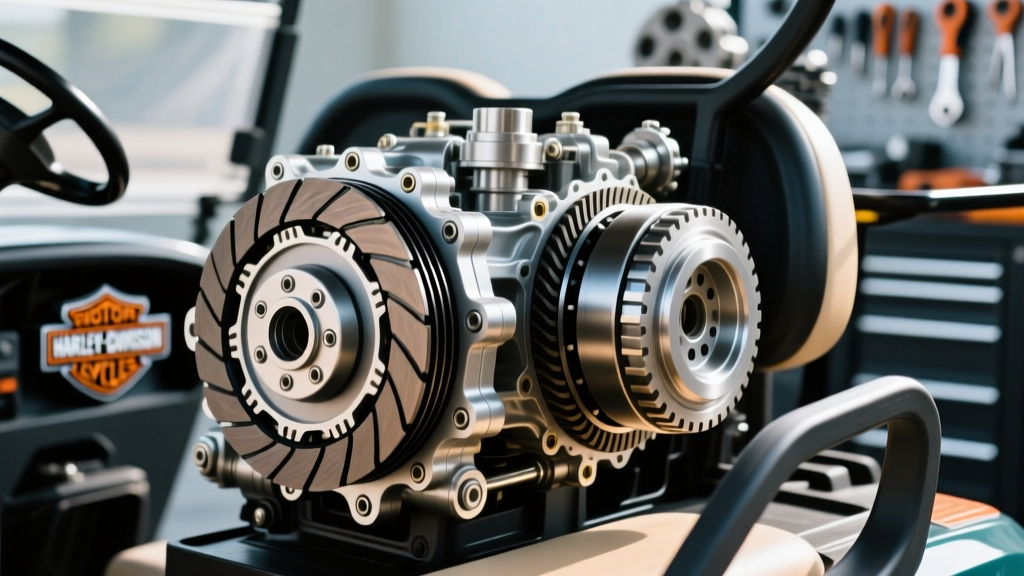
The tangs of the friction plates hammer against the aluminum clutch basket fingers over thousands of engagement cycles, eventually cutting deep grooves (notches) into the metal. When you pull the pedal to disengage, the plates hang up in these notches, failing to separate cleanly and causing the transmission gears to grind during shifts. Upgrading to a CNC-machined billet steel or hard-anodized aluminum clutch basket, such as those sourced from J&P Cycles, permanently eliminates notching and ensures smooth, silent disengagement.
Critical Tolerances and Torque Specifications
Proper diagnosis requires measuring against factory and custom-builder tolerances. Use the following data table as your benchmark during a primary teardown.
| Component / Measurement | Specification / Tolerance | Wear Limit / Action Point |
|---|---|---|
| Friction Plate Thickness (Standard Wet) | 0.120" - 0.140" | Replace if below 0.105" |
| Steel Separator Plate Runout | Less than 0.004" | Replace if warped > 0.008" |
| Clutch Basket Finger Notching | Smooth / Flush | Replace if groove > 0.020" deep |
| Mainshaft / Clutch Hub Nut Torque | 70 - 80 ft-lbs (Red Loctite) | Retorque if backing off causes grinding |
| Foot Pedal Linkage Freeplay | 1/8" - 1/4" at pedal pivot | Adjust immediately if 0" (causes slip) |
| Release Bearing Axial Play | 0.001" - 0.005" | Replace if play exceeds 0.010" |
Step-by-Step Linkage & Primary Adjustment Best Practices
To eliminate squealing and prevent premature wear, the adjustment sequence on a foot clutch motorcycle must be followed meticulously. Never adjust the external pedal linkage before setting the internal clutch pack freeplay.
- Internal Adjuster Screw: Remove the primary derby cover. Locate the clutch release mechanism adjuster screw. Back off the locknut and turn the adjuster screw inward until you feel slight resistance against the clutch pack, then back it out exactly 1/2 to 3/4 of a turn. Lock the nut down to 72-120 in-lbs (check specific OEM or aftermarket specs, e.g., Barnett Clutches recommends specific locknut torques for their diaphragm springs).
- External Linkage Freeplay: With the internal freeplay set, adjust the foot clutch pedal rod or cable. You must have 1/8" to 1/4" of physical freeplay at the pedal pivot before the linkage begins to pull the clutch release arm. This ensures the throw-out bearing is not riding on the spring at idle, which is the #1 cause of chirping and bearing burnout.
- Heim Joint Alignment: Ensure all rod ends are perfectly in-line. A binding Heim joint will cause the foot pedal to feel notchy and return slowly, leading to clutch drag and gear grinding.
When to Rebuild: Parts and 2026 Cost Breakdown
If your diagnosis confirms internal damage, a full primary and clutch service is required. Here is what you can expect to invest in a high-quality, noise-free foot clutch motorcycle rebuild in 2026:
- Premium Clutch Pack (Kevlar/Carbon): $180 - $280. (Essential for high-torque V-twins to prevent squealing and slipping).
- Billet Steel Clutch Basket: $350 - $550. (Eliminates grinding caused by aluminum notching).
- Heavy-Duty Clutch Spring / Diaphragm Kit: $45 - $90. (Restores clamping force and cures engagement chatter).
- Primary Chain and Adjuster Shoe: $120 - $200. (Replaces stretched chains that cause primary squeal and case wear).
- Sealed Linkage Heim Joints & Moly Grease: $30 - $60. (Cures external linkage chirping).
Final Expert Tip: Always use a dedicated primary chaincase fluid (such as a 20W-50 synthetic V-Twin primary oil or specific primary chaincase lubricant) rather than standard engine oil. Modern wet clutches require specific friction modifiers to prevent squealing upon engagement. By combining precise linkage geometry with strict adherence to internal tolerances, your foot clutch motorcycle will shift silently and reliably for tens of thousands of miles.