The Iconic Rattle: Normal Characteristic or Impending Failure?
Owning a motorcycle equipped with a Ducati dry clutch means accepting a certain level of mechanical noise. The famous "marbles in a tin can" rattle at idle is a hallmark of L-Twin and V4 R models running open, dry clutch setups. However, as friction materials wear, baskets notch, and hydraulic actuators degrade, that familiar symphony can mask genuine mechanical distress. For technicians and advanced DIYers, distinguishing between normal operational noise and actual failure symptoms requires a systematic, step-by-step diagnostic approach.
This guide walks you through diagnosing Ducati dry clutch issues by isolating three primary symptom categories: auditory (noise), tactile (lever feel), and dynamic (riding vibration). We will cover specific torque specs, wear limits, and teardown procedures for both legacy L-Twin models (like the 1098/1198) and modern V4 dry clutch conversions.
Step 1: Auditory Diagnostics (Decoding the Noise)
The first step in clutch diagnosis is an auditory inspection at idle and under light revving. Because dry clutches lack the damping effect of oil, every spline interaction and bearing rotation is audible.
Normal vs. Abnormal Rattle
- Normal Basket Rattle: A metallic clattering that changes pitch slightly when the clutch lever is pulled in. This is caused by the clearance between the friction plate tabs and the aluminum clutch basket fingers. It is entirely normal.
- Abnormal Hub Clunk: A heavy, singular "clunk" when shifting into first gear or abruptly loading the drivetrain at low RPM. This indicates wear on the inner hub splines where it mates to the transmission input shaft.
- High-Pitched Whine or Grinding: If you hear a metallic grinding or whining noise that persists even when the clutch is fully disengaged (lever pulled to the bar), suspect a failing clutch release bearing or a worn pushrod riding on the pressure plate.
Pro Tip: To isolate basket noise from engine valvetrain noise, pull the clutch lever in while idling. If the rattle significantly decreases or changes pitch, the noise is originating from the clutch assembly, not the Desmodromic valve train.
Step 2: Tactile Diagnostics (Lever Feel and Hydraulics)
The Brembo radial master cylinder and hydraulic actuator provide direct feedback regarding the health of the clutch pack and release mechanism. Before tearing into the crankcase cover, evaluate the lever feel.
Evaluating the Engagement Zone
- Spongy Lever or Inconsistent Bite Point: This is rarely a mechanical clutch failure and almost always a hydraulic issue. Ducati dry clutch actuators are prone to trapping air. Perform a reverse bleed using DOT 4 fluid to ensure all micro-bubbles are purged from the slave cylinder.
- Excessively Stiff Lever: If the lever requires excessive force to pull, especially on models running aftermarket STM slipper clutches with upgraded springs, check the pushrod for scoring. A scored pushrod will bind inside the transmission input shaft bore.
- Lever Pulled to Bar with No Disengagement: If the bike creeps forward in gear with the lever against the grip, measure the pushrod protrusion. If the friction plates are worn beyond their service limit, the hydraulic piston may be over-extending, bypassing its internal seals or failing to generate adequate clamping force release.
Step 3: Dynamic Diagnostics (Vibration and Chatter)
Dynamic symptoms manifest when the clutch is under load, specifically during the engagement zone (friction zone) when pulling away from a stop or downshifting into a corner.
Identifying Clutch Chatter and Judder
If the motorcycle shudders violently during initial takeoff, you are experiencing clutch judder. On a Ducati dry clutch, this is typically caused by one of three factors:
- Warped Steel Plates: Excessive heat from slipping the clutch (common in stop-and-go traffic) causes the steel separator plates to warp. When they engage, they grab unevenly.
- Contaminated Friction Plates: Even a single drop of chain lube, engine oil, or grease on the dry friction plates will cause localized slipping and grabbing, resulting in severe chatter.
- Uneven Spring Tension: If the pressure plate springs have fatigued unevenly, or if an aftermarket judder spring (anti-hop spring) is installed backward or has collapsed, clamping force will be asymmetrical.
Step 4: Physical Teardown and Measurement
Once auditory, tactile, or dynamic symptoms point to internal failure, a physical teardown is required. Below is the step-by-step inspection protocol.
Removal and Torque Specifications
Remove the clutch cover. Use a dedicated clutch holding tool to prevent the basket from spinning while you break the hub nut loose.
Hub Nut Torque Specs:
- Legacy L-Twins (848, 1098, 1198, Monster S4R): 147 Nm (108 lb-ft).
- Panigale V4 R (Dry Clutch Kit): 155 Nm (114 lb-ft).
Always apply a medium-strength thread locker (such as Loctite 243) to the hub nut threads upon reassembly, as the dry environment and high torque pulses can cause un-staked nuts to back off.
Measuring the Clutch Pack
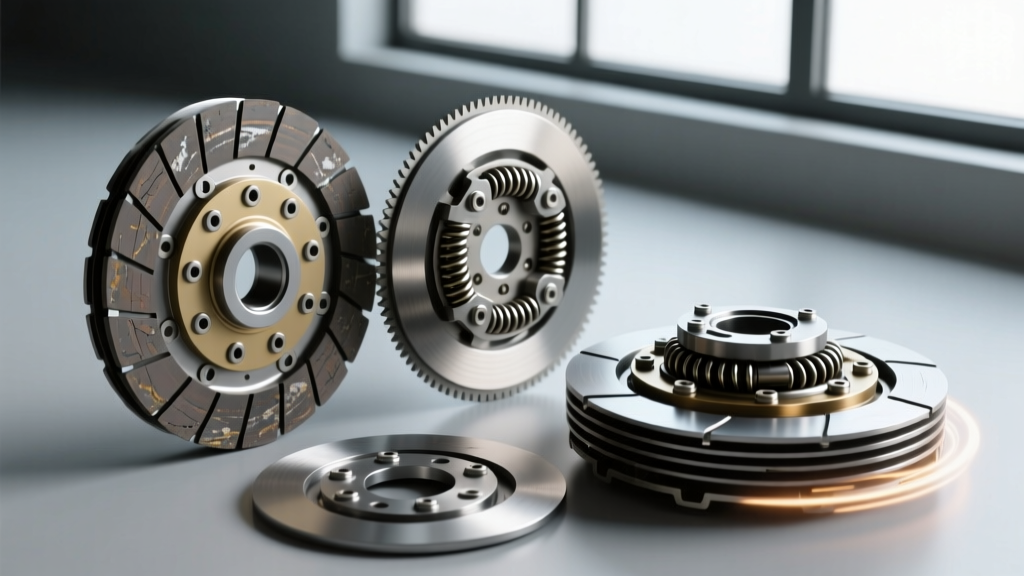
Using a digital micrometer, measure the thickness of the friction plates and the flatness of the steel plates. Refer to the diagnostic matrix below to determine if replacement is necessary.
| Symptom Observed | Probable Root Cause | Measurement / Spec | Corrective Action |
|---|---|---|---|
| Slipping under heavy throttle | Worn friction material | Friction plate thickness < 1.6mm (OEM limit) | Replace friction pack (e.g., OEM #16011151A) |
| Takeoff judder / chatter | Warped steel separator plates | Steel plate runout > 0.1mm on flat glass | Replace warped steels; check for oil contamination |
| Grinding noise, lever pulled | Failing release bearing / pushrod | Visible pitting on bearing race or pushrod tip | Replace release bearing and inspect input shaft bore |
| Notchy shifting, false neutrals | Notched clutch basket fingers | Visible indentations > 0.5mm on basket tabs | Replace billet basket (STM or Evoluzione) |
| Heavy clunk on gear engagement | Worn inner hub splines | Excessive rotational play between hub and shaft | Replace inner hub; inspect transmission input shaft |
Inspecting the Clutch Basket
The aluminum clutch basket is a common wear item on high-torque Ducati models. Run your fingernail across the fingers where the friction plate tabs rest. If you feel deep notches, the plates cannot move freely. This causes "clutch drag," leading to difficult neutral finding and rear-wheel hop during aggressive downshifts. While OEM cast baskets are prone to notching, upgrading to a CNC-machined billet basket from manufacturers like STM or Evoluzione drastically increases longevity and smooths out lever feel.
Reassembly and Final Bedding Procedure
When reinstalling the clutch pack, ensure you alternate the friction and steel plates correctly, paying special attention to the judder spring and conical washer orientation (the convex side typically faces outward toward the pressure plate, but always verify with the specific factory service manual).
After reassembly and torquing the hub nut, refill the hydraulic reservoir with fresh DOT 4 fluid and bleed the system. Crucial final step: Dry clutches require a bedding-in period. For the first 50 miles, avoid aggressive launch starts or prolonged slipping in traffic. This allows the friction material to mate evenly to the steel plates, preventing premature glazing and ensuring the iconic Ducati dry clutch performs flawlessly for thousands of miles.
For exact OEM part numbers and diagrams specific to your model year, always cross-reference your VIN with authorized dealers like Ducati Omaha before ordering replacement friction packs or billet components.