The Performance Clutch Chatter Conundrum in 2026
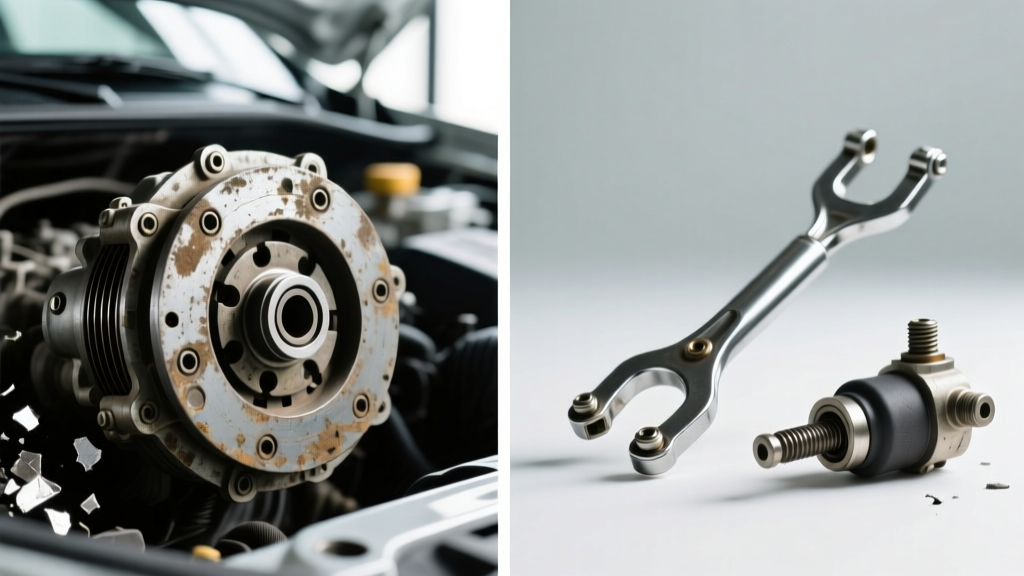
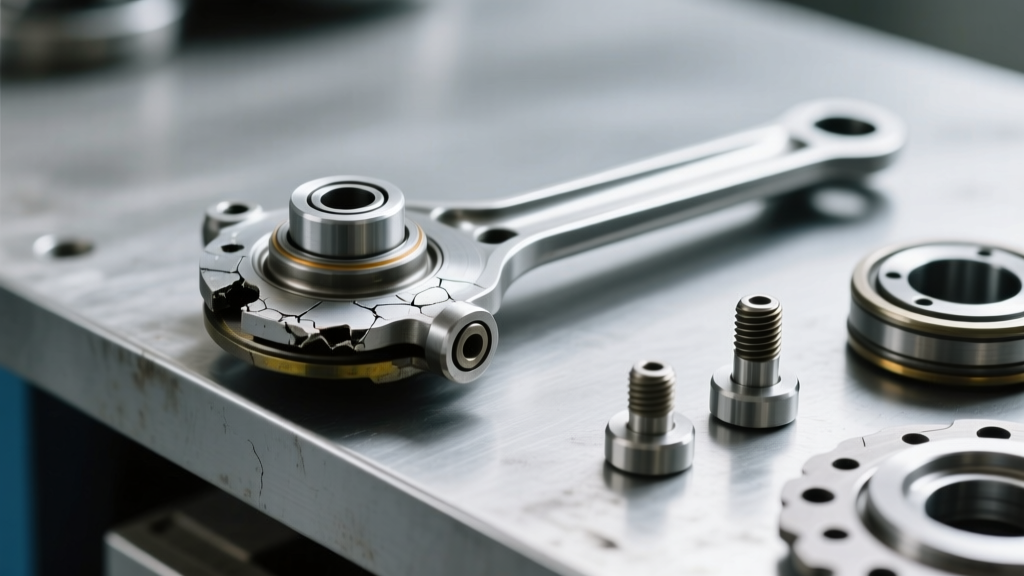
Upgrading a manual transmission vehicle with a high-capacity performance clutch—such as a McLeod RXT twin-disc, an ACT XT660, or a Tilton 3-plate sintered iron setup—fundamentally alters the drivetrain's NVH (Noise, Vibration, and Harshness) profile. While these upgrades are mandatory for handling the 800+ lb-ft torque figures common in modern LT4 and Gen 3 Coyote swaps, they introduce a notorious side effect: clutch chatter. This violent shuddering during engagement not only destroys traction but can prematurely shatter ceramic puck discs and fracture transmission input shafts.
However, as of 2026, advanced drivetrain diagnosticians know a secret that separates the parts-changers from the true experts: not all clutch chatter originates at the friction disc. Engine harmonic imbalances, specifically from heavy mechanical cooling fans and accessory drives, can travel through the crankshaft thrust bearing and manifest as severe vibration at the clutch engagement point. Before you drop the transmission and spend $1,200 on a new flywheel and clutch kit, you must isolate the vibration source.
Step 1: Harmonic Isolation and the Cooling Fan Variable
When a built engine experiences a 1X RPM vibration (a vibration that occurs once per crankshaft revolution), it is often misdiagnosed as a warped flywheel or uneven clutch disc grab. In reality, an unbalanced mechanical fan clutch assembly can generate enough harmonic resonance to shake the input shaft, mimicking clutch chatter perfectly.
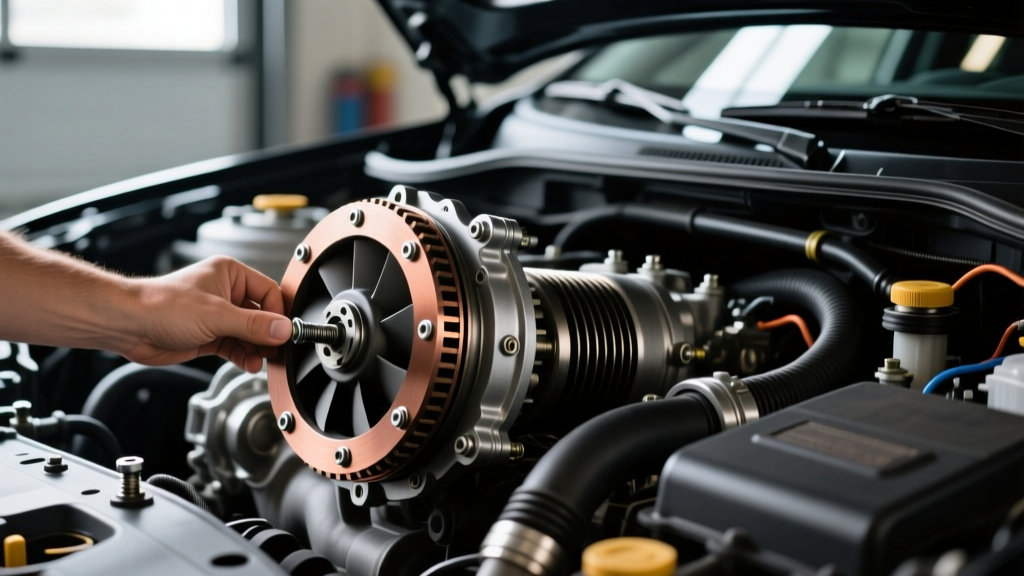
To rule this out, the engine must be run and tested without the mechanical fan. The problem? Specialty fan clutch wrenches (like the 36mm or 47mm offset wrenches and pulley holders) are frequently missing from shop toolboxes or stripped from previous DIY attempts. Knowing the proper, safe method for removing fan clutch without tool access is a critical time-saver that allows you to eliminate the fan from the harmonic equation immediately.
The Mechanic's Hack: Removing Fan Clutch Without Tool
If you lack the specific OEM fan clutch wrench set, you can safely remove the assembly using the serpentine belt tension and basic shop tools. Never attempt this while the engine is running.
- Leave the Serpentine Belt Installed: The belt tension provides the necessary resistance to keep the water pump pulley from spinning while you break the fan clutch nut loose.
- Identify the Thread Direction: On 95% of modern water pumps (including GM LS/LT and Ford Modular engines), the fan clutch nut is a left-hand (reverse) thread. You must turn it clockwise (when facing the engine) to loosen it.
- The Pry-Bar Method: Wrap a heavy-duty strap wrench around the fan clutch hub to apply counter-pressure, or carefully wedge a large flat-head screwdriver against one of the water pump pulley bolts to lock the pulley in place.
- The Impact Technique: Place a large adjustable wrench or a 36mm/47mm open-end wrench on the fan nut. Using a dead-blow hammer, strike the handle of the wrench sharply in the loosening direction. The sudden impact force will break the reverse thread loose without damaging the water pump bearings.
- The Belt Wrap Alternative: If the pulley slips, wrap an old serpentine belt tightly around the water pump pulley and pull hard with a long breaker bar to create immense friction, then strike the fan nut wrench.
Once the fan clutch is removed, start the engine and rev through the RPM range where the "chatter" usually occurs. If the vibration disappears, your clutch is fine; you need to replace the unbalanced fan clutch assembly. If the violent shuddering persists, the issue is genuinely within the bellhousing, and you must proceed to Step 2.
Step 2: True Clutch Chatter Diagnostics
With the engine harmonics ruled out, true clutch chatter is almost always the result of improper clamp load modulation, flywheel runout, or incorrect step height. According to McLeod Racing Technical Guides, sintered iron and cerametallic friction materials have an incredibly aggressive coefficient of friction. If the engagement is not perfectly linear, the disc will grab, slip, grab, and slip in milliseconds, creating the chatter effect.
Bellhousing and Flywheel Runout Limits
Performance clutches have zero tolerance for misalignment. You must use a magnetic dial indicator to measure runout.
- Bellhousing Runout: Must not exceed 0.005 inches TIR (Total Indicator Runout). If it does, the transmission input shaft will bind in the pilot bearing, causing uneven pressure plate finger wear and severe chatter. Use offset dowel pins (like those from RobbMc or Lakewood) to correct this.
- Flywheel Runout: Must not exceed 0.005 inches TIR. A warped flywheel forces the release bearing to pulse, which translates directly into pedal vibration and engagement chatter.
- Crankshaft Flange Runout: Often ignored, if the crank flange itself is warped, no amount of flywheel resurfacing will fix the chatter. Measure the bare crank flange before installing the new flywheel.
Performance Flywheel & Clutch Spec Matrix
When diagnosing or upgrading, reference this matrix to ensure your setup meets the strict tolerances required for high-horsepower manual platforms.
| Component / Metric | Target Spec (Performance) | Failure Symptom if Out of Spec | Common Fix / Upgrade |
|---|---|---|---|
| Bellhousing Runout | < 0.005" TIR | Input shaft binding, gear whine, chatter | Offset dowel pins (0.007" or 0.014") |
| Flywheel Step Height (Twin Disc) | Varies (e.g., 0.550" for McLeod) | Intermediate plate binding, violent chatter | Machine flywheel to exact OEM step spec |
| Pressure Plate Bolt Torque | 35-40 lb-ft (Star Pattern) | Uneven clamp load, localized hot spots | Use calibrated torque wrench, ARP lube |
| Flywheel Bolt Torque (GM LS/LT) | 85 lb-ft (with ARP Ultra-Torque) | Flywheel walk, crankshaft thrust bearing wear | ARP 245-003 flywheel bolt kit |
| Hydraulic Release Bearing (HRB) Air Gap | 0.100" - 0.150" | Slipping, premature bearing death, chatter | Adjust master cylinder pushrod or HRB shim |
Step 3: The Hydraulic Release Bearing (HRB) Factor
In modern performance builds, mechanical throwout bearings have been largely replaced by Hydraulic Release Bearings (HRBs). An incorrectly set up HRB is a leading cause of clutch chatter in 2026's high-end builds. If the air gap between the HRB piston and the pressure plate fingers is too tight (less than 0.080"), the bearing will constantly ride the fingers. This prevents the clutch from fully engaging, causing micro-slippage that feels exactly like chatter.
Conversely, if the air gap is too large (over 0.200"), the piston will over-extend, potentially popping out of its bore or failing to fully disengage the clutch, leading to gear grind and harsh, chattery re-engagement. Always measure the air gap using a feeler gauge through the inspection window before finalizing the transmission installation. For detailed driveline alignment procedures, Tremec Driveline Experts highly recommend verifying the clutch fork geometry and pivot ball wear, as a worn pivot ball alters the release ratio and promotes chatter.
Driveline Angles and Solid Motor Mounts
Finally, do not ignore the chassis. High-performance builds often utilize solid aluminum or polyurethane motor mounts to prevent engine movement under hard launch. While great for traction, solid mounts transfer every engine harmonic directly into the chassis. Furthermore, if the engine was swapped or the transmission crossmember was modified, the driveline pinion angle may be incorrect.
According to ARP Fasteners Torque Specs and driveline engineering principles, the transmission output shaft angle and the differential pinion angle must be equal and opposite (typically within 1 to 3 degrees of each other) to allow the U-joints to cancel out their inherent velocity fluctuations. If the angles are parallel or exceed 4 degrees, the U-joints will bind and release under load, creating a violent shudder that is frequently misdiagnosed as clutch chatter. Use a digital angle finder on the transmission tailshaft and the differential pinion yoke to verify your setup.
Final Verdict: When to Pull the Transmission
Clutch chatter diagnosis requires a systematic elimination of variables. By mastering the technique of removing fan clutch without tool access, you save hours of labor and avoid unnecessary transmission removal. Once engine harmonics, driveline angles, and motor mounts are verified, you can confidently pull the transmission knowing that the fault lies within the bellhousing. Whether it requires resurfacing the flywheel to correct the step height, installing offset dowels to fix bellhousing runout, or replacing a warped sintered iron disc, a methodical approach is the only way to achieve smooth, chatter-free engagement in a high-horsepower manual vehicle.