The Evolution of Motorcycle Clutch Actuation
Modern motorcycle engineering has largely abandoned mechanical cables in favor of hydraulic clutch systems. From the heavy-duty diaphragm springs of a Harley-Davidson Softail to the high-revving slipper clutches on a Ducati Panigale V4, hydraulic actuation provides consistent lever feel, self-compensation for wear, and reduced maintenance. However, the phrase 'self-adjusting' is a misnomer that leads many riders into a false sense of security. When a hydraulic system falls out of specification, it does not merely feel stiff; it can cause catastrophic clutch pack glazing, master cylinder seal failure, or a complete loss of disengagement.
Understanding how to adjust a clutch on a motorcycle with a hydraulic setup requires a fundamental grasp of fluid dynamics, master cylinder compensating ports, and slave cylinder pushrod geometries. This preventive maintenance guide will walk you through advanced diagnostic procedures, exact torque specifications, and the critical adjustments required to keep your hydraulic clutch system operating flawlessly in 2026 and beyond.
Diagnostic Matrix: Identifying Hydraulic Clutch Symptoms
Before turning a single wrench, you must accurately diagnose the symptom. Unlike cable systems where fraying or stretching is visually obvious, hydraulic failures are internal. Use the following diagnostic matrix to pinpoint the root cause of your clutch anomaly.
| Symptom | Probable Root Cause | Diagnostic Test |
|---|---|---|
| Spongy or Soft Lever | Air ingestion, water-contaminated fluid, or swollen seals | Check fluid color; perform reverse bleed; inspect MC bore for scoring. |
| Hard Pull / High Effort | Collapsed braided line, blocked MC compensating port, or dry slave piston | Crack bleeder valve; if lever instantly softens, the blockage is upstream. |
| Clutch Drag (Creeping) | Insufficient lever free play, warped friction plates, or weak slave return spring | Measure lever free play; verify slave pushrod retracts fully when released. |
| Lever Slowly Pulls to Bar | Internal master cylinder bypass (failed primary cup seal) | Hold lever under pressure for 60 seconds; if it drops, rebuild the MC. |
The Golden Rule of Hydraulic Fluids: DOT vs. Mineral Oil
The most common and expensive mistake made during hydraulic clutch maintenance is cross-contaminating fluid types. Motorcycle manufacturers utilize two entirely incompatible hydraulic fluid chemistries:
- DOT 4 / DOT 5.1 (Glycol-based): Used by Brembo and Nissin master cylinders (Ducati, Honda, Yamaha, Kawasaki). DOT fluid is hygroscopic, meaning it absorbs moisture from the atmosphere over time, lowering its boiling point and promoting internal corrosion.
- Mineral Oil: Used exclusively by Magura hydraulic systems (KTM, Husqvarna, BMW, and some Triumph models). Mineral oil is hydrophobic and does not absorb water.
Critical Warning: Never introduce DOT fluid into a mineral oil system, or vice versa. Glycol-based fluids will cause the EPDM rubber seals in a Magura mineral system to swell and disintegrate within hours, resulting in a locked clutch lever and requiring a complete $300+ master cylinder and slave cylinder replacement. Always verify the cap engraving or consult the OEM service manual before opening the reservoir.
Step-by-Step: How to Adjust a Clutch on a Motorcycle (Hydraulic Systems)
While hydraulic systems automatically compensate for clutch pack wear via fluid displacement, they still require precise mechanical adjustments at both the lever (master cylinder) and the transmission (slave cylinder/pushrod).
Phase 1: Lever Free Play and the Compensating Port
The most critical adjustment on any hydraulic motorcycle clutch is the lever free play. The master cylinder piston must fully retract to expose the compensating port—a tiny orifice that allows fluid to return to the reservoir and equalizes pressure changes due to heat.
- Measure the gap between the lever tip and its resting stop. You need exactly 2mm to 3mm of free play before you feel the resistance of the master cylinder piston engaging.
- If there is zero free play, the compensating port remains blocked. As brake/clutch fluid heats up and expands, it has nowhere to go, applying constant pressure to the clutch plates. This results in clutch slip, extreme heat, and burnt friction material.
- Adjust the pushrod at the lever pivot or the master cylinder barrel adjuster until the 2-3mm spec is achieved. Lock the jam nut securely (typically 5-7 Nm).
Phase 2: Internal Pushrod Adjustment (V-Twin & Harley-Davidson Focus)
While Japanese and European sportbikes utilize external slave cylinders that push directly on the clutch actuator arm, many V-Twin motorcycles (like Harley-Davidson Touring and Softail models) use an internal pushrod that passes through the mainshaft. This requires manual adjustment inside the primary chaincase.
- Remove the derby cover (clutch inspection cover). Torque spec for reinstallation is usually 8-13 Nm (72-115 in-lbs).
- Loosen the locknut on the clutch pushrod adjuster screw located in the center of the pressure plate.
- Turn the adjuster screw inward (clockwise) until you feel it lightly seat against the release bearing. Do not apply preload.
- Back the screw out exactly 1/2 to 1 full turn. This specific gap ensures the release bearing is not under constant load, which would destroy the bearing and cause clutch slip.
- Hold the screw in place and tighten the locknut to 8-14 Nm (70-125 in-lbs).
Phase 3: System Bleeding and Fluid Exchange
Even a microscopic air bubble in the hydraulic line will compress under lever pressure, resulting in a spongy feel and incomplete clutch disengagement (leading to gear clunking and difficulty finding neutral). Traditional top-down bleeding often traps air in the slave cylinder's upward-facing loops.
The Reverse Bleed Technique:
Using a syringe-style bleeder (such as the Motion Pro Syringe Bleeder Kit), attach the hose to the slave cylinder bleeder nipple. Fill the syringe with fresh, unopened fluid. Slowly inject fluid upward into the system, forcing air bubbles naturally up into the master cylinder reservoir. Keep the reservoir cap off and monitor the fluid level to prevent overflow. Once no bubbles appear in the reservoir, close the bleeder nipple (torque to 5-8 Nm—these are fragile and strip easily) and top off the reservoir to the MAX line.
Preventive Maintenance Intervals and Component Lifespan
Adhering to a strict preventive maintenance schedule will extend the life of your Brembo or Nissin hydraulic components and prevent roadside failures.
| Maintenance Task | Interval | Estimated Cost (DIY vs Shop) | Notes |
|---|---|---|---|
| Fluid Flush & Bleed | Every 2 Years / 12,000 Miles | $25 DIY / $85 Shop | Use only unopened fluid bottles; discard old fluid. |
| Master Cylinder Rebuild | Every 5-7 Years | $45 DIY / $250 Shop | Replace the primary cup seal and return spring. |
| Slave Cylinder Rebuild | Every 50,000 Miles | $35 DIY / $300+ Shop | Watch for scoring on the slave piston bore. |
| Stainless Braided Line | Inspect Annually | $60-$120 Part | Check for fraying at the banjo bolt crimps. |
Advanced Edge Cases: When Hydraulics Aren't the Culprit
If you have verified lever free play, performed a flawless reverse bleed, and confirmed the master cylinder is holding pressure, but the clutch still drags or fails to disengage, you must look past the hydraulic system.
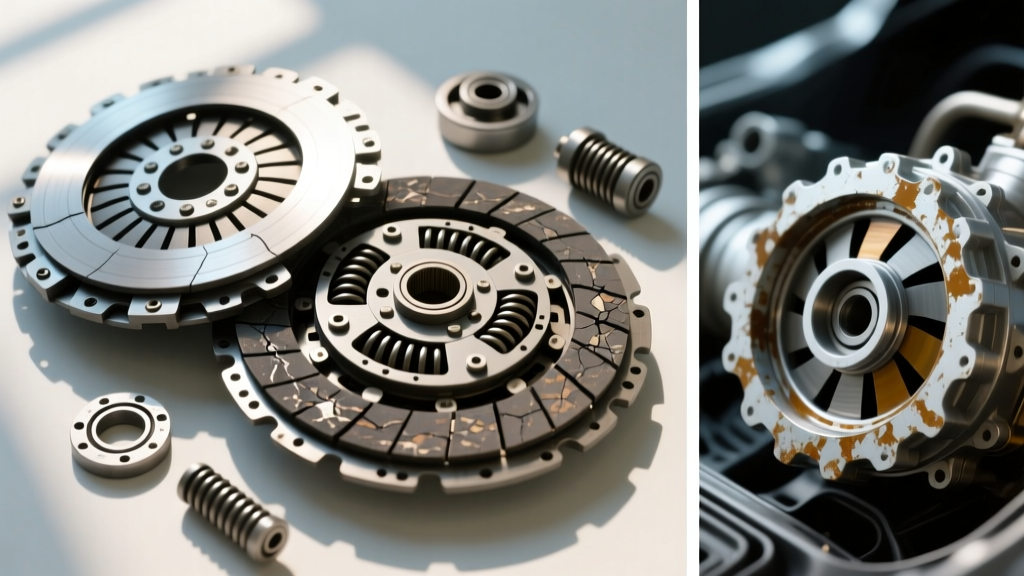
- Warped Friction Plates: If the motorcycle was stored for a long period or subjected to extreme stop-and-go traffic, the steel and friction plates can warp or bond together. A hydraulic system cannot overcome mechanical binding inside the clutch basket.
- Notched Clutch Basket: High-mileage motorcycles often develop deep grooves in the aluminum clutch basket tangs. When you pull the hydraulic lever, the friction plates get wedged in these grooves and refuse to separate, mimicking a hydraulic failure.
- Diaphragm Spring Fatigue: Common on KTM and Husqvarna models, the Belleville washer (diaphragm spring) can lose its metallurgical tension over time. This requires less hydraulic pressure to pull, but ultimately fails to provide enough clamping force, resulting in slip under heavy throttle.
Mastering how to adjust a clutch on a motorcycle requires recognizing the boundary between hydraulic actuation and mechanical engagement. By maintaining pristine fluid, respecting torque specifications, and understanding the physics of the compensating port, you ensure your machine shifts flawlessly for thousands of miles.