The Thermal Reality of Desert and Towing Heat
Driving in extreme heat environments like the Sonoran Desert, the Middle East, or even summer stop-and-go traffic in Texas pushes automatic transmissions to their absolute thermal limits. Modern units like the GM 8L90, Ford 10R80, and ZF 8HP are marvels of engineering, but their tight tolerances and high-friction clutch packs generate immense internal heat. When ambient temperatures exceed 105°F (40°C), the factory transmission cooling system often falls short, leading to rapid fluid degradation and clutch glazing.
Upgrading to a high-capacity auxiliary cooler is the ultimate safeguard for hot climate driving. However, the installation process—specifically detaching factory hard lines and quick-connects—requires extreme precision. In this expert guide, we break down hot climate thermal management and explain why investing in a dedicated transmission cooler line removal tool is the difference between a seamless upgrade and a catastrophic radiator end-tank failure.
The 20-Degree Rule of ATF Degradation: According to the Automatic Transmission Rebuilders Association (ATRA), the optimal base sump temperature for automatic transmission fluid is 175°F. For every 20°F increase above 200°F, the lifespan of the fluid is effectively cut in half. At 240°F, synthetic ATF begins to lose its shear stability, and conventional fluid turns to varnish.
Why the Right Transmission Cooler Line Removal Tool is Non-Negotiable
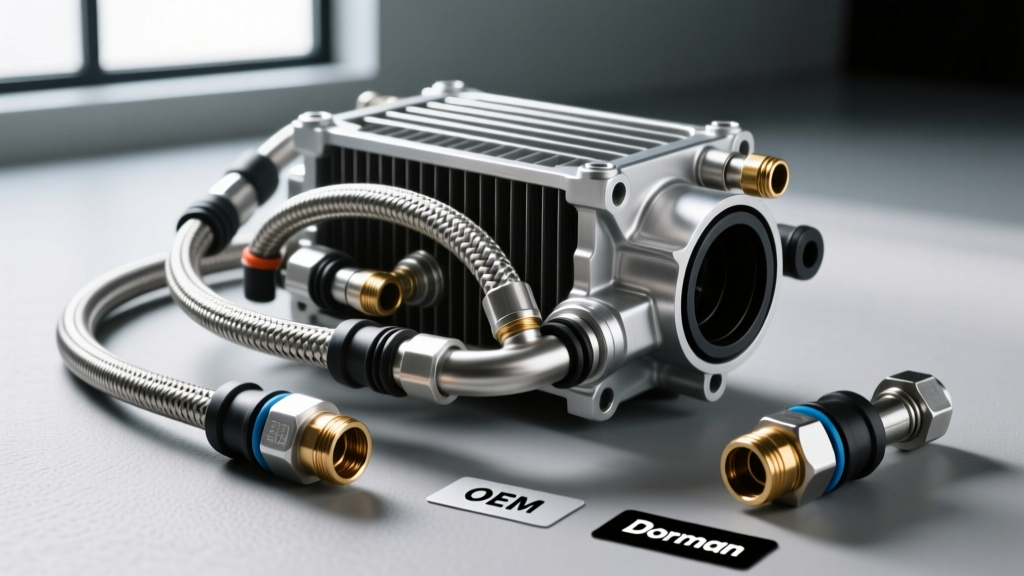
Modern vehicles utilize plastic-collared quick-connect fittings to secure transmission cooler lines to the radiator and transmission case. On popular hot-climate platforms like the GM 6L80/8L90 and the Ford 10R80, these factory lines are routed tightly against the engine block and radiator support. After 60,000 miles of intense under-hood heat and UV exposure, the plastic retainers inside these quick-connects become incredibly brittle.
Attempting to pry these lines off with channel-lock pliers, flathead screwdrivers, or pick tools almost always results in crushing the internal collet or snapping the radiator end-tank. A replacement radiator for a late-model Silverado or F-150 can easily exceed $450 in parts alone, not to mention the coolant bleed procedure. This is where a purpose-built transmission cooler line removal tool becomes mandatory.
Quick-Connect Anatomy and Tool Mechanics
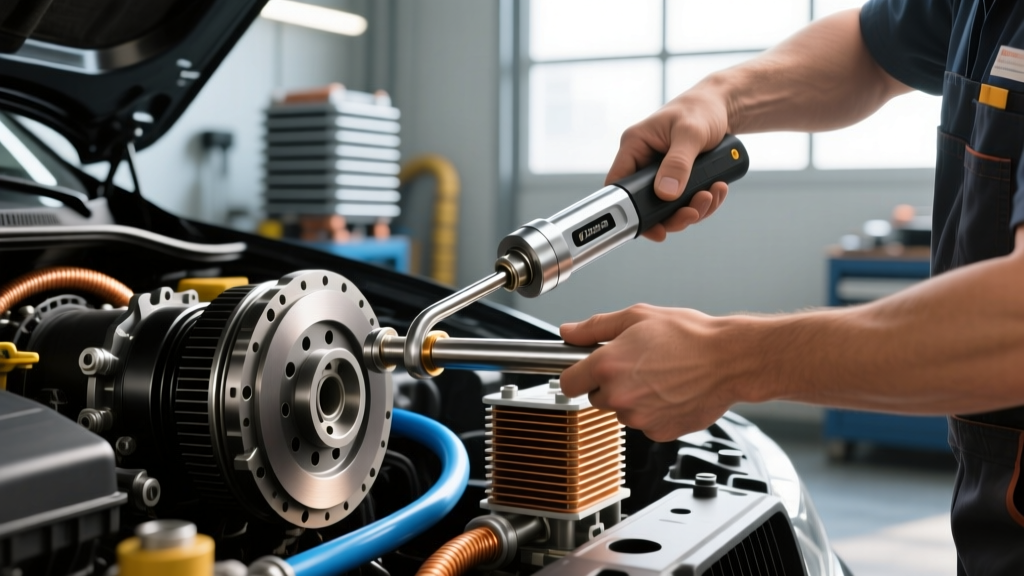
Factory quick-connects feature an internal release tab or a 360-degree collet ring that must be compressed evenly to release the line. A proper removal tool slides over the hard line, enters the quick-connect housing, and applies uniform radial pressure to the release tabs, allowing the line to slide out with zero lateral stress on the radiator.
Recommended Tools and Pricing (2026 Market)
- Lisle 39570 Transmission Line Disconnect Tool Set: Priced around $28-$35, this set includes 3/8", 1/2", and 5/8" sizes. It is the industry standard for GM and Ford quick-connects and features a durable aluminum body that won't crack under pressure.
- OTC 7315 Angled Transmission Line Disconnect Set: Priced around $45-$60. The angled design is crucial for tight engine bays like the ZF 8HP equipped Ram 1500s or Jeep Grand Cherokees, where the cooler lines tuck behind the A/C compressor.
- Universal Scissor-Style Disconnect Pliers: Costing roughly $25, these are useful for older hose-clamp style barbed fittings but should never be used on modern plastic quick-connects.
Selecting the Optimal Auxiliary Cooler for 110°F+ Ambients
When upgrading for extreme heat, the physical design of the cooler dictates its efficiency. While tube-and-fin coolers are cheap, they lack the surface area required for high-GVWR towing in desert climates. According to thermal testing data from Derale Performance, stacked-plate designs offer the highest thermal transfer rates due to their turbulator technology and massive surface area exposure.
| Cooler Type | Design Characteristics | Best Application | Estimated Cost (2026) | Example Part Number |
|---|---|---|---|---|
| Tube-and-Fin | Bent aluminum tubes with stamped fins. Low pressure drop, low thermal transfer. | Light duty, mild climates, older vehicles. | $35 - $55 | Hayden 676 |
| Plate-and-Fin | Flat plates with corrugated fins. Moderate efficiency, good airflow. | Daily driving, moderate towing, RVs. | $60 - $90 | Derale 15902 |
| Stacked-Plate | Interlocking aluminum plates with internal turbulators. Highest efficiency, requires high airflow. | Desert towing, heavy GVWR, off-road racing. | $120 - $240 | Derale 15960 / Mishimoto MMTC-F2D |
For a heavy-duty application like a Ford F-250 with the 10R140 transmission operating in Arizona summers, the Derale Series 9000 Stacked-Plate (Part #15960) or the Mishimoto MMTC-F2D are the premier choices. They can drop sump temperatures by 20°F to 35°F compared to stock, keeping the fluid safely in the 180°F-195°F window even when pulling 10,000 lbs up a 6% grade.
Routing Strategies: Series vs. Standalone Bypass
How you plumb the new cooler is just as critical as the cooler you buy. Modern transmissions utilize thermal bypass valves to keep fluid trapped in the transmission until it reaches operating temperature (usually around 160°F-180°F) to prevent shift flaring and torque converter shudder.
The Series Routing Method (Recommended)
Route the transmission output line to the factory radiator heat exchanger first, then from the radiator to the auxiliary stacked-plate cooler, and finally back to the transmission return port. This ensures the fluid is pre-cooled by the radiator (if engine coolant temps are lower than ATF temps) and then polished by the high-efficiency auxiliary cooler. It also maintains the function of the factory thermal bypass valve.
The Standalone Bypass Method
In extreme hot climates where engine coolant temps regularly exceed 220°F (common in tuned 6.7L PowerStrokes or Duramax platforms), the factory radiator heat exchanger actually adds heat to the transmission fluid. In this scenario, experts recommend bypassing the radiator loop entirely, routing the transmission directly to the auxiliary cooler. Note: You must install an inline aftermarket thermal bypass valve (like the Magnefine inline thermostat) to ensure the fluid still warms up properly during cold morning starts, even in a hot climate.
Fastener Torque Specs and Hardware Best Practices
When adapting factory lines to AN-fittings or mounting the new cooler, precision hardware practices prevent leaks and vibration-induced fatigue failures.
- AN-6 Aluminum Fittings: When converting factory quick-connects to -6 AN hard lines for custom routing, torque the aluminum AN nuts to 12-15 lb-ft. Always use a crowfoot wrench and apply a light coat of assembly lube to the threads. Do not use Teflon tape on flared AN fittings.
- Cooler Mounting Brackets: When bolting the cooler to the radiator support or using zip-tie mounts, ensure the M8 bracket bolts are torqued to 18-22 lb-ft. Over-torquing will warp the cooler end-tanks, causing micro-leaks under thermal expansion.
- Clearance Requirements: Maintain a minimum of 3/4 inch (19mm) of clearance between the auxiliary cooler fins and the A/C condenser. Use rubber isolator pads (usually included in the Derale hardware kit) between the metal brackets and the cooler housing to prevent galvanic corrosion and chassis vibration transfer.
Fluid Selection for High-Ambient Environments
A mechanical upgrade must be paired with the correct chemical protection. In hot climates, standard Dexron VI or Mercon LV fluids may shear out of grade under sustained 230°F+ loads. For severe-duty hot climate applications, synthetic fluids with high film strength and robust friction modifier packages are required. Fluids like Amsoil Signature Series Multi-Vehicle ATF or Red Line D4 ATF maintain their viscosity index and resist oxidation significantly longer than conventional alternatives, protecting the clutch packs in ZF and GM 10-speed units during high-heat towing scenarios.
Final Thermal Management Checklist
Before taking your upgraded vehicle out into the desert heat, verify the following:
- Confirm the auxiliary cooler is receiving direct, unobstructed airflow (not blocked by aftermarket winch plates or auxiliary lighting brackets).
- Verify that the correct transmission cooler line removal tool was used and no plastic retainer shards are left inside the quick-connect housings.
- Check for fluid leaks at the AN-adapters after a 20-mile heat cycle and re-torque if necessary.
- Monitor your transmission sump temperature via an OBD2 scanner or dedicated Edge/Banks monitor to establish your new thermal baseline.
By respecting the fragility of modern quick-connect fittings and investing in the highest-efficiency stacked-plate cooling technology, you can effectively bulletproof your drivetrain against the harshest thermal environments on the planet.