The Evolution of Heavy-Duty Axle Leak Detection
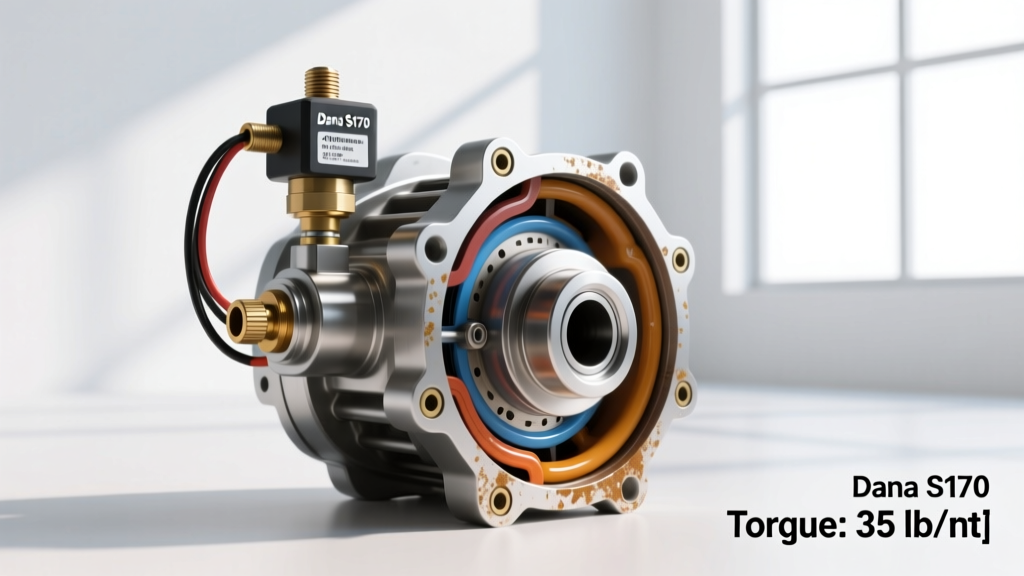
In the heavy-duty commercial trucking sector, drivetrain failures due to fluid loss remain a leading cause of unscheduled downtime. The Dana Spicer S170 series drive axle, a staple in Class 8 vehicles like the Freightliner Cascadia and Volvo VNL, holds approximately 19 pints of expensive synthetic 75W-90 gear oil. A micro-leak at the pinion seal or carrier housing can lead to catastrophic bearing failure within a few thousand miles. Historically, fleet technicians relied on soap-bubble tests or visual inspections to verify axle rebuilds. However, as we move through 2026, top-tier fleet maintenance facilities have adopted industrial-grade diagnostics to warranty their rebuilds. The most critical tool in this modern arsenal is the 4-20mA differential pressure transmitter, integrated directly into automated axle pressure-decay test benches.
Why Use a 4-20mA Differential Pressure Transmitter for Axle Diagnostics?
A standard mechanical pressure gauge lacks the resolution to detect micro-leaks over a short testing window. By sealing the axle housing, breather ports, and fill plugs, and pressurizing the internal cavity to exactly 2.5 PSI, technicians can monitor pressure decay with extreme precision. When configuring the shop's DAQ (Data Acquisition) system for the 4 20ma differential pressure transmitter, the sensor measures the differential pressure between the pressurized axle interior and the ambient shop air.
The 4-20mA current loop is the industry standard for industrial automation due to its immunity to electrical noise over long cable runs. A typical transmitter calibrated for a 0–5 PSI range will output 4mA at 0 PSI and 20mA at 5 PSI. If the axle is pressurized to 2.5 PSI, the expected signal is exactly 12.0mA. A drop to 11.6mA over a 15-minute dwell time indicates a pressure loss of roughly 0.125 PSI, signaling a compromised seal long before gear oil would visibly weep.
Transmitter Calibration and Air Setup
- Regulated Air Source: Use a precision digital pneumatic regulator set to 2.5 PSI. Exceeding 5 PSI risks blowing out the axle shaft seals or damaging the differential breather valve.
- DAQ Integration: Wire the transmitter's signal loop to a 24V DC power supply and a precision multimeter or PLC analog input module.
- Temperature Compensation: According to SAE International Standards, rapid changes in shop temperature can cause false pressure decay readings. Ensure the axle housing has acclimated to the shop's ambient temperature (ideally 68°F–72°F) before initiating the test.
Dana S170 Differential Leak Repair: Step-by-Step
When the pressure decay test isolates a leak, or during a scheduled 500,000-mile differential rebuild, strict adherence to Dana Spicer Technical Resources is mandatory. Below are the primary leak points and their precise repair protocols.
1. Pinion Seal Replacement
The pinion seal is the most common failure point due to driveline angularity and universal joint vibration.
- Removal: Mark the driveshaft and pinion yoke for reassembly. Remove the pinion nut using a specialized yoke holding fixture (never use a chain wrench on the yoke). Note: The pinion nut on the S170 is a prevailing-torque, single-use fastener.
- Seal Extraction: Carefully pry out the old seal. Inspect the pinion bore for scoring. If the wear sleeve is grooved, install a Dana Speedi-Sleeve to provide a fresh sealing surface.
- Installation: Lubricate the new seal (Dana Part # 133555 or SKF 47322) with synthetic gear oil. Drive it in using a stepped seal driver until it sits perfectly flush with the housing bore. Do not cock the seal during installation, as this is the leading cause of immediate pressure-decay test failures.
- Torque Spec: Install a new pinion nut. Torque to 450–550 lb-ft while monitoring bearing preload with an inch-pound torque wrench (target preload: 20–35 in-lbs for used bearings, 40–60 in-lbs for new).
2. Carrier Housing Gasket and RTV Application
Unlike light-duty axles that use cut cork or rubber gaskets, the Dana S170 differential carrier relies on RTV silicone. Using the wrong sealant will result in a failed pressure test and subsequent fluid loss.
- Clean: Use a plastic scraper and brake cleaner to remove old RTV from the machined aluminum and cast-iron mating surfaces.
- Apply: Apply a continuous 1/8-inch bead of Dana-approved RTV (such as Permatex Ultra Black or Loctite 518). Ensure the bead encircles all bolt holes on the inside to prevent oil from migrating through the bolt threads.
- Torque Sequence: Install the carrier and torque the perimeter bolts in a crisscross pattern to 35–45 lb-ft. Allow 1 hour of cure time before pressure testing.
3. Axle Shaft Wheel End Seals
Wheel end leaks often mimic differential leaks, as oil migrates past the axle shaft seals into the brake drums. Replace the axle shaft seals (Dana Part # 133788) using a depth-setting tool. The seal must be seated exactly 0.125 inches below the axle tube flange to align perfectly with the polished sealing band on the axle shaft.
Dana S170 Fluid Capacities and 2026 Specifications
Proper lubrication is critical for the S170's hypoid gear set. In 2026, extended-drain synthetic fluids are the standard for Class 8 over-the-road applications, allowing for 500,000-mile service intervals.
| Specification | Dana S170 Standard | Dana S170 Long-Tandem |
|---|---|---|
| Fluid Type | Synthetic 75W-90 (API GL-5) | Synthetic 75W-90 (API GL-5) |
| Recommended Brand | Mobil Delvac 1 Synthetic 75W-90 | Mobil Delvac 1 Synthetic 75W-90 |
| Capacity (Pints) | 19 Pints (2.37 Gallons) | 24 Pints (3.0 Gallons) |
| Fill Plug Torque | 45-60 lb-ft | 45-60 lb-ft |
| Estimated Fluid Cost | $85 - $110 USD | $110 - $140 USD |
Note: Always fill the axle until the fluid reaches the bottom of the fill plug threads. For further drivetrain lubrication specifications, consult the Eaton Drivetrain Catalog and cross-reference Dana's technical bulletins.
Validating the Repair: The Pressure Decay Protocol
Once the mechanical repairs are complete, but before filling the axle with gear oil, the 4-20mA differential pressure transmitter is used to validate the shop's work.
- Seal the fill plug, drain plug, and breather vent with calibrated test caps.
- Connect the regulated air supply and the 4-20mA transmitter to the differential housing via the breather port adapter.
- Pressurize the housing to exactly 2.5 PSI. Verify the DAQ reads 12.0mA.
- Isolate the air supply valve and start a 15-minute timer.
- Pass Criteria: The current remains above 11.8mA (a loss of less than 0.06 PSI).
- Fail Criteria: The current drops below 11.5mA. If this occurs, use an ultrasonic leak detector to pinpoint the exact frequency of the escaping air, which will lead you directly to a misaligned pinion seal or a porous RTV bead on the carrier housing.
Summary and Preventative Maintenance
Integrating a 4 20ma differential pressure transmitter into your heavy-duty drivetrain repair workflow eliminates the guesswork from differential leak detection. By combining precision electronic diagnostics with exact mechanical torque specifications and high-quality 75W-90 synthetic fluids, fleet shops can drastically reduce warranty claims and keep Class 8 trucks on the road where they belong. Always document your pressure decay test results and attach the mA decay graph to the vehicle's digital service record for complete traceability.