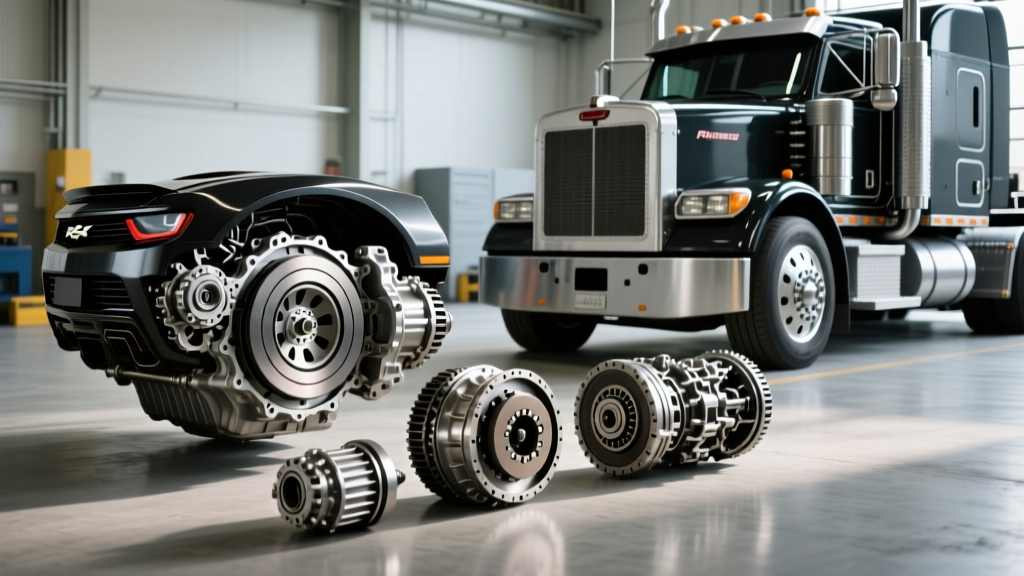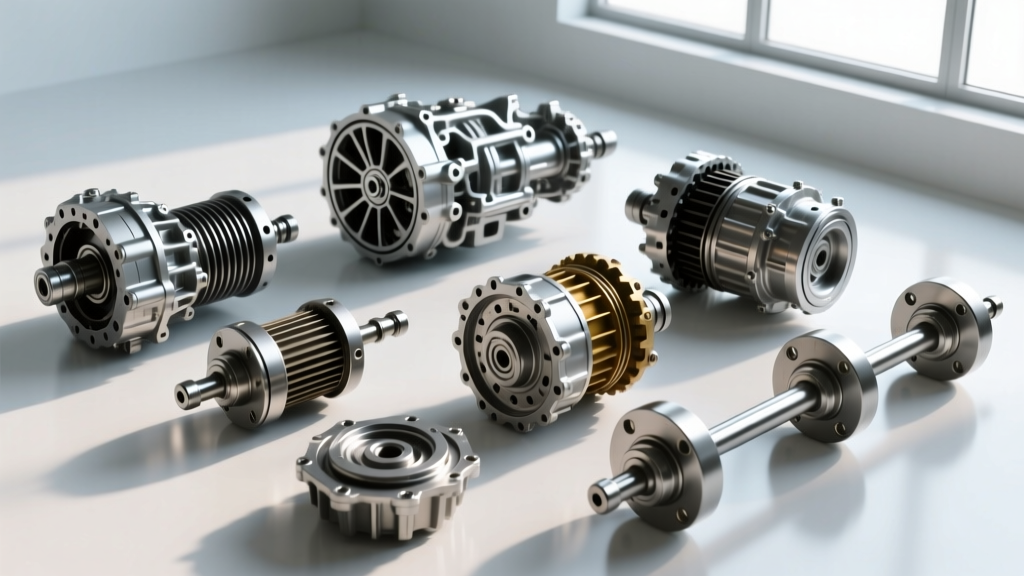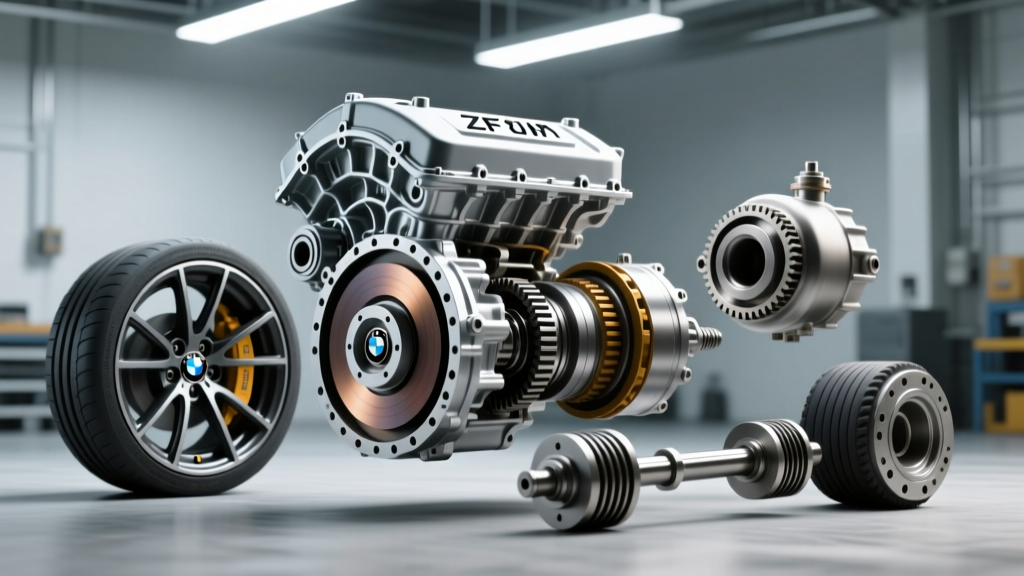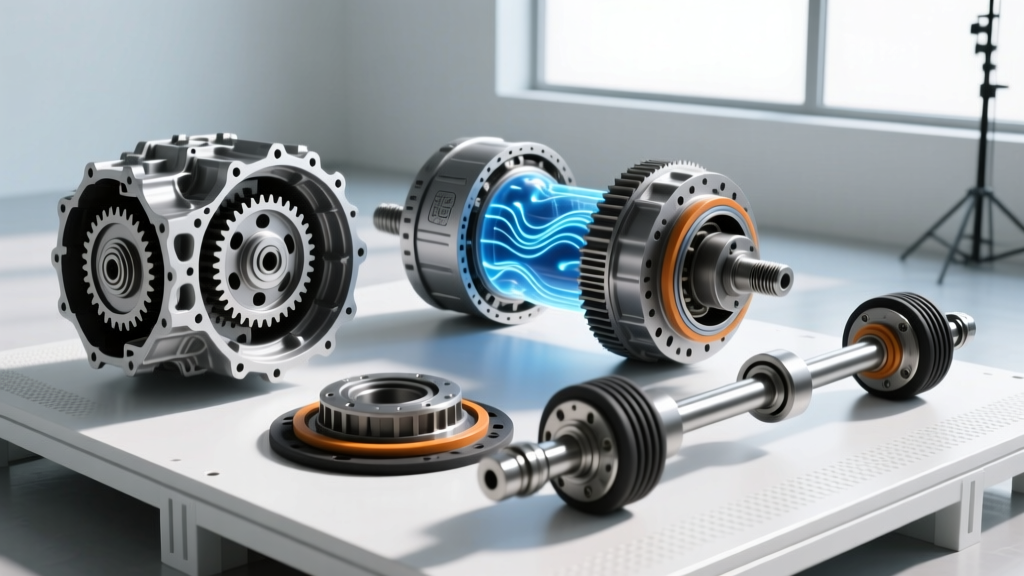
Modern all-wheel-drive (AWD) and four-wheel-drive (4WD) systems rely on complex electro-mechanical clutch packs, encoder motors, and precision-machined gearsets to distribute torque. When a customer complains of binding, shudder, or unusual noise, pinpointing the exact failing component requires more than a visual inspection. Technicians must actively cycle drivetrain systems through specific physical and electronic operational modes to replicate the fault, interpret Noise, Vibration, and Harshness (NVH) frequencies, and verify OBD-II readiness monitors. This guide provides a master-level diagnostic framework for drivetrain component identification, complete with exact torque specifications, fluid capacities, and troubleshooting matrices for 2026 service bays.
The Diagnostic Matrix: Identifying Drivetrain Components by Symptom
Drivetrain complaints often overlap with transmission or suspension issues. The key to accurate component identification lies in isolating the symptom under specific load and steering conditions. Below is a diagnostic matrix mapping common drivetrain components to their primary failure signatures and the required verification tests.
| Component | Common Failure Symptom | Diagnostic Action & Verification |
|---|---|---|
| CV Axle (Outer Joint) | Rhythmic clicking or popping on tight, low-speed turns. | Full-lock figure-8 test on dry pavement. Inspect boot for grease sling. |
| U-Joint (e.g., Spicer 1310) | Metallic clunk on gear engagement; squeak at low speeds. | Driveshaft rotational lash test. Check for rust dust at bearing caps. |
| Transfer Case (e.g., BW 4485) | Binding, hopping, or shudder during tight parking lot turns. | Figure-8 bind test. Verify fluid type and clutch pack wear via scan tool. |
| Encoder Motor / Actuator | Delayed AWD engagement; dashboard 'Service AWD' light. | Bi-directional scan tool commanded state test (0-100% duty cycle). |
| Differential Ring & Pinion | High-frequency whine that changes pitch on deceleration vs. acceleration. | Chassis ears or NVH analyzer to isolate gear mesh frequency. |
How to Cycle Drivetrain Systems for Fault Replication
Intermittent AWD faults rarely present themselves while the vehicle is on a static lift. To properly diagnose these systems, a technician must cycle drivetrain actuators and clutches using both physical road tests and electronic bi-directional controls. According to BorgWarner Transfer Case Technologies, modern torque-on-demand systems require precise thermal and mechanical cycling to accurately assess clutch pack health.
The Physical Bind Test (Figure-8)
The figure-8 test is the gold standard for identifying transfer case clutch bind or incorrect fluid viscosity. On a flat, dry, paved surface, turn the steering wheel to full lock and drive the vehicle in a tight circle at 3-5 mph. Perform five circles in each direction. If the vehicle exhibits a 'hopping' or 'skipping' sensation from the rear tires, the transfer case clutch pack is failing to slip appropriately, or the wrong fluid is installed. For example, filling a GM BorgWarner 4485 transfer case with standard Dexron VI instead of the required AutoTrak II (P/N 88900402) will cause immediate clutch chatter and bind due to the lack of specific friction modifiers.
Electronic Actuation and OBD-II Monitors
When dealing with electronic AWD systems, you must electronically cycle drivetrain components to verify actuator health. Using a factory-level scan tool (e.g., GM GDS2 or Ford FDRS), command the transfer case clutch duty cycle from 0% to 100% in 10% increments. Listen for the encoder motor's ratcheting sound and monitor the clutch position sensor feedback. A lag between the commanded position and the actual sensor feedback indicates a worn encoder motor gear or a stretched shift fork. Furthermore, after clearing codes, technicians must follow specific EPA Drive Cycle Schedules and OEM-specific routines to successfully cycle drivetrain OBD-II monitors, ensuring the TCM's self-tests for clutch temperature and slip rates are marked as 'Complete' before returning the vehicle to the customer.
NVH Frequency Analysis: Pinpointing the Failing Part
Vibration analysis is critical for differentiating between a failing transmission output shaft, a defective driveshaft, or a worn axle. By correlating vehicle speed with vibration frequency, you can isolate the exact rotating assembly.
1st Order vs. 2nd Order Vibrations
- 1st Order Driveshaft Vibration: Occurs once per revolution of the driveshaft. Typically felt as a low-frequency boom or shake in the seat or floorpan between 50-65 mph. Causes include missing driveshaft balancing weights, bent tubing, or excessive runout at the slip yoke.
- 2nd Order Vibration: Occurs twice per revolution. Often felt as a high-frequency buzz or shudder in the steering wheel or floor. This is the hallmark signature of a binding U-joint or an incorrect pinion angle. If the U-joint operating angle exceeds 3 degrees, the velocity fluctuations cancel out improperly, inducing 2nd order harmonics.
- High-Frequency Gear Whine: Occurs at frequencies tied to the final drive ratio. If the noise shifts pitch when transitioning from coast to drive, the issue lies in the ring and pinion gear mesh or the transfer case planetary set, not the driveshaft.
Real-World Specs: Torque, Fluids, and Clearances
Proper reassembly is just as critical as diagnosis. Over-torquing drivetrain fasteners can distort bearing caps, while under-torquing leads to catastrophic separation. The SAE Technical Standards dictate strict tolerances for these high-stress components. Below are exact specifications for common late-model drivetrain repairs.
| Component / Application | Specification / Part Number | Estimated 2026 Repair Cost |
|---|---|---|
| Spicer 1310 U-Joint Strap Bolts | 18-22 lb-ft (25-30 Nm) | $120 - $180 (Pair) |
| GM 1500 CV Axle Nut (Front) | 155 lb-ft (210 Nm) - Torque to yield | $250 - $450 (OEM Axle) |
| BW 4485 Transfer Case Fluid | AutoTrak II (P/N 88900402) - 1.9L Capacity | $40 - $60 (Fluid Only) |
| BMW xDrive ATC13 Actuator | Calibration required post-install via ISTA | $800 - $1,200 (Part + Labor) |
| ZF 8HP Mechatronic Sleeve | Replace sealing sleeves if leaking at trans-to-TC | $150 - $250 (Kit) |
Avoiding the Transmission vs. Transfer Case Trap
One of the most costly misdiagnoses in modern drivetrain repair is confusing an internal transmission fault with a transfer case issue. In vehicles where the transfer case mounts directly to the transmission tail housing (such as the ZF 8HP integrated setups), a worn output shaft bushing inside the transmission can allow the driveshaft to wobble. This wobble mimics a failing transfer case input bearing. Before condemning a $2,000 transfer case, always disconnect the front and rear driveshafts and check for radial play directly at the transmission output flange. If lateral movement exceeds 0.010 inches, the fault lies within the transmission's rear support bearing or bushing, not the transfer case. Accurate component identification saves shops from unwarranted warranty claims and ensures the customer receives the correct, permanent repair.