The FWD Reality: Translating 'U-Joint' Symptoms for the ES 350
When owners begin researching Lexus ES 350 drivetrain issues, a common search pattern emerges: drivers experiencing clunking, clicking, or low-speed vibrations frequently search for 'U-joint symptoms and replacement.' As automotive technicians, we must immediately address a fundamental mechanical misconception. The Lexus ES 350—spanning the XV60 (2013–2018) and XV70 (2019–2024) generations—is a front-wheel-drive (FWD) unibody sedan. It does not possess a longitudinal driveshaft, and therefore, it does not have Universal Joints (U-joints).
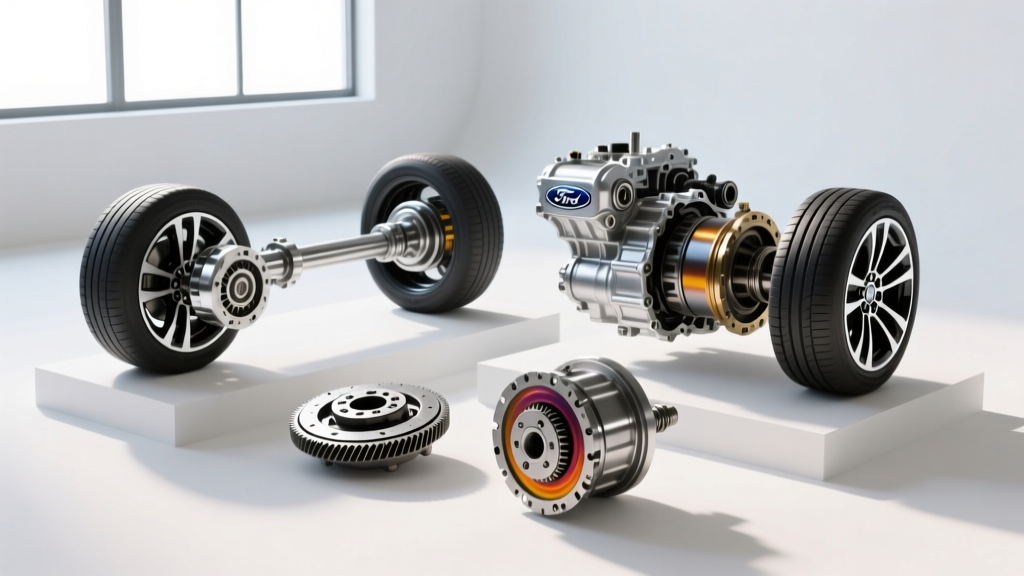
Instead, the ES 350 utilizes a transverse-mounted transaxle (such as the U660E 6-speed or UA80E 8-speed automatic) that routes power to the front wheels via Constant Velocity (CV) half-shafts. In the consumer lexicon, 'U-joint' is often mistakenly used as a catch-all term for any rotational driveline joint. If you are experiencing classic U-joint failure symptoms in your ES 350, you are actually witnessing the failure of the inner or outer CV joints. In this technical deep-dive, we will decode these symptoms, outline the exact CV axle replacement procedure with factory torque specifications, and briefly contrast this with actual U-joint service for those who may be confusing the ES 350 with Lexus's RWD/4WD lineup.
Drivetrain Architecture: U-Joints vs. CV Axles
Understanding why your ES 350 relies on CV joints rather than U-joints requires a look at suspension geometry and drivetrain layout. U-joints (like the Spicer 1310 series) are designed for longitudinal driveshafts where operating angles are relatively static and low. CV joints, specifically Rzeppa (outer) and Tripod (inner) designs, are engineered to handle the extreme articulation angles required by front-wheel steering and MacPherson strut suspension travel.
| Feature | Universal Joint (U-Joint) | Constant Velocity (CV) Joint |
|---|---|---|
| Typical Platform | RWD / 4WD (e.g., Lexus GX 460, LS 460) | FWD / AWD (e.g., Lexus ES 350, RX 350) |
| Operating Angle | Low (typically under 15 degrees) | High (up to 45+ degrees for outer joints) |
| Lubrication | Grease zerks (serviceable) or sealed caps | Packed with Moly grease, sealed by rubber boot |
| Primary Failure Mode | Needle bearing cap wear, cross-galling | Razor boot tearing, cage pitting, tripod wear |
| ES 350 Applicability | None (Not equipped) | Standard (Front Left and Right Half-Shafts) |
True Lexus ES 350 Drivetrain Symptoms: Diagnosing CV Failure
Because the ES 350 drivetrain relies entirely on CV half-shafts, the symptoms of impending failure are distinct. The most common point of failure on the 2GR-FE V6 and A25A-FKS inline-4 models is the outer CV boot tearing due to heat degradation and road debris, leading to grease expulsion and joint contamination.
Auditory and Tactile Warning Signs
- Rhythmic Clicking on Turns (Outer Joint): If you hear a distinct 'click-click-click' when executing full-lock turns in a parking lot, the outer Rzeppa joint cage and bearings are pitted. This is the most universally misdiagnosed 'U-joint' symptom among FWD owners.
- Acceleration Clunking (Inner Joint): A heavy clunk or shudder felt through the floorboards during hard acceleration points to excessive wear in the inner tripod joint rollers or the transaxle differential side gears.
- High-Speed Vibration: While often blamed on wheel balance or U-joint phasing on RWD cars, a vibration that peaks between 55-70 mph in an ES 350 typically indicates a bent CV half-shaft or a severely worn inner tripod housing.
- Grease Splatter: Visual inspection revealing thick, dark molybdenum disulfide grease flung onto the lower control arm, strut, and brake caliper is a definitive sign of a ruptured CV boot.
Step-by-Step CV Half-Shaft Replacement Guide
Replacing the CV axle on a Lexus ES 350 is a moderate-to-advanced DIY task or a standard independent shop procedure. Unlike a traditional U-joint swap which requires a hydraulic press and driveshaft removal, the CV axle is a modular, bolt-in component. However, precision and cleanliness are paramount to protect the transaxle.
Tools and OEM Part References
- OEM Part Number: Toyota/Lexus 43410-33080 (Verify with your specific VIN via Toyota TechInfo as revisions vary by model year).
- Essential Tools: 36mm axle nut socket, 17mm and 19mm standard sockets, torque wrench (up to 250 Nm), pry bar, brass drift, and new transaxle fluid (Toyota ATF WS).
The Replacement Procedure
- Break the Axle Nut: With the vehicle still on the ground, remove the center hub cap and break the 36mm staked axle nut using a heavy-duty breaker bar. Do not use an impact wrench to remove the final threads, as this can damage the wheel bearing threads.
- Suspension Disassembly: Lift the vehicle and remove the front wheel. Unbolt the lower ball joint pinch bolt (typically 17mm). Use a specialized ball joint separator or carefully pry the lower control arm down to release the steering knuckle from the ball joint.
- Outer Joint Extraction: Push the steering knuckle outward and slide the outer CV joint splines out of the wheel hub. If it is seized, use a brass drift and hammer to avoid mushrooming the threads.
- Inner Joint Removal (The Critical Step): Place a drain pan beneath the transaxle. Insert a flat pry bar between the inner CV joint housing and the transaxle case. Apply a sharp, controlled pop to release the internal C-clip. Warning: Never pry against the aluminum transaxle casing or the differential seal lip, as this will cause catastrophic fluid leaks.
- Installation and C-Clip Seating: Coat the new axle splines with a thin layer of moly grease. Ensure the new C-clip is seated properly in the groove. Slide the inner joint into the transaxle differential. You must feel and hear a distinct 'click' as the C-clip locks into the side gear. Pull gently on the inner housing to verify it is locked.
- Reassembly and Torque Specs: Route the axle through the steering knuckle. Re-seat the lower ball joint and torque the pinch bolt to 103 Nm (76 lb-ft). Install the new 36mm axle nut and torque it to 216 Nm (159 lb-ft), then stake the collar using a cold chisel.
Technician's Note: Pulling the inner CV joint will inevitably allow some Toyota WS ATF to drain from the differential. Always have at least one quart of OEM WS fluid on hand to top off the transaxle via the fill plug to prevent immediate differential starvation upon startup.
What If It Actually IS a U-Joint? (The RWD Lexus Exception)
If you are reading this guide but actually own a rear-wheel-drive or body-on-frame Lexus—such as the LS 460, GS 350, or GX 460—your vehicle does utilize traditional U-joints on its longitudinal driveshaft. For these platforms, U-joint symptoms include a sharp 'clack' when shifting from Park to Reverse, a high-frequency squeak at low speeds (indicating dry needle bearings), and a harmonic vibration originating from the center console.
Replacement on these models involves dropping the driveshaft, noting the phasing alignment marks, and using a hydraulic press or heavy-duty bench vise to swap the U-joint caps. For Lexus RWD applications, aftermarket specialists frequently utilize Spicer 1310 or 1350 series greasable U-joints to extend service intervals and allow for chassis-lube maintenance.
2026 Repair Cost Analysis: Dealership vs. Independent
As the ES 350 fleet continues to age well past the 100,000-mile mark in 2026, drivetrain maintenance is a frequent line item. Understanding the cost delta between repair avenues can save owners hundreds of dollars.
| Repair Avenue | Parts Sourced | Estimated Labor Time | Total Cost Range (Per Axle) |
|---|---|---|---|
| Lexus Dealership | OEM Lexus Box | 1.2 Hours | $650 - $850 |
| Independent Specialist | OEM Toyota / High-End Aftermarket | 1.0 Hour | $350 - $500 |
| DIY Driveway | Aftermarket (e.g., GSP, TrakMotive) | N/A (2-3 Hours) | $110 - $180 |
While aftermarket CV axles from auto parts stores are tempting for DIYers, they frequently suffer from premature inner tripod wear and harmonic vibrations due to inferior metallurgy and imprecise balancing. For a luxury sedan like the ES 350, sourcing the OEM Toyota equivalent (often identical to the Lexus part but lacking the premium markup) from a wholesale online catalog remains the gold standard for restoring factory NVH (Noise, Vibration, and Harshness) levels.
Final Diagnostic Verdict
Mastering your vehicle's maintenance requires precise terminology and an understanding of underlying engineering. The Lexus ES 350 drivetrain is a marvel of FWD packaging, relying on high-articulation CV joints rather than U-joints to deliver smooth, reliable power. By correctly identifying CV boot degradation early and adhering to strict factory torque specifications during half-shaft replacement, owners can easily push their ES 350 well past 200,000 miles without catastrophic transaxle or driveline failure.