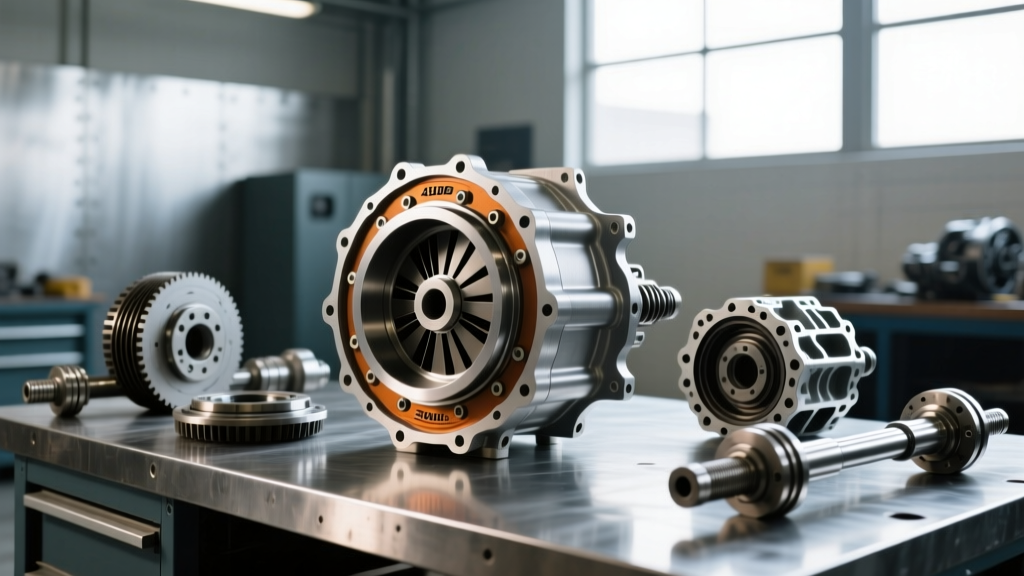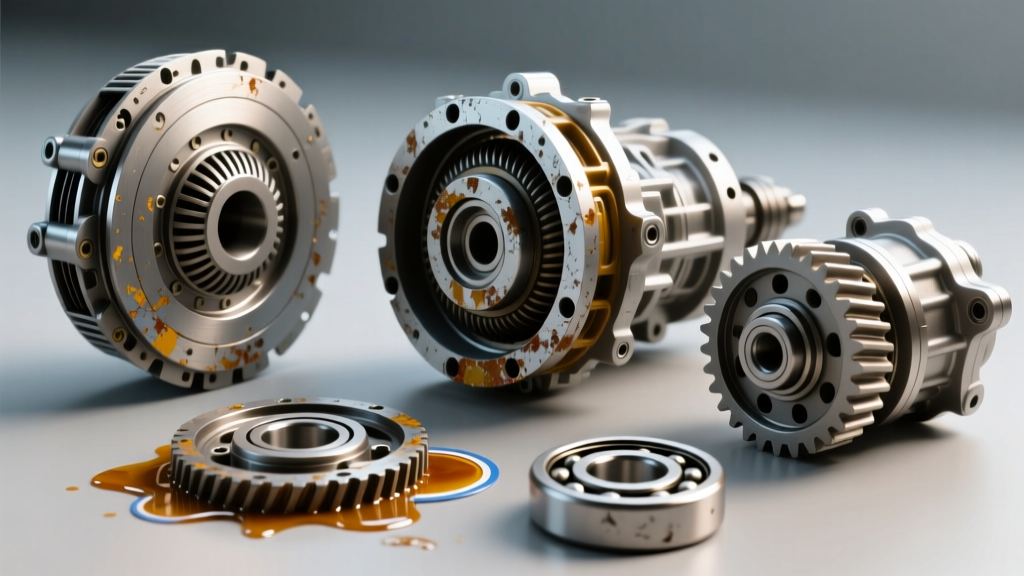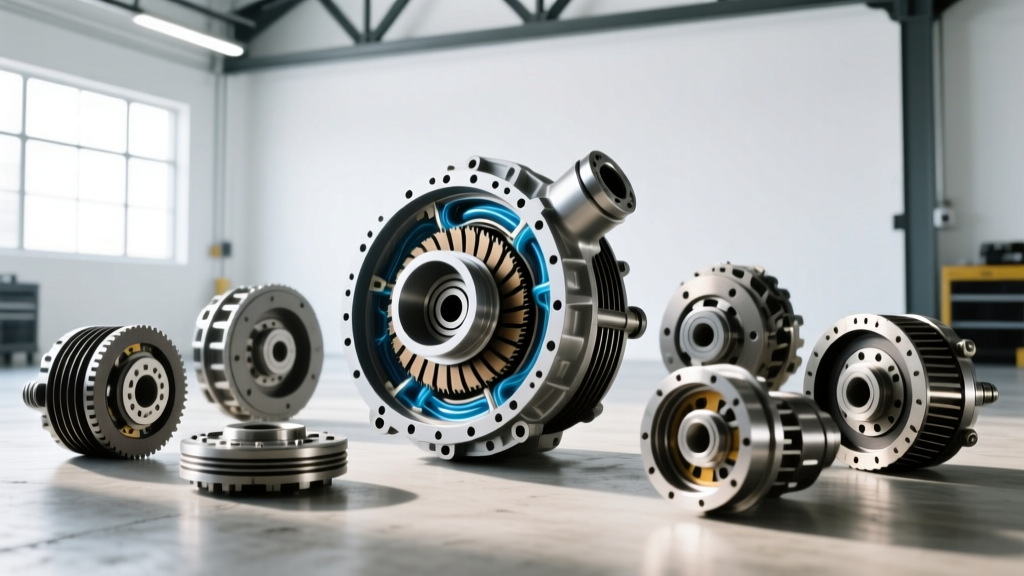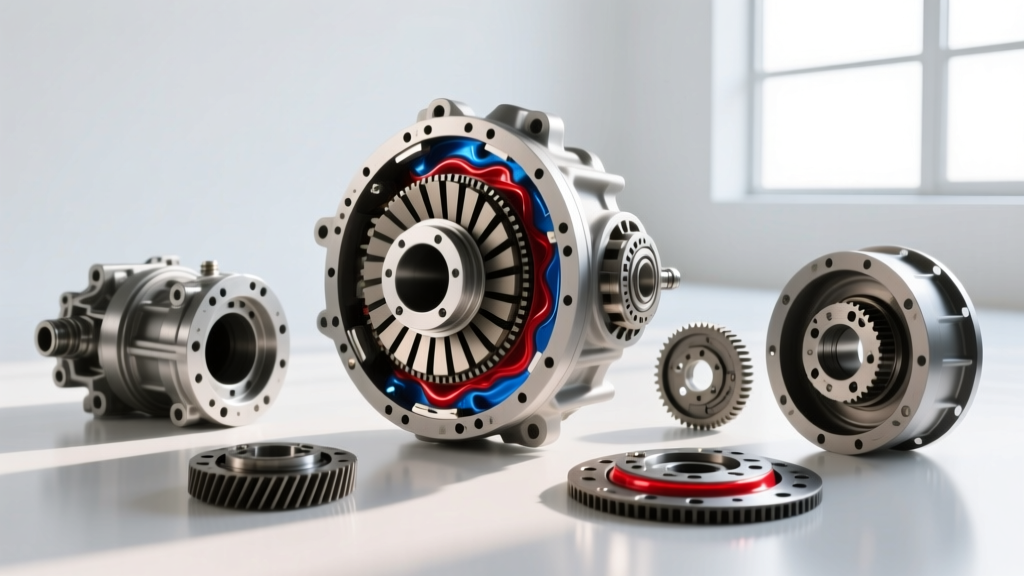
The Unique Role of the Torque Converter in CVTs
When diagnosing slip, shudder, or low-speed hesitation in modern continuously variable transmissions (CVTs), many technicians immediately suspect the variator pulleys or the drive chain/belt. However, in widely used CVT platforms like the Nissan Jatco JF011E (RE0F10A), JF016E, and the Subaru Lineartronic TR690, a traditional hydrodynamic torque converter is still utilized to manage engine torque multiplication during initial launch. Once the vehicle reaches a predetermined speed—typically between 15 and 25 mph—the Torque Converter Clutch (TCC) applies, creating a 1:1 mechanical lock to prevent parasitic fluid losses and improve fuel economy.
Performing a CVT torque converter test requires a fundamentally different approach than testing a conventional planetary automatic transmission like the GM 6L80 or ZF 8HP. Because the CVT's "gear ratio" is constantly variable and managed by hydraulic stepper motors and line pressure solenoids, misdiagnosing a torque converter issue as a belt slip issue can lead to unnecessary transmission teardowns. This 2026 guide provides a comprehensive, step-by-step methodology to accurately isolate torque converter faults in CVT applications without causing secondary damage.
Critical Warning: Why Traditional Stall Tests Destroy CVTs
Before touching any tools, every technician must understand one absolute rule: Never perform a traditional foot-on-brake, foot-on-gas stall test on a belt-driven or chain-driven CVT.
In a standard automatic transmission, a stall test maxes out the engine torque against the locked turbine, allowing you to verify engine health and torque converter stator operation. In a CVT, applying full brake torque while simultaneously raising engine RPM to 2,500+ will overwhelm the clamping pressure of the primary and secondary pulleys. The belt or chain will instantly slip against the variator surfaces, scoring the hardened steel cones and generating catastrophic metallic debris that will destroy the valve body and oil pump within miles. Instead of a physical stall test, we rely on scan tool data and hydraulic line pressure testing to evaluate the torque converter safely.
Step 1: Preliminary Fluid and Visual Inspection
Torque converter shudder in CVTs is frequently misdiagnosed as internal clutch failure when it is actually a fluid friction modifier depletion issue. CVT fluids rely on highly specific friction modifiers to allow the TCC to apply smoothly via controlled micro-slip.
- Check the Fluid Level: For the Jatco JF011E, the transmission must be at operating temperature (140°F - 158°F). Remove the 10mm hex head check plug on the side of the transmission case (not the bottom drain plug). Fluid should trickle out. If it pours, it is overfilled; if nothing comes out, it is low.
- Inspect for Debris: Drop the transmission pan and inspect the magnets. While some fine metallic paste is normal for CVTs, finding chunks of friction material or brass-colored debris indicates internal wear. If you find thick, dark, burnt-smelling fluid, the torque converter clutch lining may be delaminating.
- Verify Fluid Specification: Ensure the correct fluid is installed. Nissan applications require NS-2 or NS-3 (check the latest TSB, as NS-3 has superseded NS-2 in many 2013+ models). Subaru Lineartronic CVTs require CVTF-II or High-Torque CVTF for the 2.0T/2.4T models. Using standard ATF like Dexron VI will cause immediate TCC shudder and eventual failure.
Step 2: Scan Tool TCC Slip Test (The Safe Alternative)
To test the torque converter's lockup capability without mechanically stressing the variators, you must use a bidirectional OBD2 scanner (such as a Snap-on Zeus, Autel MaxiSys, or OEM CONSULT-III+). You will be monitoring the slip RPM between the engine and the transmission input shaft.
- Connect the Scanner: Access the Transmission Control Module (TCM) live data stream.
- Select PIDs: Graph Engine RPM and Turbine Speed Sensor (TSS) (sometimes labeled as Input Shaft Speed or Primary Pulley Speed depending on the OEM nomenclature). Also monitor TCC Solenoid Duty Cycle and TCC Slip RPM.
- Road Test: Drive the vehicle on a flat, level road. Accelerate gently until the TCC locks up. This usually occurs in the 25-35 mph range when the throttle position sensor (TPS) reads between 12% and 18%.
- Analyze the Data: When the TCC solenoid duty cycle commands 100% (or the scanner indicates "TCC LOCKED"), the Engine RPM and Turbine Speed should match almost perfectly. According to ATRA technical guidelines, a healthy CVT torque converter should exhibit less than 20 RPM of slip when fully locked. If you see slip fluctuating between 50 and 150 RPM while the solenoid is fully commanded, the TCC friction material is worn, or the lockup control valve in the valve body is sticking.
Step 3: Torque Converter Feed and Return Pressure Test
If the scan tool indicates excessive slip or shudder, the next step is to verify that the torque converter is receiving adequate hydraulic charge pressure. A failing lockup relay valve or a leaking converter hub seal will starve the TCC of the pressure required to clamp the friction disc.
Install a 0-300 PSI mechanical pressure gauge inline with the torque converter feed line (the line pushing fluid INTO the transmission cooler/radiator). Install a second gauge on the return line (fluid exiting the cooler back to the transmission lube circuit).
CVT Torque Converter Pressure Specifications
| Transmission Model | TC Feed Pressure (Idle/Unlocked) | TC Return Pressure (Locked) | Common Failure Point |
|---|---|---|---|
| Jatco JF011E (Nissan) | 45 - 65 PSI | 25 - 40 PSI | Lockup control valve bore wear in valve body |
| Jatco JF016E (Nissan) | 50 - 70 PSI | 30 - 45 PSI | TCC solenoid screen clogging |
| Subaru TR690 (Lineartronic) | 60 - 85 PSI | 35 - 50 PSI | Converter hub seal leakage / Chain wear debris |
Note: Pressures can vary slightly based on ambient temperature and fluid viscosity. Always cross-reference with the specific OEM service manual.
If the feed pressure is normal but the TCC still slips, the fault lies internally within the torque converter (worn clutch disc or damaged damper springs). If the feed pressure is low, the issue is upstream in the valve body or the transmission oil pump.
Step 4: Evaluating CVT Torque Converter Shudder vs. Belt Slip
One of the most difficult diagnostics in CVT repair is distinguishing between torque converter shudder and variator belt slip, as both can manifest as a rhythmic vibration under light acceleration between 20 and 40 mph.
- Torque Converter Shudder: Usually occurs exactly when the TCC is transitioning from open to locked (controlled slip phase). It feels like driving over rumble strips. If you tap the brake pedal lightly while maintaining throttle, the TCC will unlock. If the shudder instantly disappears upon tapping the brake, you have isolated the fault to the torque converter or its control circuit.
- CVT Belt/Pulley Slip: Tends to occur under heavier load or when the ratio is actively changing. It feels more like a sudden loss of power or a harsh "rubber band" snap. Tapping the brake will not change the characteristic of a belt slip issue, as the pulleys remain under hydraulic clamping pressure regardless of TCC state.
Expert Note on Toyota Direct Shift-CVTs: If you are working on a Toyota K120 Direct Shift-CVT (found in the 2019+ Corolla and RAV4), be aware that this transmission uses a physical "Launch Gear" for initial acceleration, completely bypassing the torque converter and belt system at low speeds. If a customer complains of low-speed shudder or hesitation in a K120, do not test the torque converter; diagnose the mechanical launch gear transition and the associated shift solenoids instead. For deeper insights into modern CVT architectures, refer to Sonnax Technical Resources.
Replacement Costs, Part Numbers, and Torque Specs
If your diagnostic steps confirm a failed torque converter clutch or internal damper failure, replacement requires removing the CVT from the vehicle. Unlike older automatics, CVT torque converters are often balanced as a unit with the engine flexplate, and runout tolerances are incredibly tight.
- Nissan JF011E Torque Converter: OEM Part # 31024-1XF0A. Cost ranges from $450 to $650. Aftermarket remanufactured units are available for $300 - $400 but ensure they include upgraded TCC friction materials.
- Subaru TR690 Torque Converter: OEM Part # 31524AA040. Cost ranges from $600 to $850.
- Labor & Fluid Costs: Book time for a CVT R&R is typically 6.5 to 8.5 hours. A dry-fill CVT fluid capacity is roughly 8.6 to 9.5 quarts. Expect total shop invoices for a CVT torque converter replacement to range between $1,400 and $2,200 in 2026, depending on regional labor rates.
Critical Reassembly Torque Specifications
When reinstalling the CVT and torque converter, precision is mandatory to prevent case cracking or pump gear failure:
- Torque Converter to Flexplate Bolts (Nissan M8): 18 - 22 ft-lbs (Use threadlocker).
- Transmission to Engine Bellhousing Bolts (Nissan M10): 34 - 36 ft-lbs.
- Transmission to Engine Bellhousing Bolts (Nissan M12): 63 - 75 ft-lbs.
- Torque Converter Drain Plug (if equipped): 9 ft-lbs (108 in-lbs) with a new crush washer.
Always verify that the torque converter is fully seated into the transmission oil pump gears before mating the CVT to the engine block. Measure the distance from the bellhousing mating surface to the torque converter mounting pad; it should be a minimum of 15mm (0.59 inches) recessed. Forcing the engine and transmission together with a misaligned converter will instantly snap the oil pump housing upon tightening the bellhousing bolts, resulting in a total loss of line pressure and immediate vehicle immobility.
For further OEM diagnostic flowcharts and fluid capacity charts, technicians should consult the Nissan Owner's Manual and Service Portal or their respective OEM service information systems.