When Routine Maintenance Reveals a Major Problem
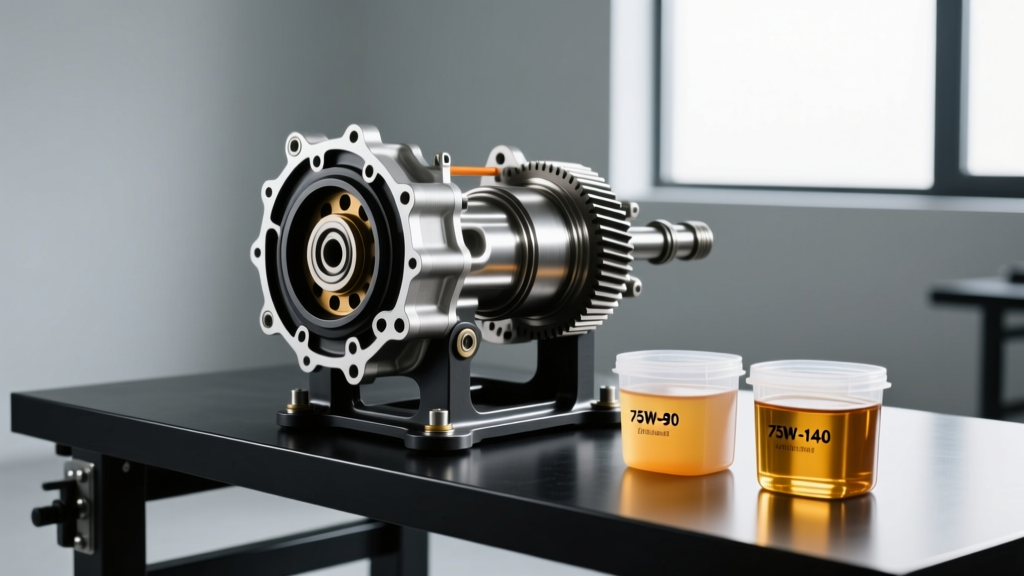
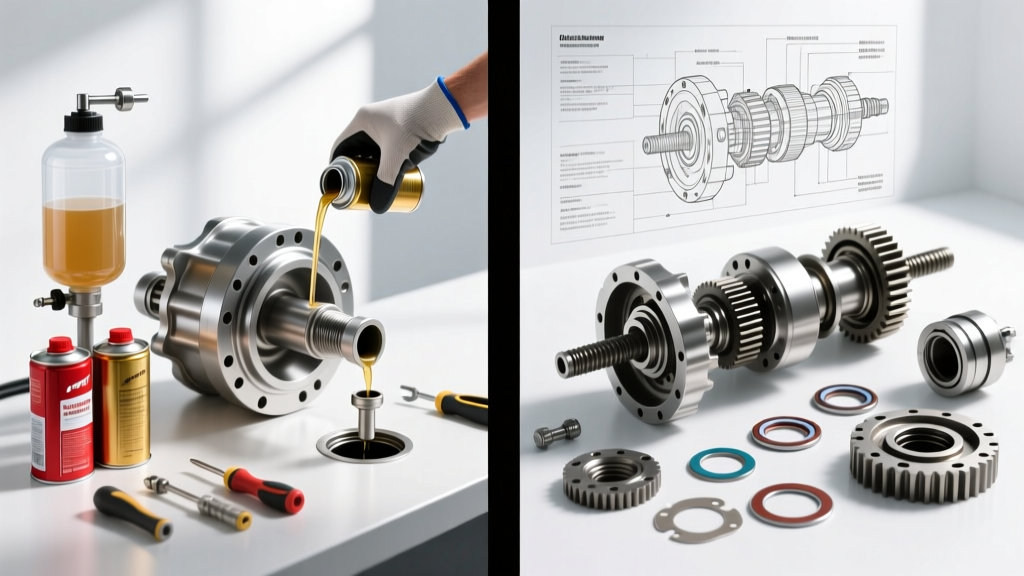
For the vast majority of Subaru owners, a Crosstrek differential fluid change is one of the most approachable DIY maintenance tasks on the vehicle. Armed with a 10mm hex socket, a drain pan, and roughly three quarts of 75W-90 GL-5 gear oil, you can service both the rear differential and the front extension housing in under an hour. It is a straightforward, beginner-friendly procedure designed to flush out microscopic wear metals and maintain the longevity of Subaru’s legendary Symmetrical All-Wheel-Drive system.
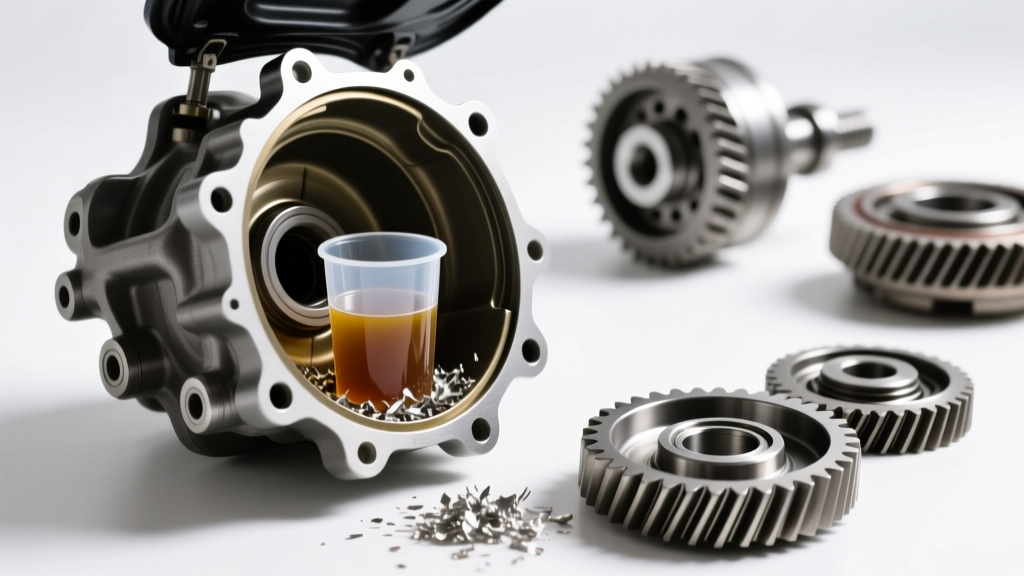
But what happens when you pull the rear drain plug and, instead of clean, amber fluid, a thick slurry of silver glitter and jagged metal shards pours out? You have just crossed the boundary from basic fluid maintenance into the highly complex, precision-driven world of ring and pinion gear setup. While a fluid change is a beginner's task, rebuilding and setting up a hypoid gear set is an advanced mechanical art form. This guide will bridge the gap, explaining the fundamentals of differential gear setup in beginner-friendly terms so you can understand exactly what your mechanic is doing—or decide if you are ready to tackle the learning curve yourself.
The Anatomy of the Crosstrek R160 Differential
To understand gear setup, you must first understand the hardware. The Subaru Crosstrek utilizes an R160 rear differential (named for its 160mm ring gear diameter) on most standard 2.0L and 2.5L models, while heavier-duty or modified applications may step up to the R190. The front 'differential' is actually an extension housing integrated directly into the transmission transaxle, utilizing a similar but smaller ring and pinion set.
Inside the R160 pumpkin, you will find the ring gear (the large, flat gear bolted to the differential carrier) and the pinion gear (the small, elongated gear connected to the driveshaft). Because the pinion gear sits below the centerline of the ring gear, this is known as a hypoid gear set. Hypoid gears are incredibly strong and allow for a lower driveshaft tunnel, but their sliding, wiping contact pattern generates immense friction and heat, which is why your Crosstrek differential fluid change interval is so critical. When that fluid breaks down or runs low, the hypoid sliding action quickly tears the hardened surface of the gears apart.
The Four Pillars of Ring and Pinion Setup
Setting up a ring and pinion is not about simply bolting parts together. It is about aligning the microscopic contact patch between the two gears so that the load is distributed evenly across the teeth. If you are transitioning from performing a basic fluid drain-and-fill to studying gear setup, you must master these four critical measurements:
1. Pinion Depth
Pinion depth dictates how far the pinion gear protrudes into the differential housing relative to the ring gear's centerline. Think of it like focusing a camera lens; if the depth is off by even a thousandth of an inch, the gear teeth will not mesh correctly. This is adjusted using precision steel shims placed behind the inner pinion bearing. On a Subaru R160, the factory pinion depth is often etched directly onto the pinion gear head (e.g., '+2' or '-1'), which tells the builder exactly how much to deviate from the nominal base dimension.
2. Backlash
Backlash is the amount of rotational 'wiggle' or play between the ring and pinion gears when the pinion is held stationary. Imagine turning a steering wheel slightly before the tires actually move—that dead zone is backlash. For a Crosstrek R160, the target backlash specification is typically between 0.005 and 0.007 inches. Backlash is adjusted by moving the entire differential carrier left or right using threaded side adjusters or selective side shims. Too tight, and the gears will overheat and bind; too loose, and the gears will clunk and eventually chip their teeth.
3. Bearing Preload
Bearings require a specific amount of compressive force to operate smoothly without rattling. Pinion bearing preload is usually achieved by tightening a massive pinion nut that crushes a collapsible steel sleeve (the crush sleeve) between the two pinion bearings. This requires a specialized holding tool and a heavy-duty torque wrench, often requiring upwards of 130 to 160 ft-lbs of torque to achieve the correct 10 to 15 inch-pounds of rotational drag. Side bearing preload is similarly managed via the carrier shims or adjusters.
4. The Contact Pattern
This is the ultimate lie detector of gear setup. Builders paint the teeth of the ring gear with a specialized yellow or white gear marking compound, then rotate the gears under light braking pressure. The resulting smears on the gear teeth reveal exactly how the pinion is mating with the ring gear under load.
Decoding the Gear Contact Pattern
Reading a gear pattern is where the true expertise of a drivetrain builder shines. A hypoid gear tooth has four distinct areas: the toe (the inner edge), the heel (the outer edge), the flank (the top surface), and the root (the bottom valley). Furthermore, there is a 'Drive' side (under acceleration) and a 'Coast' side (under deceleration).
| Pattern Appearance | Diagnosis | Required Adjustment |
|---|---|---|
| Pattern centered on tooth, slightly biased toward heel | Ideal Setup | None. Lock it down. |
| Pattern pushed heavily toward the toe (inner edge) | Pinion is too deep (too close to ring center) | Decrease pinion depth shim thickness. |
| Pattern pushed heavily toward the heel (outer edge) | Pinion is too shallow (too far from ring center) | Increase pinion depth shim thickness. |
| Pattern riding high on the flank (top of tooth) | Backlash is too tight | Move ring gear away from pinion via side shims. |
| Pattern riding low in the root (bottom of tooth) | Backlash is too loose | Move ring gear closer to pinion via side shims. |
Expert Insight: Never trust a pattern taken without applying resistance to the ring gear. You must use a brake drum drag tool or a rag wrapped around the carrier to simulate load. A pattern taken by simply spinning the gears by hand is completely useless and will result in a whining differential within 500 miles.
The Front Extension Housing: A Subaru Quirk
When discussing the Crosstrek, we cannot ignore the front differential. Unlike traditional 4WD trucks with a standalone front axle, Subaru’s Symmetrical AWD integrates the front ring and pinion directly into the transmission case. If your Crosstrek differential fluid change on the front extension housing reveals metal, the repair is exponentially more difficult. Setting up the front ring and pinion requires pulling the entire engine and transmission assembly, splitting the transmission case, and utilizing specialized factory alignment tools to ensure the pinion depth matches the transfer clutch housing geometry. As of 2026, most independent shops will simply recommend a remanufactured transmission swap rather than attempting a front extension housing gear setup, as the labor and specialized tooling costs often exceed $3,500.
Tools, Costs, and the Reality of DIY Gear Setup
If you are a beginner who has mastered the Crosstrek differential fluid change and are contemplating a DIY rear R160 rebuild, you must evaluate the tooling investment. You cannot set up gears with standard garage tools.
Required Specialty Tooling
- Dial Indicator & Magnetic Base: For measuring backlash to the thousandth of an inch ($45 - $90).
- Inch-Pound Torque Wrench: Crucial for measuring bearing rotational preload ($120 - $200).
- Hydraulic Press & Bearing Pullers: Pinion bearings are press-fit with several tons of force. You cannot tap them on with a hammer ($250+).
- Pinion Bearing Setup Tools: You will need 'setup bearings'—bearings that have been slightly honed out so they can be slipped on and off by hand during the trial-and-error shim selection process ($80).
2026 Pricing Breakdown: Rebuild vs. Replace
Sourcing parts for the Subaru R160 has become more streamlined, but OEM precision commands a premium. According to data from Subaru's Technical Information System, an OEM Genuine Subaru R160 Ring and Pinion gear set typically retails between $350 and $450. A master rebuild kit from Timken or Koyo (which includes all bearings, seals, crush sleeves, and shims) will cost around $150 to $220.
If you take this to a specialized drivetrain shop, expect to pay between $800 and $1,400 in labor for a professional ring and pinion setup, bringing the total repair cost to roughly $1,500 - $2,000. For many beginners, purchasing a low-mileage used R160 differential from a reputable recycler (often priced around $400 - $600) and simply performing a fluid change and seal swap is the most economically sound decision.
Final Thoughts for the Aspiring Drivetrain Builder
There is a profound satisfaction in moving from basic maintenance to advanced mechanical rebuilding. A Crosstrek differential fluid change teaches you the importance of preventative care and fluid dynamics. But diving into ring and pinion gear setup teaches you the uncompromising nature of mechanical precision. It is a discipline where patience, clean workspaces, and an obsession with thousandths-of-an-inch tolerances separate a quiet, long-lasting differential from a whining, catastrophic failure. If you find metal in your drain pan, take a breath, study the patterns, and respect the hypoid gear. For further technical specifications and torque sequences, always consult the official Ring-Pinion.com Technical Support archives and factory service manuals before applying the final torque to your pinion nut.