The Symbiosis of Cooling and Sensing
When most drivers think about transmission cooler maintenance, they picture flushing lines, checking for leaks, or upgrading to a stacked-plate auxiliary cooler. However, the physical cooler is only half of the equation. The other half is the nervous system that controls it: the Transmission Fluid Temperature (TFT) sensor. If your transmission cooler is the brawn, the temperature sensor is the brain.
Modern vehicles rely on the TFT sensor to dictate shift firmness, torque converter clutch (TCC) lockup, and crucially, the engagement of auxiliary cooler fans and thermal bypass valves. A failing sensor can cause your transmission to bake in its own fluid, leading to catastrophic clutch pack failure long before the physical cooler ever clogs. In this beginner-friendly explainer, we will demystify how these systems interact, how to diagnose a faulty sensor, and the exact steps for a successful transmission temperature sensor replacement.
Diagnosing a Faulty Sensor: The Infrared Thermometer Trick
Before you turn a single wrench, you must verify that the sensor is actually the culprit. The Transmission Control Module (TCM) uses the TFT sensor's resistance reading to calculate fluid temperature. As the sensor ages, its internal thermistor can drift, sending false data to the TCM.
To diagnose this without dropping the transmission pan, you need two tools: a bi-directional OBD2 scanner (like the OBDLink MX+ or BlueDriver) and an infrared (IR) thermometer (such as the Fluke 62 MAX). Drive the vehicle until it reaches full operating temperature, then park safely on level ground.
- Leave the engine idling in Park.
- Point your IR thermometer at the base of the transmission pan or the metal transmission cooler return line.
- Compare the IR thermometer reading to the live TFT data on your OBD2 scanner.
The Verdict: If the IR thermometer reads 185°F (85°C) but your OBD2 scanner reports 120°F (49°C) or 240°F (115°C), your sensor has severe resistance drift and requires immediate replacement. A variance of more than 15°F indicates a failing thermistor.
Common TFT Sensor OBD2 Trouble Codes
When the TCM detects an electrical anomaly or an illogical temperature reading, it will trigger a Diagnostic Trouble Code (DTC) and often command a 'fail-safe' limp mode, locking the transmission in a single gear to prevent overheating.
| OBD2 Code | Description | Typical Cause & Symptom |
|---|---|---|
| P0711 | TFT Sensor Circuit Range/Performance | Sensor is reading out of logical bounds (e.g., fluid is hot but sensor reads -40°F). Often triggers thermal bypass default. |
| P0712 | TFT Sensor Circuit Low Input | Short to ground in the wiring harness or internal sensor short. TCM reads maximum heat, fans run constantly. |
| P0713 | TFT Sensor Circuit High Input | Open circuit or broken wire. TCM reads extreme cold, preventing TCC lockup and auxiliary fan engagement. |
For a deeper dive into how these codes interact with the OBD2 network, refer to the OBD-Codes P0711 Database.
Transmission Temperature Sensor Replacement: Two Common Scenarios
The physical location of the TFT sensor dictates your replacement strategy. We will cover the two most common architectures found in modern daily drivers and heavy-duty towing rigs.
Scenario A: Internal Pan/Valve Body Sensors (GM 6L80, Ford 10R80, ZF 8HP)
In most passenger vehicles and light-duty trucks, the TFT sensor is integrated into the internal wiring harness, the TEHCM (Transmission Electro-Hydraulic Control Module), or threads directly into the valve body inside the transmission pan.
Step 1: Prep and Drain
Raise the vehicle securely on jack stands. Place a drain pan capable of holding at least 8 quarts beneath the transmission. Remove the pan bolts in a crisscross pattern, leaving two corner bolts loosely threaded to let the fluid drain gradually without making a massive mess.
Step 2: Access the Sensor
Once drained, remove the pan and the old gasket. For the GM 6L80/8L90 family, the sensor is often part of the internal wiring harness. You will need to unclip the harness from the valve body solenoids. For vehicles with a standalone thread-in sensor (like some older Ford or Chrysler models), locate the brass or plastic probe protruding from the valve body.
Step 3: Extract and Replace
If replacing a standalone threaded sensor, use a deep well socket to carefully back it out. Critical Warning: Do not let debris fall into the valve body. Thread the new sensor (e.g., ACDelco part #24234658 for select GM applications) in by hand to avoid cross-threading the soft aluminum case. Torque the sensor to exactly 11 Nm (8 lb-ft). Over-torquing will crack the sensor housing or strip the case threads.
Step 4: Reassembly
Install a new transmission pan gasket (never reuse the old one, and avoid RTV silicone unless specified by the factory). Torque the pan bolts to 10 Nm (89 lb-in). Refill with the exact OEM-spec fluid (e.g., Dexron ULV or Mercon LV) through the dipstick tube or fill plug until it drips from the level-check plug.
Scenario B: External Inline Cooler Sensors (HD Trucks, Towing Setups)
If you drive a heavy-duty truck (like a Ram 2500 with the 68RFE or an Allison-equipped Duramax) or have installed an aftermarket auxiliary cooler from brands like Derale or Hayden, the sensor might be located externally. This is a much more beginner-friendly repair.
External fan controllers use a probe that either threads into a dedicated 1/8" NPT port on the cooler end-tank or is spliced into the cooler return line using a brass inline adapter.
- Threaded Port Replacement: Simply unplug the weather-pack connector, use a wrench to unscrew the old 1/8" NPT probe, apply a single wrap of PTFE thread seal tape to the new probe, and thread it back in. Do not overtighten, as you can split the aluminum cooler end-tank.
- Inline Splice Replacement: If using a push-in probe style, you will need to drain the cooler lines by disconnecting the lower radiator hose or cooler return line. Pull the old probe out of the rubber hose adapter, push the new one in, and secure it with a high-tension worm gear clamp to prevent high-pressure fluid leaks.
For wiring diagrams and installation specifics on external fan controllers, the Derale 16705 Installation Guide is an excellent resource.
Holistic Transmission Cooler Maintenance Checklist
Replacing the sensor is only one piece of the puzzle. To ensure your transmission survives extreme towing conditions and daily commuting, incorporate these cooler maintenance steps into your annual service routine:
- Inspect Thermal Bypass Valves: Many modern transmissions (especially the ZF 8HP and GM 8L90) use a thermal bypass valve to prevent fluid from flowing to the cooler during cold starts. These valves frequently stick closed, causing massive overheating. Have a mechanic verify that your cooler lines are actually flowing hot fluid once the transmission reaches 160°F.
- Flush the Cooler Lines: Every 60,000 miles, use a dedicated transmission cooler line flush machine. Simply dropping the pan only replaces 30% to 40% of the fluid; the rest is trapped in the torque converter and the cooler itself. Flushing removes microscopic clutch material that acts as an insulator inside the cooler tubes.
- Check Auxiliary Fan Relays: An auxiliary cooler is useless if the electric fan doesn't turn on. Once a month, turn your AC to MAX. On most vehicles, the AC condenser fan and the auxiliary transmission cooler fan share a circuit or relay. If the fan doesn't spin, check the 30A relay in the under-hood fuse box.
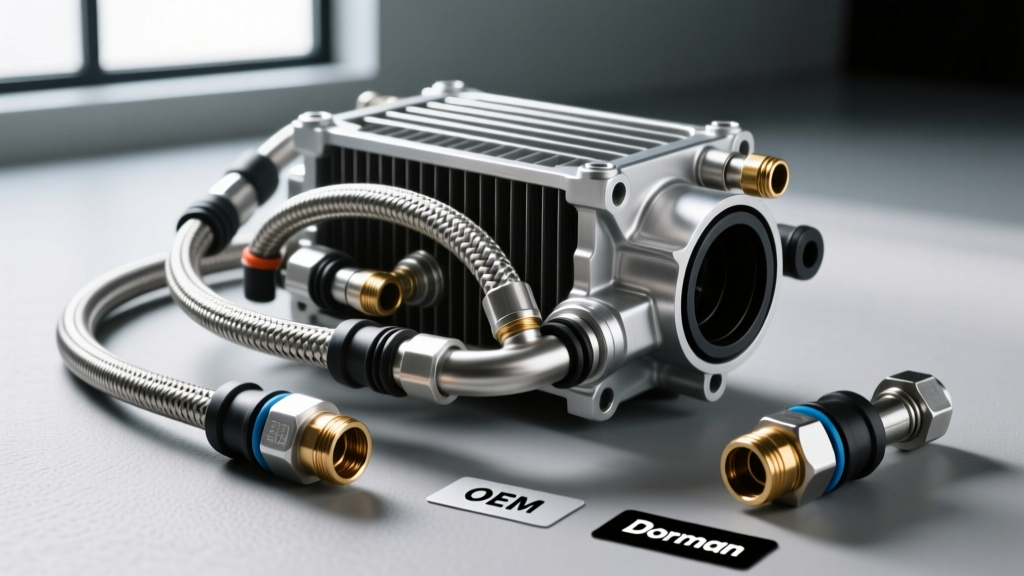
- Examine Rubber Hose Connections: OEM cooler lines often transition from metal to rubber via crimped fittings. High heat cycles cause the rubber to harden and weep. Replace any line showing micro-cracks or a crusty, varnished residue.
2026 Cost Breakdown: DIY vs. Dealership
Understanding the financial aspect of transmission temperature sensor replacement helps you decide whether to tackle the job yourself or hand it over to the professionals.
| Service Type | Estimated Parts Cost | Estimated Labor Cost | Total Range |
|---|---|---|---|
| DIY (Internal Sensor) | $40 - $120 (Sensor + Fluid + Gasket) | $0 | $40 - $120 |
| DIY (External Inline Sensor) | $25 - $60 | $0 | $25 - $60 |
| Independent Shop (Internal) | $80 - $150 | $150 - $250 | $230 - $400 |
| Dealership (Internal w/ TEHCM) | $300 - $800 (If harness/TCM required) | $300 - $500 | $600 - $1,300+ |
Pro Tip: If your vehicle requires a TEHCM or internal wiring harness replacement (common on GM 6L80/8L90 units), the new module MUST be flashed with your vehicle's specific VIN and calibration data using a J2534 pass-through programmer. This is a job best left to a dealership or a specialized transmission shop equipped with OEM-level software.
Proper transmission cooler maintenance goes far beyond simply swapping out dirty fluid. By ensuring your temperature sensor is reading accurately and your physical cooler is free of debris, you guarantee that your transmission's computer can make the right decisions under pressure. Whether you are threading a new probe into an aftermarket Derale cooler or carefully torquing an internal TFT sensor on your daily driver, taking a methodical, diagnostic approach will save you thousands of dollars in premature transmission rebuilds.