Why Contamination Dictates Your Refill Strategy
Many DIY enthusiasts and junior technicians immediately search for how to put transmission oil in car assemblies without first verifying the baseline health of the existing fluid. In the modern automotive landscape of 2026, simply topping off a degraded or contaminated system is a guaranteed death sentence for precision clutch packs and torque converters. Modern automatic transmissions, such as the GM 6L80, Ford 10R80, and the ubiquitous ZF 8HP series, operate with microscopic clearances and rely heavily on the exact dielectric and frictional properties of their specific lubricants.
Before you unseal a new bottle of synthetic fluid, you must perform a rigorous contamination triage. If coolant has breached the internal heat exchanger, or if clutch friction material has suspended itself in the oil, adding new fluid over the old will not save the unit; it will merely delay catastrophic failure. This step-by-step guide will walk you through diagnosing fluid degradation, dropping the pan safely, and executing the precise thermal-leveling refill procedure required by modern sealed transmissions.
Step 1: Extract and Inspect the Baseline Sample
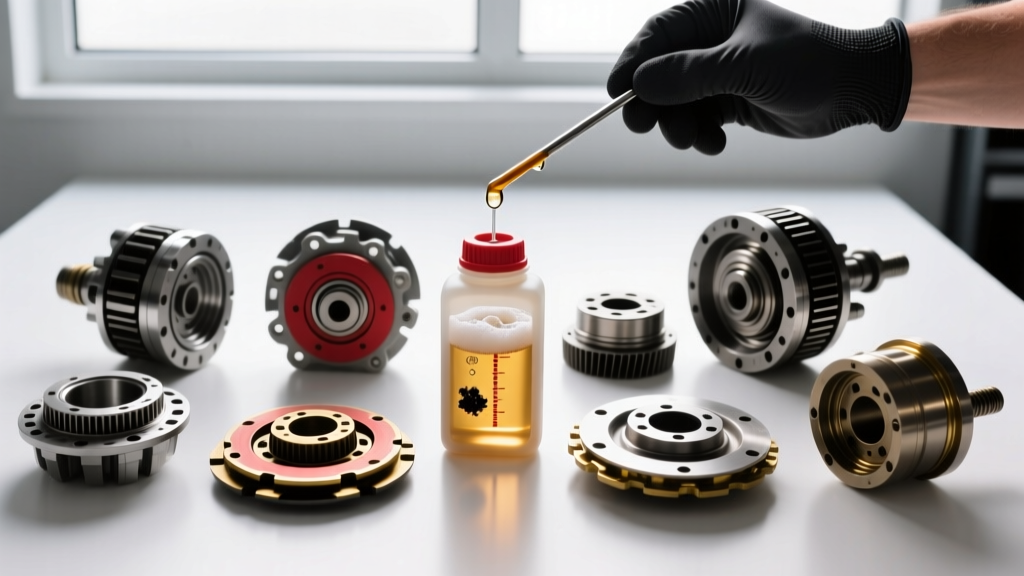
Before committing to a full pan drop, pull a baseline sample. If your vehicle retains a traditional dipstick (increasingly rare post-2018), use a lint-free white shop towel to wipe the indicator. For sealed units like the ZF 8HP45 through 8HP90 found in BMW, Audi, and Chrysler applications, use a clean fluid extractor pump inserted down the fill tube to draw out 4 ounces of fluid into a clear glass beaker.
Hold the beaker up to a bright LED work light. You are looking for three primary indicators: opacity, suspended particulates, and color shift. Healthy fluid should be translucent. If the fluid is entirely opaque or exhibits a milky emulsion, stop immediately. Do not proceed to a simple drain-and-fill; you are dealing with severe internal cross-contamination.
Step 2: Decode the Contamination Matrix
Understanding the specific type of contamination dictates your next mechanical move. Refer to the diagnostic matrix below to identify the root cause of your fluid's degradation.
| Visual / Olfactory Sign | Fluid Condition | Root Cause & Mechanical Implication |
|---|---|---|
| Burnt Toast Smell | Dark Brown / Black, Opaque | Severe thermal breakdown. Friction modifiers have vaporized. Clutch packs are likely glazed or slipping. Requires full teardown. |
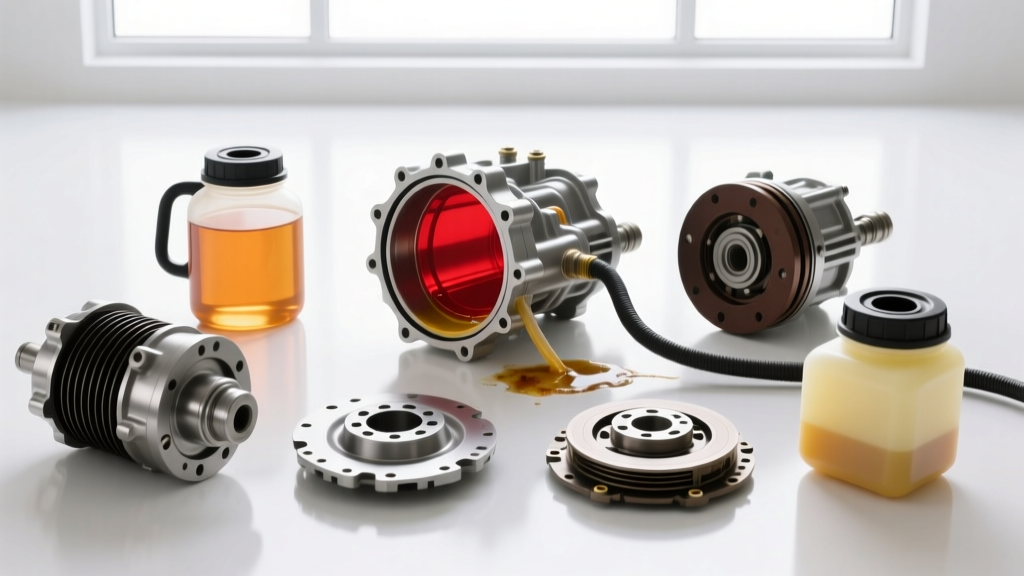
| Strawberry Milkshake | Pink / Milky Emulsion | Coolant intrusion via a failed transmission fluid heat exchanger (radiator). Glycol destroys clutch lining adhesives. Unit is often unsalvageable. |
| Glitter / Metallic Flake | Grayish tint, catches light | Normal wear for high-mileage units, but excessive flake indicates planetary gear or thrust bearing disintegration. Check pan magnets. |
| Friction Paper Debris | Speckled brown/black grit | Clutch material shedding. Common in neglected GM 6L80 units where the 4-5-6 clutch hub waves and shreds the friction discs. |
If your fluid exhibits normal darkening due to oxidation but lacks burnt odors or metallic flakes, you are cleared to proceed with a comprehensive drain, filter replacement, and refill.
Step 3: Pan Removal and Hardware Inspection
Modern transmissions frequently eschew traditional cork or rubber gaskets in favor of RTV silicone or integrated plastic pans with built-in filters. According to ZF Global Services, the plastic transmission oil pan on the 8HP series is a one-time-use component because the filter media is permanently bonded to the pan housing.
- GM 6L80 / 6L90: Remove the 16 pan bolts. Clean the mating surface thoroughly with brake cleaner. Apply a 2mm bead of GM-specific RTV (Part # 12378497). Torque Spec: Tighten the new bolts in a spiral pattern from the center outward to exactly 10 Nm (89 lb-in). Overtorquing will warp the thin stamped steel pan.
- ZF 8HP Series: Replace the entire plastic pan/filter assembly (Part # ZF 1068.298.062). The aluminum bolts are single-use torque-to-yield. Torque Spec: Tighten to 10 Nm in the prescribed star sequence.
Expert Warning: Never use aggressive flush machines on a transmission exhibiting clutch debris or metallic flaking. High-pressure reverse flushing will dislodge trapped debris from the valve body maze and lodge it directly into the solenoid screens, causing immediate shift solenoid codes (e.g., P0756, P0776).
Step 4: How to Put Transmission Oil in Car Safely
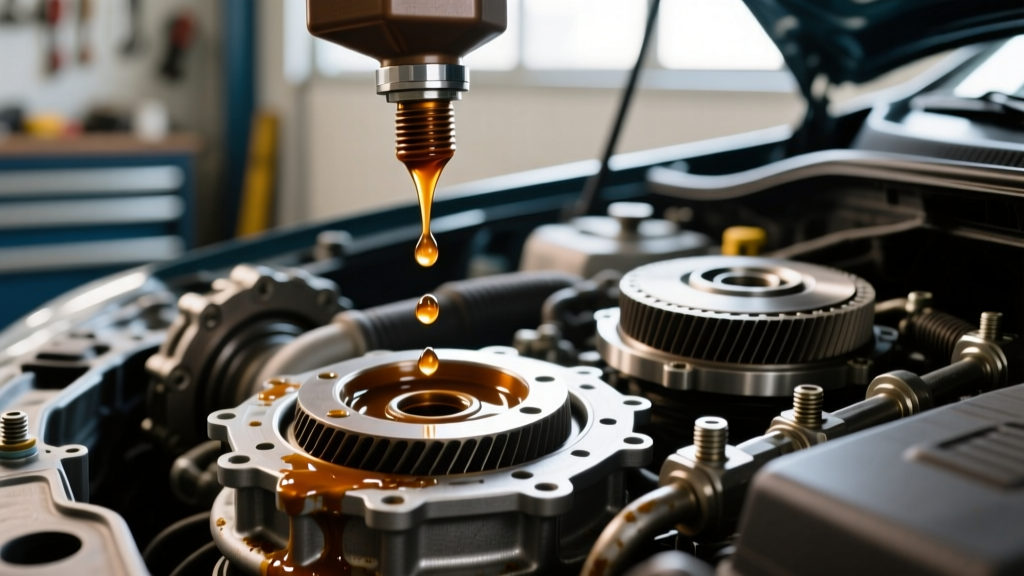
Once the pan is reinstalled and the RTV has cured (if applicable), you must address the refill. Learning how to put transmission oil in car systems without dipsticks requires specialized equipment and a methodical approach to prevent dry-starts and pump5itation.
- Locate the Fill Point: On sealed units, the fill plug is often located on the side of the transmission casing or hidden beneath the vehicle's underbody aerodynamic shielding. For the Ford 10R80, it is a side-fill plug requiring a 10mm hex bit.
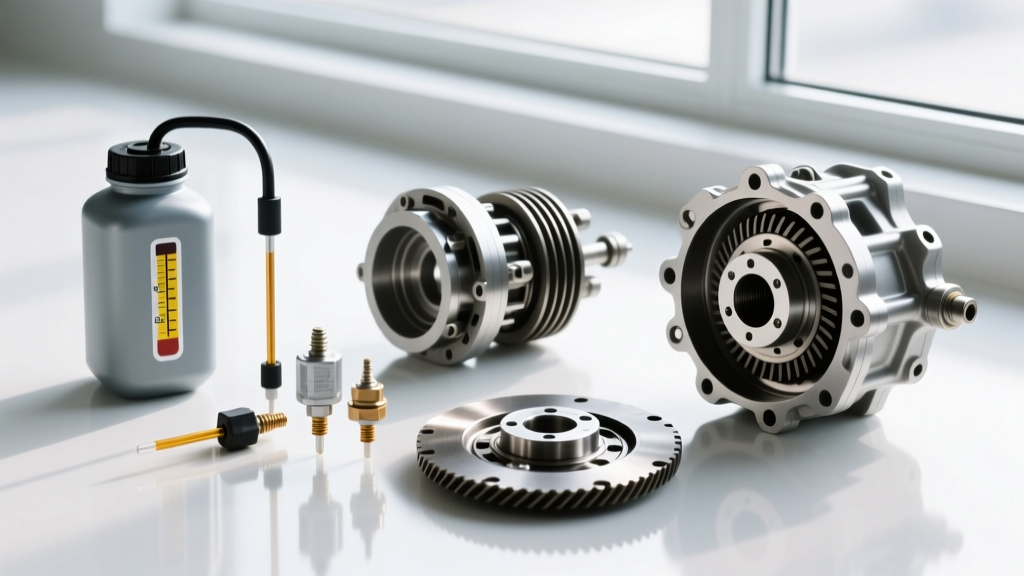
- Use a Pump, Not Gravity: Because side-fill plugs are positioned above the pan level, you must use a pneumatic or manual fluid transfer pump. Attach a hose to your new OEM fluid bottle and pump the fluid directly into the fill hole.
- Initial Volume Fill: Pump in approximately 70% of the manufacturer's listed dry-fill capacity. For a standard ZF 8HP drain-and-fill, this is usually around 5.5 to 6.0 liters. Stop when fluid begins to trickle out of the fill hole.
- Prime the Torque Converter: Start the engine. Let it idle for exactly 60 seconds. This allows the mechanical transmission pump to draw fluid from the pan, fill the torque converter, and pressurize the valve body. Cycle the gear selector through P-R-N-D-L, pausing for 3 seconds in each detent to fill the respective clutch apply pistons.
Step 5: The Thermal Leveling Procedure
You cannot accurately measure the fluid level of a modern sealed transmission while the fluid is cold. Fluid expands significantly as it heats up. To achieve the correct hydrostatic level, you must perform a thermal leveling procedure using a bidirectional OBD2 scan tool (such as an Autel MaxiSYS or Snap-on Zeus) to monitor the Transmission Fluid Temperature (TFT) PID.
- Ensure the vehicle is parked on a perfectly level hoist. The engine must be running and idling in Park.
- Monitor the TFT PID on your scan tool. You are waiting for the fluid to reach the manufacturer's specified leveling temperature window. For most GM and ZF units, this window is between 30°C and 50°C (86°F to 122°F).
- Once the temperature is within the window, crawl beneath the vehicle and remove the fluid level check plug (usually a smaller Torx or Allen plug located on the bottom of the transmission pan or side casing).
- Allow the fluid to drain out. When the stream transitions from a steady pour to a slow, intermittent drip, the fluid level is mathematically perfect.
- Reinstall the level check plug with a new crush washer or O-ring. Torque Spec: Typically 15 Nm to 25 Nm, depending on the specific casing thread pitch.
For deeper industry insights on valve body tolerances and thermal expansion rates, refer to the technical bulletins published by Transmission Digest.
OEM Fluid Part Numbers and 2026 Pricing Guide
Using the incorrect fluid viscosity will trigger immediate shift adapt errors and torque converter shudder. The ACDelco OEM Parts Catalog and European equivalents strictly prohibit cross-mixing fluid generations. Below is a reference guide for the most common 8-speed and 6-speed platforms.
| Transmission Model | Required Fluid Spec | OEM Part Number | Est. Price (Per Quart) |
|---|---|---|---|
| GM 6L80 / 6L90 / 8L90 | Dexron ULV (Ultra Low Viscosity) | 19417577 | $12.50 - $15.00 |
| ZF 8HP45 / 8HP70 / 8HP90 | ZF LifeguardFluid 8 | ZF 1068.298.062 (Kit) | $28.00 - $34.00 |
| Ford 10R80 | Mercon ULV | XT-12-QULV | $14.00 - $17.50 |
| Aisin TF-80SC (Volvo/GM) | AW-1 / JWS 3324 | Toyota 08886-02305 | $18.00 - $22.00 |
Final Thoughts on Drivetrain Longevity
Mastering how to put transmission oil in car assemblies is only half the battle; the true mark of an expert is knowing when not to refill a dying unit. If your inspection reveals heavy metallic scoring, severe coolant emulsion, or burnt friction material, no amount of fresh synthetic oil will reverse the mechanical damage. However, if your fluid simply shows signs of age and normal shear, executing a meticulous pan-drop, filter swap, and thermal-leveled refill will restore hydraulic line pressure, eliminate torque converter shudder, and add tens of thousands of miles to your drivetrain's operational lifespan.