The 2026 Reality of Automatic Transmission Tolerances
In the modern automotive landscape of 2026, automatic transmissions are engineering marvels of tight tolerances and extreme efficiency. Units like the Ford 10R80, GM 10L90, and the ubiquitous ZF 8HP series utilize microscopic clearance between clutch packs and rely heavily on the precise chemical makeup of their automatic transmission fluid (ATF). Because of these tight clearances, even minor fluid degradation or contamination can lead to catastrophic valve body failure or torque converter shudder. Understanding how to identify transmission fluid contamination signs is no longer optional; it is a critical diagnostic skill.
Furthermore, as manufacturers have moved away from traditional dipsticks to 'sealed' systems to prevent factory floor errors, the procedure for checking and replenishing fluid has become highly specialized. Many DIYers and junior technicians find themselves confused, asking: where do you add transmission fluid to an automatic transmission that lacks a traditional under-hood dipstick? This step-by-step guide will walk you through extracting a sample, decoding contamination signs, and safely locating the fill points on both legacy and modern sealed transmissions.
Step 1: Preparation and Safe Fluid Extraction
Before you can analyze the fluid, you must extract a representative sample safely. Never attempt to drop a transmission pan or remove a side-fill plug while the fluid is cold, as thermal contraction will yield an inaccurate level reading and potentially cause a mess.
- Reach Operating Temperature: Drive the vehicle for 15-20 minutes. Connect a bi-directional OBD2 scanner to monitor the Transmission Fluid Temperature (TFT) PID. For most modern units (like the ZF 8HP or GM 10-speed), the ideal checking temperature is between 30°C and 50°C (86°F - 122°F).
- Level the Vehicle: The vehicle must be on a perfectly level surface. Use a digital inclinometer on the rocker panel or transmission pan to verify zero-degree pitch and roll.
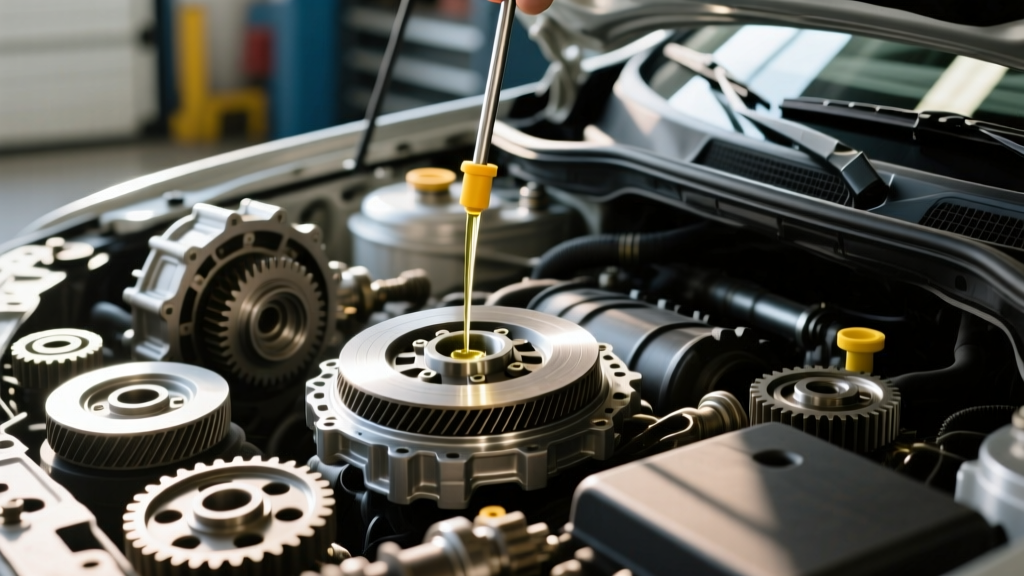
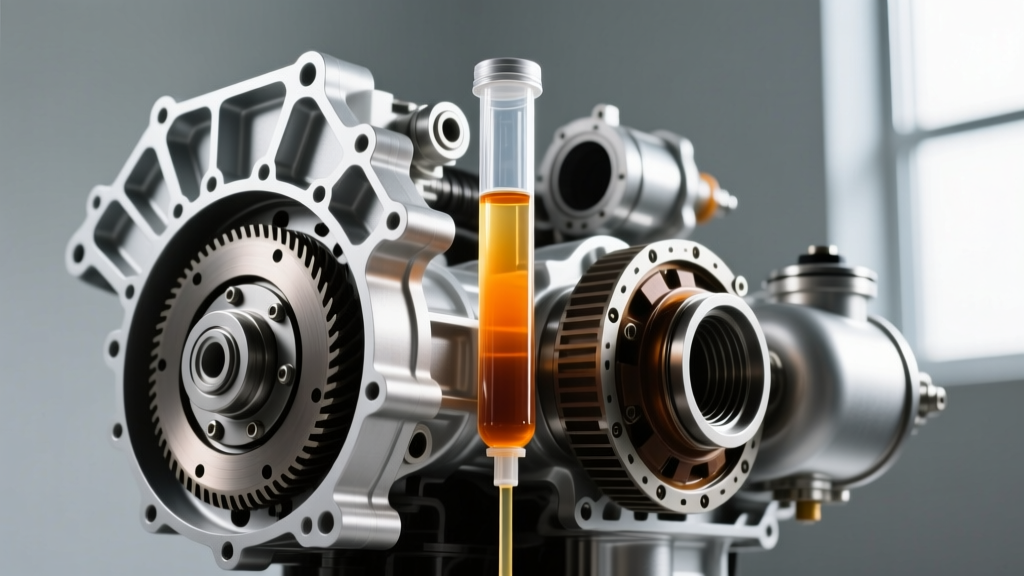
- Extract the Sample: If the vehicle has a dipstick, use a dedicated fluid extraction syringe to pull 2 ounces of fluid from the middle of the sump depth. If it is a sealed unit, you will need to crack the overflow plug (more on this in Step 3) into a clean, clear glass beaker.
Step 2: Decoding Transmission Fluid Contamination Signs
Once you have your sample in a clear glass container, evaluate it against light. The physical state of the ATF tells a detailed story about the internal health of the gearbox. Below is the definitive diagnostic matrix for fluid contamination.
| Visual / Olfactory Sign | Chemical / Mechanical Cause | Required Action |
|---|---|---|
| Cherry Red / Translucent | Normal. Friction modifiers and boron-based antioxidants are intact. | No action. Reinstall plug and torque to spec. |
| Dark Brown / Burnt Toast Smell | Thermal breakdown. Base oil oxidation and depleted friction modifiers due to towing or TCC slip. | Perform a double drain-and-fill. Inspect TCC slip RPM via scanner. |
| Milky / Strawberry Milkshake | Glycol intrusion. Internal transmission cooler failure inside the radiator. | CRITICAL: Do not drive. Coolant destroys paper-based clutch liners in under 50 miles. Rebuild required. |
| Glitter / Metallic Flakes | Planetary gear wear, thrust bearing failure, or torque converter clutch disintegration. | Drop pan to inspect debris. If chunks are present, replacement is necessary. |
| Foamy / Aerated Pink Froth | Overfilled fluid level or suction leak at the filter O-ring causing pump cavitation. | Check level at exact TFT specification. Replace filter O-ring if applicable. |
Expert Insight: If your fluid smells burnt but is only slightly dark, it indicates the ester base stocks have sheared. Topping off with fresh fluid will not restore the lost viscosity index. A complete flush using a dialysis machine or a 3x drain-and-fill is mandatory.
Step 3: Locating the Fill Point (Where to Add Fluid)
When working on modern sealed units, many technicians and DIYers ask: where do you add transmission fluid to an automatic transmission that lacks a traditional dipstick? The answer depends entirely on the transmission architecture. Here are the three primary configurations you will encounter.
Scenario A: The Legacy Dipstick Tube (e.g., GM 4L60E, Aisin Warner)
Found primarily on vehicles pre-2015, these transmissions feature a dipstick tube routed to the engine bay. To add fluid, you must use a long-neck funnel with a flexible hose. The tube leads directly into the transmission's main sump area. Warning: The dipstick tube is narrow. Pouring ATF too quickly will cause it to back up and overflow onto the exhaust manifold, creating a severe fire hazard. Add in half-quart increments, waiting 60 seconds between pours for the fluid to settle.
Scenario B: The Sealed Side-Plug (e.g., GM 6L80, 8L90, Ford 6R80)
General Motors and Ford utilize a side-mounted fill/check plug on the transmission case. To find where you add transmission fluid to an automatic transmission of this type, look on the passenger side of the transmission case, roughly 4 inches above the pan rail. You will need a 15mm socket or a 3/8-inch drive ratchet to remove the plug. Because this plug is on the side, you cannot pour fluid in from above. You must use a manual fluid transfer pump (like an EWK or Mityvac pneumatic pump) to push the new ATF horizontally into the case until it begins to weep out of the hole.
Scenario C: The Integrated Pan Overflow (e.g., ZF 8HP45/70/90)
The ZF 8-speed, found in millions of vehicles from BMW, Audi, Chrysler, and Ford, eliminates the side plug entirely. Instead, the fill and level check mechanism is integrated directly into the plastic or stamped aluminum transmission pan. To access it, you must raise the vehicle, remove the aerodynamic shielding, and locate the large 17mm hex plug in the center or rear of the pan. Inside this hole is a secondary plastic 'overflow tube.' To add fluid, you must remove the overflow tube using a specialized ZF overflow tool or a long 8mm Allen key, and then pump fluid upward into the pan cavity using a transfer pump.
Step 4: The Precision Leveling Procedure
Knowing where to add the fluid is only half the battle; achieving the exact fluid capacity is where most errors occur. Modern transmissions do not have a 'full' line; they have a 'level at temperature' state.
- GM 6L80 / 10L90 Side Plug: With the engine running and the vehicle in Park, the TFT must be between 86°F and 122°F. Pump in ACDelco Dexron VI (Part # 10-9395) until it drips in a steady stream. Reinstall the plug and torque to 25 Nm (18 lb-ft).
- ZF 8HP Series Pan Plug: With the engine running (crucial, as the torque converter must be filled), cycle the gear shifter through all gears, then return to Park. Ensure TFT is between 30°C and 50°C. Pump in ZF LifeguardFluid 8 (Part # 1071.377.139) until it overflows. Reinstall the overflow tube, then install the outer 17mm plug with a new rubber O-ring, torquing it to exactly 35 Nm (26 lb-ft).
Pro-Tip: Never reuse the O-ring on a ZF 8HP fill plug. The heat cycling of the pan compresses the rubber, and reusing it guarantees a slow drip that will eventually lead to low fluid pressure and clutch pack burnout. A replacement O-ring costs less than $2; a replacement ZF 8HP clutch pack kit costs over $800.
Critical Warning: When Topping Off is a Mistake
If your fluid analysis in Step 2 revealed milky contamination (coolant intrusion) or heavy metallic glitter, do not add fluid and drive the vehicle. Adding fresh ATF to a transmission with destroyed friction liners or a cracked planetary gear will not mask the mechanical failure. In the case of coolant intrusion, the water in the antifreeze breaks down the epoxy holding the friction material to the steel clutch plates. Once delamination begins, the debris will clog the mechatronic valve body solenoids, turning a $1,500 radiator replacement into a $5,500 complete transmission rebuild.
By mastering the visual and olfactory signs of contamination, and understanding the precise engineering behind where and how to add fluid, you can extend the life of your drivetrain well past the 150,000-mile mark. Always rely on OEM-specified fluids, digital temperature readings, and calibrated torque wrenches to ensure your transmission operates exactly as the engineers intended.