The Hidden Link: Clutch Cable Tension and the Clutch Pedal Switch
Manual transmission diagnostics often lead mechanics and DIYers down a rabbit hole of electrical gremlins when the root cause is purely mechanical. A classic example is the interaction between the clutch cable and the clutch pedal switch. In 2026, with independent shop labor rates averaging $145 to $185 per hour according to RepairPal, misdiagnosing a simple cable adjustment issue as a failed electrical switch or a bad starter solenoid can cost you hundreds in unnecessary parts and diagnostic fees.
In cable-operated manual transmissions, the clutch pedal switch—typically serving as the starter interlock or cruise control cancel switch—relies entirely on the physical resting position of the clutch pedal arm. This resting position is dictated by the tension of the clutch cable. If the cable stretches, frays, or slips at the firewall adjuster, the pedal geometry changes. A misadjusted cable will either fail to depress the switch plunger fully (preventing the engine from cranking) or keep it permanently depressed (disabling cruise control and triggering OBD-II codes like P0833).
Diagnostic Protocol: Isolating the Electrical from the Mechanical
Before throwing parts at the problem, you must determine whether the failure is electrical (a dead switch) or mechanical (cable stretch/misadjustment). Follow this exact diagnostic sequence:
- Step 1: Measure Pedal Freeplay. Use a steel ruler to measure the distance the pedal pad travels before you feel resistance from the clutch release fork. Factory spec is typically 15mm to 20mm (5/8 to 3/4 inch). If freeplay is zero, the cable is too tight, and the clutch pedal switch is likely being held open.
- Step 2: Multimeter Continuity Test. Unplug the switch harness. Set your digital multimeter (DMM) to continuity. Depress the pedal by hand. The switch should show open circuit (OL) at rest, and closed circuit (beep) when depressed. If it fails this test, the switch is internally damaged.
- Step 3: Inspect the Cable Quadrant and Firewall Adjuster. Look for stripped plastic teeth on the pedal quadrant or a slipped locknut at the firewall. A stretched inner cable will cause the pedal to sit too low, mimicking a switch that is stuck in the 'closed' position.
2026 Cost Breakdown: Parts, Labor, and Shop Rates
Understanding the financial difference between a cable adjustment, a cable replacement, and a switch replacement is critical for your repair budget. Below is a comprehensive cost analysis based on 2026 aftermarket pricing from RockAuto and current national labor averages.
| Service / Component | Common Part Numbers | Part Cost (2026) | Shop Labor Time | Total Shop Cost Est. |
|---|---|---|---|---|
| Cable Adjustment (DIY) | N/A | $0 | 0.2 hrs | $0 (DIY) |
| Clutch Pedal Switch Replacement | Dorman 902-303 / SMP SLS144 | $18 - $42 | 0.3 - 0.5 hrs | $65 - $135 |
| Clutch Cable Replacement | Mopar 52079432 / Dorman CC3019 | $35 - $115 | 1.2 - 1.8 hrs | $210 - $450 |
| Pedal Quadrant Repair | Dorman 74015 (Kit) | $22 - $45 | 1.5 hrs | $240 - $320 |
Note: Dealership labor rates in major metropolitan areas can exceed $210/hour in 2026, which makes mastering the DIY clutch cable adjustment an incredibly high-ROI skill for manual transmission owners.
Factory Adjustment Specifications and Torque Values
Proper adjustment requires precision. Guessing the cable tension will lead to premature release bearing wear or persistent clutch pedal switch faults. Reference AutoZone Repair Info for vehicle-specific diagrams, but adhere to these universal mechanical principles.
Clutch Cable Freeplay Measurement
The goal of adjusting the clutch cable is to ensure the release bearing is not under constant load, while providing enough upward pedal travel to fully actuate the clutch pedal switch.
- Target Freeplay: 15mm - 20mm (0.6 - 0.8 inches) measured at the center of the pedal pad.
- Adjustment Method: Loosen the 12mm or 14mm locknut at the firewall or transmission bellhousing. Turn the adjuster nut to increase or decrease tension.
- Locknut Torque: Once freeplay is set, tighten the locknut to 18 Nm (13 lb-ft) to prevent vibration from altering the adjustment over time.
Clutch Pedal Switch Calibration
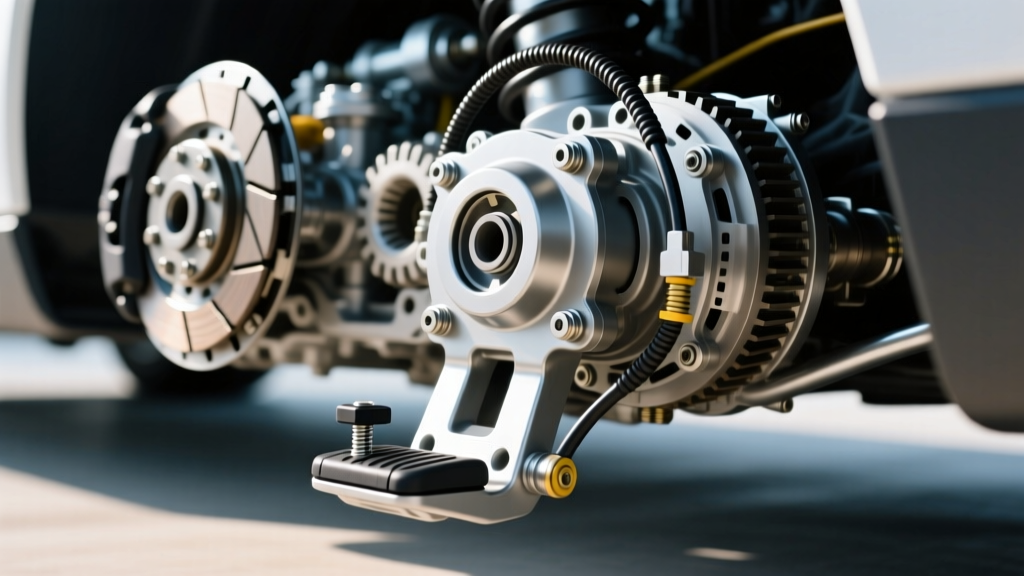
The switch itself is mounted on a threaded bracket extending from the pedal box.
- Plunger Depth: The switch plunger should be fully depressed when the pedal is at its natural resting stop, and extend outward when the pedal is pressed.
- Switch Locknut Torque: Secure the switch body to the bracket with the provided 10mm locknut, torqued to exactly 8 Nm (71 lb-in). Overtightening will crack the phenolic resin housing of the switch, causing an internal short.
Real-World Application: Jeep Wrangler NV3550 vs. Honda Civic K20
To illustrate how these costs and adjustments play out in the real world, let us examine two of the most popular cable-clutch platforms still on the road today.
Case Study 1: Jeep Wrangler TJ (NV3550 Transmission)
The 1998-2006 Jeep Wrangler equipped with the NV3550 manual transmission is notorious for clutch cable stretch and firewall adjuster slip. The cable routes through a plastic quadrant and rubber grommet at the firewall. When the Mopar 52079432 cable stretches by even 5mm, the pedal resting position drops. This leaves the Dorman 902-303 interlock switch plunger partially extended, creating an open circuit. The driver experiences a 'no-crank' condition and often mistakenly replaces the starter or ignition switch. A 10-minute adjustment of the firewall locknut (Cost: $0) resolves 90% of these 'electrical' issues.
Case Study 2: Honda Civic EP3 (K20 Transmission)
Early 2000s Honda K-series applications use a self-adjusting ratcheting plastic quadrant on the pedal assembly. When the aftermarket cables (like the Dorman CC3019) fray, or the quadrant teeth strip under heavy clutch pressure plates, the pedal freeplay vanishes completely. The clutch pedal switch (Standard Motor Products SLS-144) is then held open permanently. This triggers a P0833 OBD-II code (Clutch Pedal Switch B Circuit) and disables the cruise control system. In this scenario, adjusting the cable is impossible due to the broken quadrant; the entire pedal bracket assembly and cable must be replaced, pushing the DIY cost to roughly $140 and shop costs over $350.
Expert Verdict: When to Adjust and When to Replace
If your vehicle exhibits starting issues or cruise control faults, never replace the clutch pedal switch without first measuring the clutch cable freeplay. A $20 switch will not fix a $2 mechanical misadjustment. However, if the cable is within the 15-20mm freeplay specification and the pedal geometry is correct, but the switch fails the DMM continuity test, the internal copper contacts have likely burned out from arcing. At a part cost of under $45 and a DIY installation time of 15 minutes, replacing the switch is a highly cost-effective repair that restores vital safety interlocks and drivability features to your manual transmission vehicle.