The Engineering Reality of Hydraulic Clutch Failures
The hydraulic clutch circuit is a closed-loop system relying on the incompressible nature of glycol-ether-based fluids to translate pedal force into mechanical disengagement at the bell housing. When drivers report low clutch fluid symptoms—such as a spongy pedal, gear clash during shifts, or a pedal sinking to the floorboard—it is rarely a simple evaporation issue. Hydraulic fluid does not vanish; it escapes, bypasses internally, or degrades chemically. As of 2026, with the widespread integration of automated manual transmissions (AMTs) and high-torque concentric slave cylinders (CSCs), precise diagnostic protocols are mandatory. Guesswork leads to repeat failures and destroyed synchronizers.
This technical deep-dive provides a definitive clutch system inspection checklist designed for master technicians and advanced DIYers. We will bypass generic advice and focus on exact torque specifications, fluid hygroscopy metrics, and mechanical failure points.
Phase 1: Fluid Chemistry and Reservoir Analysis
Before turning a single wrench, you must analyze the fluid itself. DOT 3, DOT 4, and DOT 5.1 fluids are highly hygroscopic, absorbing 2% to 3% ambient moisture by volume annually. This moisture drastically lowers the wet boiling point and accelerates internal copper corrosion.
- Visual Inspection: Fluid should be clear to pale amber. Dark brown or black fluid indicates severe oxidation and deteriorated rubber seals within the master cylinder.
- Copper Strip Testing: Following ASTM D130 standards, test the fluid's corrosivity. High copper ion content (often seen as a greenish tint) destroys the internal brass and copper-nickel hard lines.
- Moisture Content: Use a digital brake fluid tester. If moisture exceeds 3%, the fluid must be flushed immediately, as vapor lock under heavy clutch slip conditions will mimic low fluid symptoms.
Expert Note: Never mix DOT 5 (silicone-based) with DOT 3/4/5.1 (glycol-based). Silicone fluid is compressible and incompatible with modern EPDM rubber seals used in OEM clutch master cylinders, leading to catastrophic seal swelling and bypass.
Phase 2: The 7-Point Mechanical Inspection Checklist
Execute these steps sequentially to isolate the root cause of fluid loss or hydraulic inefficiency.
1. Master Cylinder Pushrod and Clevis Pin Play
A common misdiagnosis of low fluid symptoms is actually a fluid bypass issue caused by improper pushrod clearance. If the master cylinder pushrod is adjusted too tightly against the primary piston, the compensating port remains blocked. Fluid expands as it heats, leading to pressure buildup and eventual seal failure or fluid bypass back into the reservoir.
- Specification: Measure freeplay between the pedal pushrod and the master cylinder piston. Target clearance is strictly 0.10mm to 0.50mm (0.004" - 0.020").
- Fix: Adjust the clevis pin or pushrod length. Replace the master cylinder if the internal compensating port is scored.
2. Hard Line and Flare Nut Integrity
The 4.75mm (3/16") steel or copper-nickel hard lines routing from the firewall to the transmission bell housing are subjected to chassis torsion and vibration.
- Inspection: Check for micro-fractures at the flare seats. Look for weeping at the inverted flare or bubble flare nuts.
- Torque Spec: Flare nuts should be torqued to 14 - 18 Nm (10 - 13 lb-ft). Over-torquing distorts the flare seat, creating a permanent leak path.
3. Flex Hose Expansion and Delamination
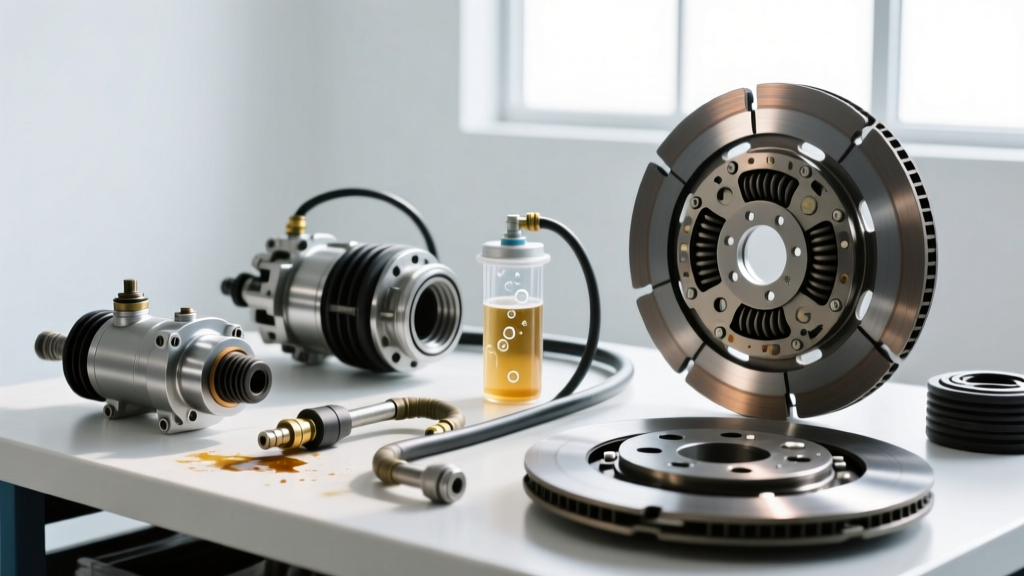
The rubber flex hose bridging the chassis and the transmission allows for engine movement. Internally, these hoses can delaminate, creating a one-way valve effect or ballooning under pressure, which feels exactly like air in the system.
- Test: Have an assistant depress the clutch while you grasp the flex hose. Any visible ballooning or sponginess dictates immediate replacement. Upgrade to stainless steel braided PTFE lines (e.g., Earl's or Goodridge) for a firmer pedal feel.
4. Concentric Slave Cylinder (CSC) and Weep Hole Diagnostics
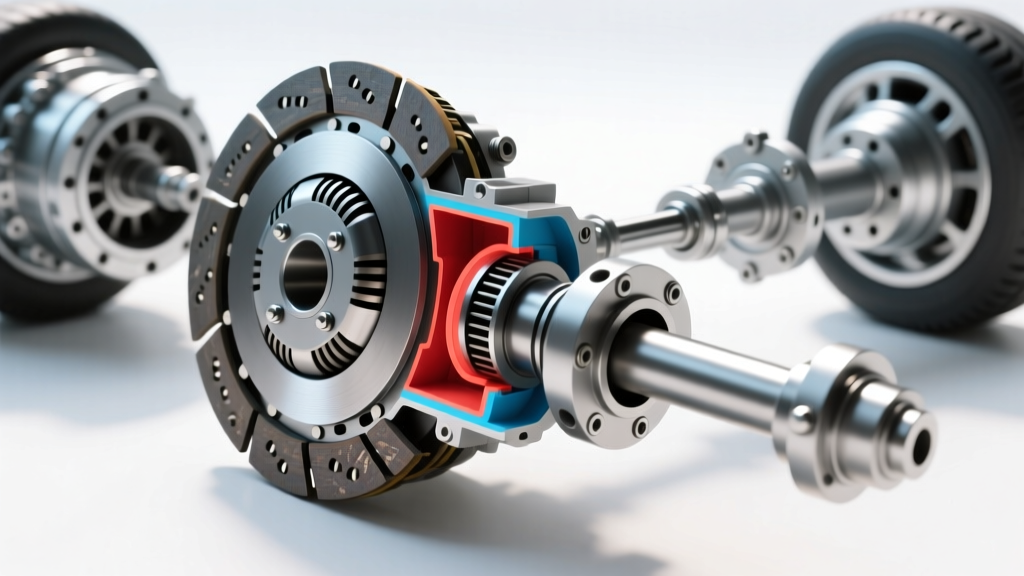
Modern manual transmissions (like the Tremec T-56 Magnum or GM 6-speeds) utilize a CSC that acts as both the slave cylinder and the throwout bearing. Because it resides inside the bell housing, external leaks are hidden.
- Inspection: Remove the inspection cover or lower bell housing bolt. Look for fluid slinging off the clutch friction disc or pooling in the bell housing dust shield.
- Part Reference: When replacing, always use a matched OEM or premium aftermarket set (e.g., LuK RepSet PRO or Sachs CSC kits). Reusing an old CSC on a new clutch is a guaranteed failure point.
5. Bleeder Screw Thread and Seat Condition
The bleeder screw on the slave cylinder is frequently over-torqued during amateur bleeding procedures, stripping the aluminum threads of the slave housing or cracking the brass seat.
- Torque Spec: Bleeder valves require a mere 7 - 10 Nm (62 - 88 lb-in). If threads are compromised, use a helicoil repair kit or replace the slave cylinder entirely. Do not use thread sealants on hydraulic bleeder threads.
6. Firewall and Pedal Box Flex
If the fluid level is full and the system is bled, but the pedal still feels soft, you are likely experiencing chassis flex. Vehicles like the Ford Mustang and F-150 are notorious for thin sheet metal at the firewall where the master cylinder mounts.
- Inspection: Watch the firewall area near the brake booster/master cylinder while an assistant pumps the pedal. If the metal bows outward, hydraulic energy is being wasted flexing the chassis rather than moving the slave cylinder.
- Solution: Install a billet aluminum firewall brace or a polyurethane master cylinder insulator kit.
7. System Flush and Vacuum Bleeding Parameters
Gravity bleeding is insufficient for modern hydraulic circuits with complex routing. You must use active extraction or pressure bleeding.
- Pressure Bleeding: Cap the master cylinder and apply no more than 20 - 25 PSI. Exceeding 30 PSI risks blowing the plastic seams of the OEM reservoir.
- Fluid Volume: Flush a minimum of 250ml to 500ml of fresh fluid through the slave bleeder to ensure all aerated fluid and copper particulates are evacuated.
Hydraulic Fluid Specification Data Matrix
Adhering to FMVSS 116 standards is critical for clutch system longevity. Never deviate from the OEM reservoir cap designation.
| Fluid Type | Dry Boiling Point | Wet Boiling Point | Chemical Base | Primary Application |
|---|---|---|---|---|
| DOT 3 | 205°C (401°F) | 140°C (284°F) | Glycol Ether | Older domestic/light-duty Japanese |
| DOT 4 | 230°C (446°F) | 155°C (311°F) | Glycol Ether/Borate | Standard global OEM manual transmissions |
| DOT 5.1 | 260°C (500°F) | 180°C (356°F) | Glycol Ether/Borate | High-performance / heavy-duty towing |
| DOT 5 | 260°C (500°F) | 180°C (356°F) | Silicone | Classic car restorations (Non-ABS) |
| LHM / Mineral | N/A | N/A | Mineral Oil | Citroen, specific Magura/Brembo systems |
Advanced Diagnostics: Internal Bypass vs. External Leaks
When low clutch fluid symptoms present as a slowly sinking pedal at stoplights, but no external puddles are found, the master cylinder is internally bypassing. The primary cup seal is worn or the bore is honed past its maximum diameter limit (usually 0.002" over stock). Fluid slips past the piston back into the reservoir. This requires a complete master cylinder replacement. Conversely, if the fluid level drops but the pedal holds firm, the leak is external—trace the hard lines down to the bell housing.
2026 Repair Cost Analysis and OEM Considerations
Budgeting for hydraulic clutch repairs requires understanding the labor disparity between external and internal slave setups.
- Master Cylinder Replacement: $150 - $350 for the part (e.g., ACDelco 18M2054 or OEM FTE units). Labor is typically 1.0 - 1.5 hours ($150 - $250).
- External Slave Cylinder: $80 - $180 part cost. Labor is 0.5 hours. Total repair rarely exceeds $400.
- Concentric Slave Cylinder (CSC): The part itself costs $120 - $300 (e.g., LuK LSC125). However, because the transmission must be dropped to access the bell housing, labor ranges from 5.0 to 8.0 hours. Expect total invoices between $900 and $1,600 depending on the vehicle's drivetrain configuration (AWD and 4WD models command higher labor rates due to transfer case and front axle removal).
For comprehensive fluid dynamics and safety standards, refer to the Brembo Brake and Clutch Fluid Technical Guide. Always bleed the system with the exact fluid specified on the reservoir cap to maintain the precise elastomer compatibility engineered into your clutch seals.