The Hydraulic Domino Effect in Manual Transmissions
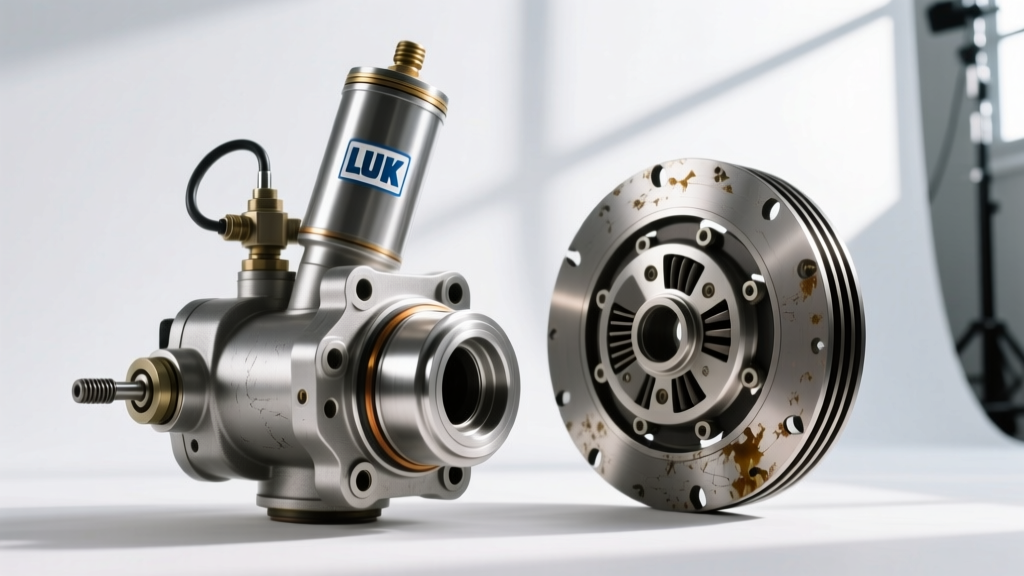
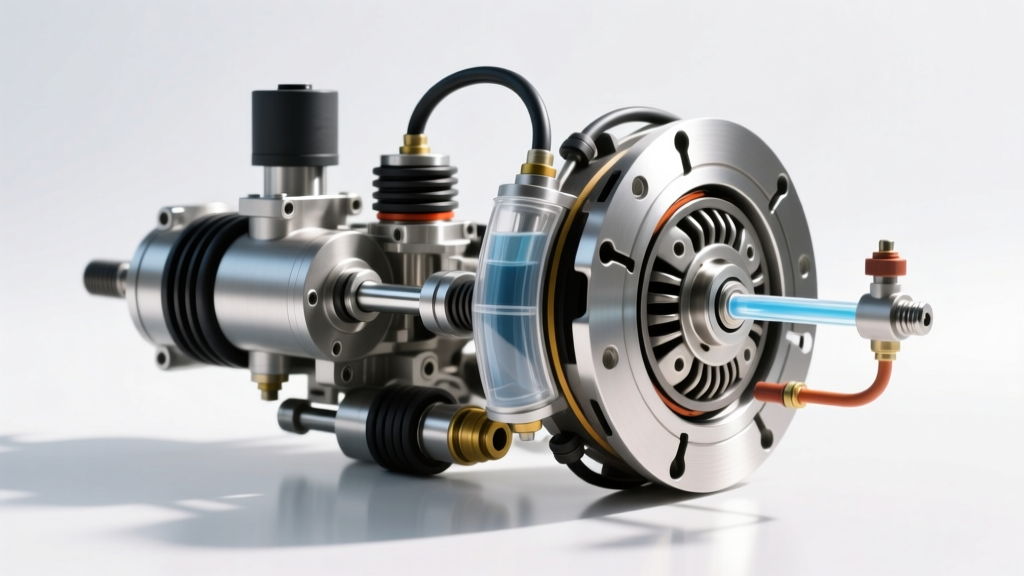
When your clutch pedal drops to the floor or feels unnaturally spongy, the immediate culprit is often the master cylinder. However, seasoned transmission technicians know that treating the master cylinder in isolation is a recipe for a rapid comeback. The hydraulic clutch system is a closed-loop pressure vessel; when the master cylinder fails due to internal seal degradation or bore scoring, it frequently sends contaminated fluid and erratic pressure spikes downstream. This is why a proper clutch master cylinder replacement should almost always be paired with a matched clutch slave cylinder kit. Replacing both components simultaneously ensures balanced hydraulic volume, eliminates trapped contaminants, and restores the precise pedal feel required for modern manual transmissions like the Tremec T56 Magnum or the Getrag GS6 series.
Diagnosing Master Cylinder Failure vs. Slave Leaks
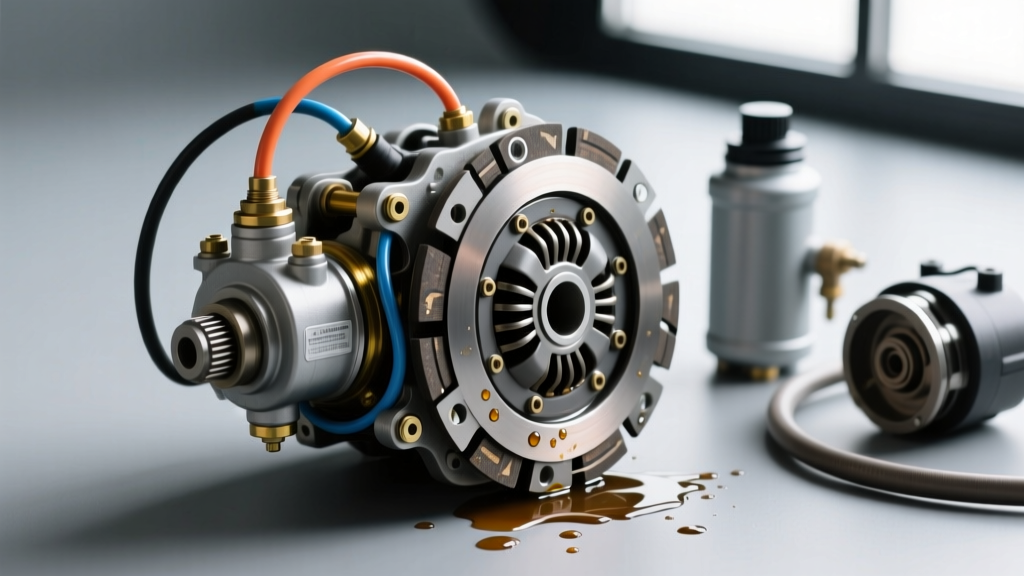
Before tearing into the firewall, you must accurately diagnose the failure point. While a puddle of DOT 4 fluid on your transmission bellhousing points to the slave, master cylinder failures are often insidious and internal.
- Internal Bypass: The pedal slowly sinks to the floor while holding the car in gear at a stoplight, but no external fluid leaks are visible. The primary cup seal is bypassing fluid back into the reservoir.
- Firewall Weeping: Fluid pooling on the driver-side footwell carpet or dripping down the exterior firewall indicates a failed rear pushrod seal.
- Delayed Disengagement: The transmission crunches when shifting into 1st or Reverse, indicating the master cylinder is not displacing enough fluid volume to fully actuate the slave cylinder and release bearing.
- Pedal Return Issues: The pedal stays on the floor and requires your toe to pull it back up, usually caused by a collapsed return spring or a blocked compensating port in the master.
Sourcing Your Components: The Case for Matched Kits
In 2026, the aftermarket has largely moved away from piecemeal hydraulic repairs. Sourcing a comprehensive clutch slave cylinder kit that includes the slave, hard lines, and sometimes the master ensures that the bore diameters are perfectly matched. A mismatched bore size between an OEM master and an aftermarket slave can alter pedal travel and clamping force. According to technical bulletins from Schaeffler REPXPERT, replacing the entire hydraulic actuation system reduces warranty claims by over 85% compared to single-component swaps.
| Component | Brand / OEM Equivalent | Example Part Number | Est. Cost (2026) |
|---|---|---|---|
| Master Cylinder | LuK / Sachs | LMC450 | $85 - $130 |
| Slave Cylinder Kit | FTE / LuK | KN25012 / LSC305 | $110 - $220 |
| Hard Line / Hose | OEM Dealer | Varies by VIN | $40 - $90 |
| DOT 4 Fluid (1L) | Motul RBF 600 | 101665 | $22 - $35 |
Step-by-Step: Master Cylinder Removal
Step 1: Cabin Side Disconnection
Begin inside the vehicle. Remove the lower dash panel to expose the clutch pedal assembly. Locate the pushrod connecting the pedal to the master cylinder. Most modern vehicles use a quick-release retaining clip or a simple cotter pin. Use a specialized clip removal tool or a 10mm socket to gently pop the retaining clip. Do not pry aggressively, as the plastic pedal bushings can crack. Slide the pushrod off the pedal pin.
Next, locate the two firewall mounting nuts (typically 13mm). Loosen them while supporting the master cylinder from the engine bay to prevent it from hanging by the hydraulic lines.
Step 2: Engine Bay Extraction
Pop the hood and locate the master cylinder protruding through the firewall. Place a catch pan and shop towels directly beneath it. Disconnect the fluid reservoir hose and cap it to prevent draining the entire brake system (if the reservoir is shared). Use a 3/8-inch line wrench to disconnect the hard hydraulic line, or depress the tabs on the plastic quick-disconnect fitting. Carefully pull the master cylinder straight out of the firewall.
Slave Cylinder Considerations: External vs. Concentric
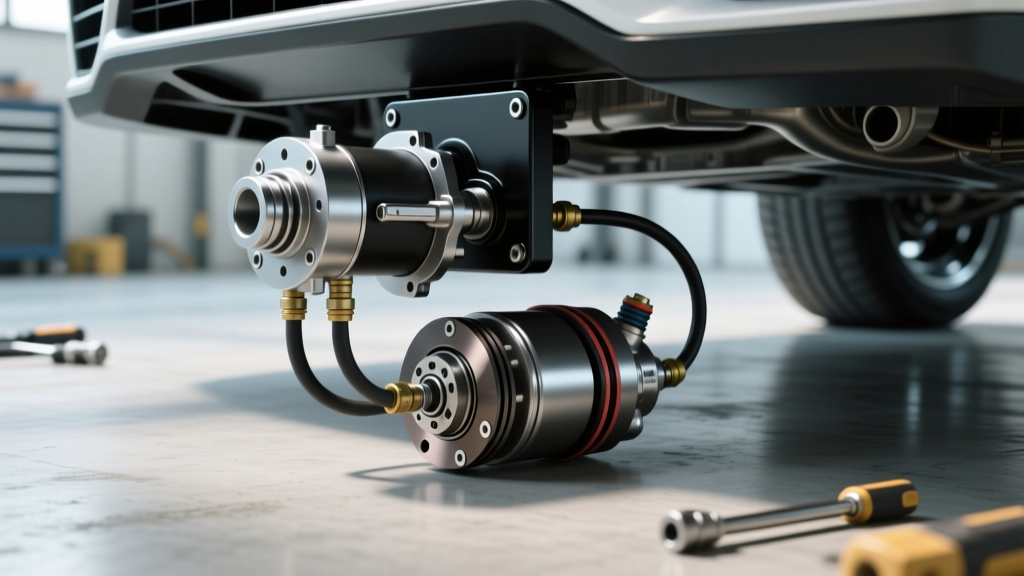
When installing your new clutch slave cylinder kit, the labor intensity depends entirely on your transmission architecture. Vehicles with an external slave cylinder (like the Mazda MX-5 or older Honda K-Series setups) allow you to unbolt the slave from the exterior of the bellhousing, usually requiring just two 12mm or 14mm bolts.
However, if your vehicle utilizes a Concentric Slave Cylinder (CSC)—common in GM LS platforms, Nissan 350Z/370Z, and modern Ford Mustangs with the MT-82 transmission—the slave cylinder wraps around the transmission input shaft. Replacing a CSC requires dropping the exhaust system, removing the driveshaft, unbolting the transmission crossmember, and pulling the transmission back. If you are doing a master cylinder replacement on a CSC vehicle and the slave has over 80,000 miles, it is financially negligent not to replace the CSC while the transmission is already out. As noted by FTE Automotive, CSC units are subjected to extreme thermal cycling inside the bellhousing, making preventative replacement during a trans-out service mandatory.
Installation and Torque Specifications
Before installing the new master cylinder, perform a bench bleed. Secure the master in a vise, fill the reservoir with fresh DOT 4 fluid, and use a blunt rod to slowly stroke the piston while keeping the outlet port submerged. This prevents air from being trapped behind the primary seal.
- Firewall Mounting Nuts: Torque to 10 Nm (8 lb-ft). Over-torquing will warp the plastic or cast aluminum mounting flange.
- Hard Line Fitting: Torque to 15 Nm (11 lb-ft). Ensure the flare seat is perfectly clean to prevent micro-leaks.
- External Slave Cylinder Bolts: Torque to 22 Nm (16 lb-ft) using a drop of blue threadlocker.
- Bleeder Screw: Torque to 8 Nm (6 lb-ft). These are hollow and easily sheared if over-tightened.
Advanced Bleeding Procedures: Getting the Air Out
Clutch hydraulic lines are notorious for trapping air in the low points of the hard lines. Gravity bleeding alone is rarely sufficient for a complete system overhaul.
Expert Tip: Always use a high-quality DOT 4 or DOT 5.1 fluid. DOT 4 is highly hygroscopic, meaning it absorbs moisture from the atmosphere over time. According to Motul's technical fluid specifications, upgrading to a low-viscosity racing fluid like Motul RBF 600 not only raises the boiling point but improves pedal response in cold climates by reducing fluid drag in narrow hydraulic lines.
For the best results, utilize a reverse pressure bleeder. By forcing fluid from the slave cylinder bleeder screw up to the master cylinder reservoir, you push air upward, following its natural tendency to rise. Attach the reverse bleeder to the slave, open the bleeder screw, and slowly pump fluid until no bubbles appear in the master reservoir. Top off the reservoir, close the bleeder, and cycle the pedal 30 times to seat the seals.
Final Testing and Bedding the Hydraulics
With the system reassembled and filled, start the engine and depress the clutch. Shift through all gears, paying special attention to the 1-to-2 shift and Reverse engagement. There should be zero gear clash and a distinct, firm engagement point roughly 1.5 to 2 inches off the floor. Take the vehicle for a 20-mile drive, cycling the clutch in stop-and-go traffic to bed the internal seals and normalize the fluid pressure. Re-check the reservoir level and inspect all fittings for weeping before signing off on the repair. By treating the master and slave as a unified clutch slave cylinder kit, you guarantee a reliable, leak-free manual transmission experience for the next 100,000 miles.