The Anatomy of a Performance Drivetrain Upgrade
If you have ever spent a Friday night bench-racing over wings at the Clutch Kitchen and Sports Bar in Atlanta, you know the debates around manual transmission setups can get incredibly heated. One camp swears by the brutal bite of sintered iron, while the other demands the street-friendly engagement of a Kevlar-organic hybrid. But when the bar tab is settled and you are back in the garage staring at a bare crankshaft flange, the reality of clutch kit components becomes a matter of precise engineering, not just pub talk. As we navigate the 2026 aftermarket landscape—where modern EV-swap adapters and Tremec TKX bellhousing geometries demand tighter tolerances than ever—understanding exactly what goes into your clutch kit is paramount. This guide breaks down the exact specifications, materials, and assembly protocols required to build a drivetrain that survives both the drag strip and the daily commute.
The Core Trinity: Disc, Pressure Plate, and Flywheel
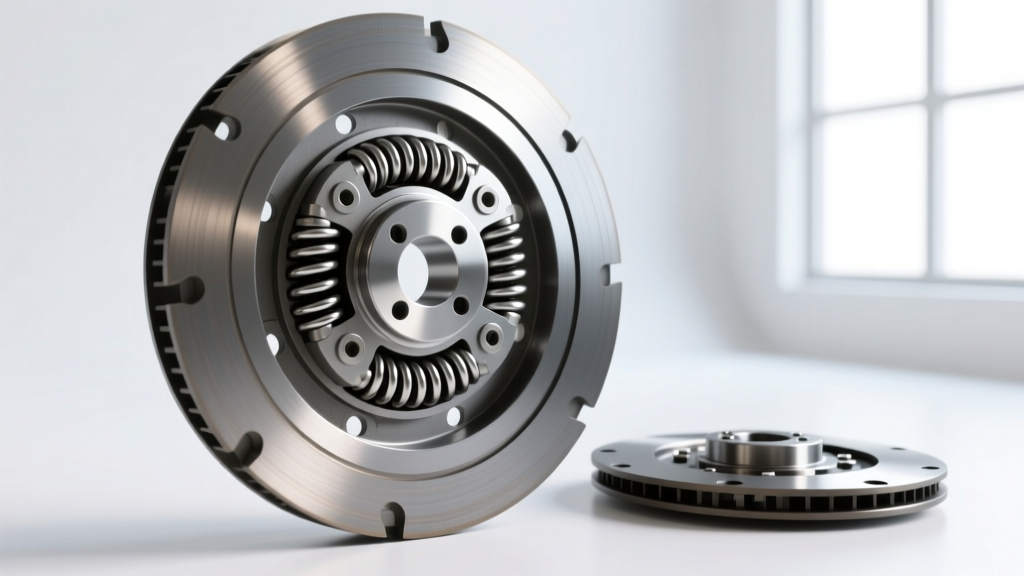
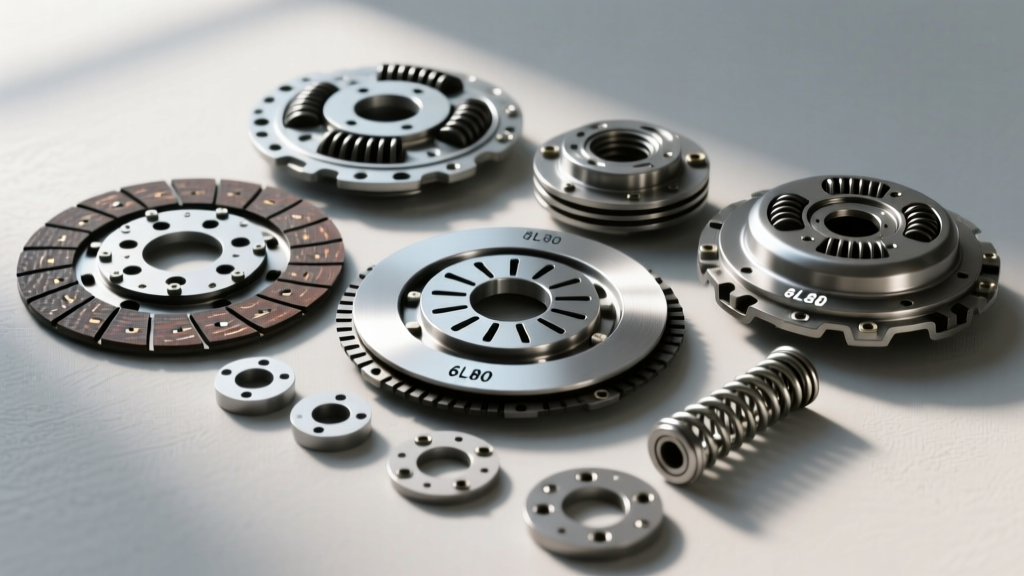
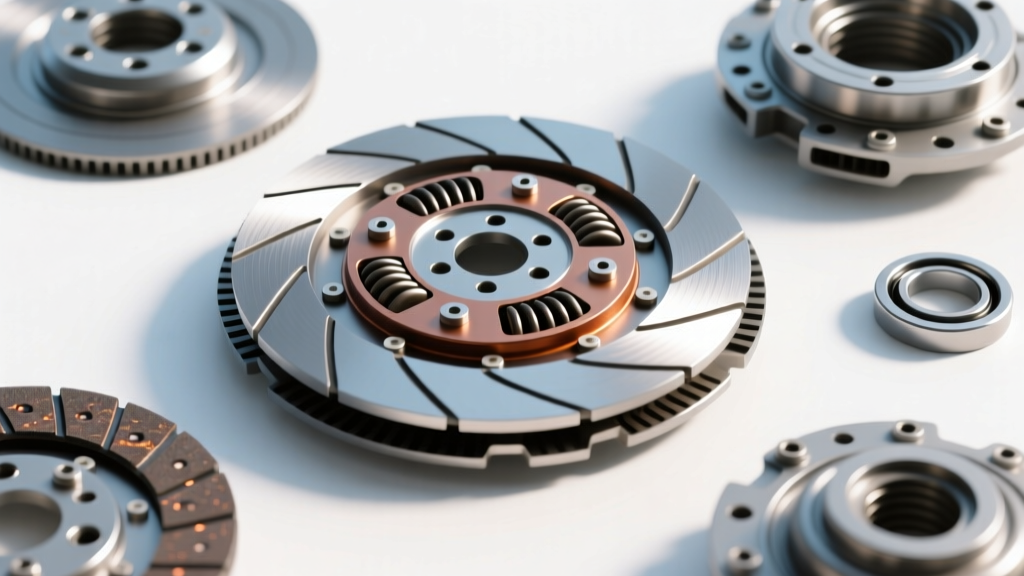
A performance clutch kit is only as strong as the synergy between its three primary components. Mismatching a high-clamp-load pressure plate with an inadequate friction disc or a warped flywheel is the fastest route to catastrophic driveline shock and shattered input shafts.
Friction Disc Materials and Hub Deflection
The friction disc is the sacrificial lamb of the drivetrain. Its job is to absorb the kinetic energy differential between the engine and the transmission during engagement. For a street-driven LS3 or Coyote-swapped build, a full-face organic or Kevlar-organic hybrid disc is mandatory. These materials offer a friction coefficient (μ) of roughly 0.35 to 0.42, providing a progressive engagement window that prevents chassis shudder.
Conversely, dedicated drag applications utilize sintered iron or full-metallic pucks (μ = 0.55+). However, the friction material is only half the battle. The disc hub's torsional spring rate—often referred to as Marcel spring deflection—must be matched to the engine's torque curve. A solid-hub disc (zero deflection) transfers torque instantly, which is ideal for prepped-surface drag racing but will violently shock-load and destroy the ring gear on a street-driven differential. For high-horsepower street cars (600-800 whp), look for dual-sprung hubs with polyurethane bump stops to absorb low-frequency driveline oscillations.
Pressure Plate Clamp Loads and Diaphragm Design
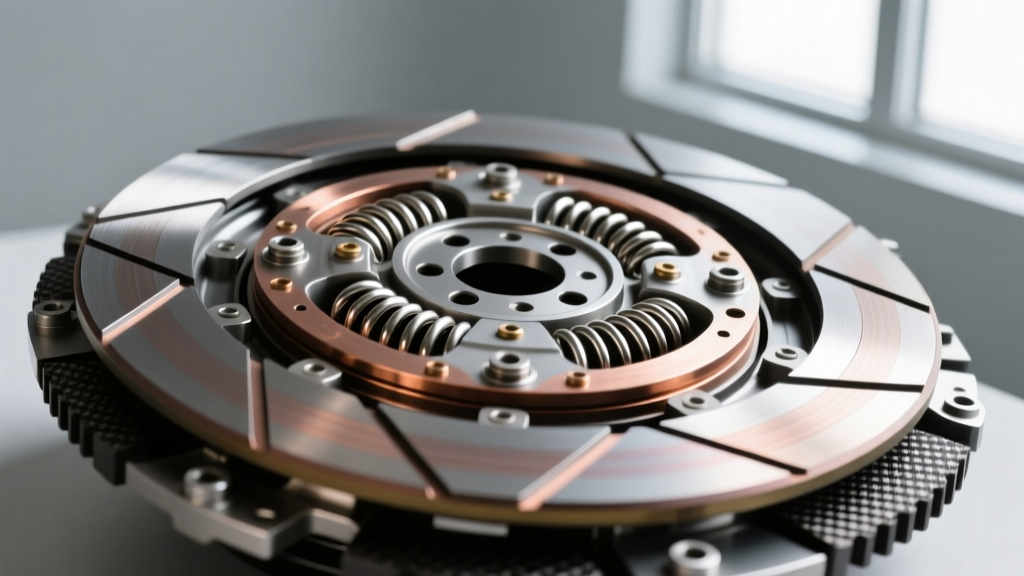
The pressure plate dictates how much axial force is applied to the friction disc. Standard OEM diaphragm clutches typically generate between 2,200 and 2,600 lbs of clamp load. When you upgrade to a performance stage 2 or 3 kit, you are often looking at clamp loads exceeding 3,800 lbs. According to engineering data from McLeod Racing, modern dual-disc setups utilize a floater plate and intermediate drive straps to effectively double the friction surface area without requiring pedal-crushing diaphragm springs. If your build exceeds 750 lb-ft of torque at the crank, a twin-disc modular setup (like the McLeod Street Twin) is no longer optional; it is a mechanical necessity to maintain a manageable pedal effort of under 45 lbs.
2026 Friction Material Selection Matrix
Selecting the right friction compound requires balancing thermal capacity against drivability. Below is a comparative breakdown of the most common performance clutch disc materials available in the current aftermarket.
| Material Type | Friction Coefficient (μ) | Max Temp Threshold | Engagement Profile | Est. Kit Price Range |
|---|---|---|---|---|
| Full-Face Organic | 0.30 - 0.35 | 400°F (204°C) | Smooth, OEM-like | $350 - $500 |
| Kevlar / Organic Hybrid | 0.38 - 0.42 | 600°F (315°C) | Progressive, slight bite | $600 - $900 |
| Ceramic Puck (Full Face) | 0.45 - 0.48 | 800°F (426°C) | Aggressive, prone to chatter | $700 - $1,100 |
| Sintered Iron (Puck) | 0.55 - 0.60 | 1000°F+ (537°C+) | On/Off Switch (Race Only) | $1,200 - $2,500 |
The Unsung Heroes: Release Bearings and Pilot Bushings
You can buy the most expensive clutch disc on the market, but if your release bearing geometry is off by a fraction of an inch, the system will fail. The transition from legacy mechanical linkages to modern Hydraulic Throwout Bearings (HTOB) has solved many packaging issues, particularly in tight engine bays like the Chevy C10 or Nissan 240SX, but it introduces strict setup requirements.
Hydraulic Throwout Bearing (HTOB) Setup
When mating a modern Tremec TKX or T56 Magnum transmission to an LS block, the HTOB air gap is critical. The bearing must maintain a minimum clearance of 0.100 to 0.150 inches from the pressure plate fingers when fully disengaged. If the bearing rides constantly on the diaphragm fingers, it will overheat and fail within 500 miles. Always use a dial caliper to measure the distance from the bellhousing mounting face to the clutch fingers, and subtract the HTOB compressed height to determine the exact shim stack required. For precise setups, companies like Tremec heavily recommend using adjustable HTOB units that allow you to dial in the preload externally via threaded pushrods or shims.
Pilot Bearings: Bushing vs. Roller
Never reuse a pilot bearing, and never use a cheap sintered bronze bushing in a high-horsepower application. Bronze bushings are prone to galling and seizing onto the input shaft, which can cause the transmission to remain engaged even when the clutch pedal is depressed—a highly dangerous scenario. Always opt for a sealed, heavy-duty roller pilot bearing (e.g., the GM part number 14061685 or equivalent aftermarket needle-roller designs) to ensure the input shaft spins freely during disengagement.
Precision Assembly: Torque Specs and Fastener Protocols
The mating surface between the flywheel, crankshaft, and pressure plate is subjected to extreme shear forces. Relying on generic torque charts is a recipe for spun flywheels and snapped bolts. Always follow the fastener manufacturer's exact specifications, particularly when using aftermarket hardware.
- Flywheel to Crankshaft (GM LS / LT V8): When using ARP 2000 or L19 flywheel bolts, the target torque is typically 80-85 lb-ft, but only when using the specific ARP Ultra-Torque moly-based lubricant on the threads and under the bolt head. Using standard 30W oil can result in a 20% over-torque condition, stretching the bolt past its yield point.
- Pressure Plate to Flywheel: Most 10-inch and 11-inch performance pressure plates require 35 lb-ft. This must be done in a strict star-pattern sequence, tightening in 10 lb-ft increments to prevent warping the clutch cover.
- Bellhousing to Block: Do not ignore bellhousing runout. Use a dial indicator mounted to the crankshaft to check the bellhousing bore. Total Indicator Runout (TIR) must be under 0.005 inches. If it exceeds this, use offset dowel pins to correct the alignment, or you will destroy the transmission input shaft bearing.
Common Failure Modes and Edge Cases
Even with premium components, improper break-in or maintenance will ruin a clutch kit. The most common failure mode we see in 2026 is thermal glazing. This occurs when a driver slips the clutch excessively on steep inclines or during low-speed maneuvers, generating enough heat to bake the resin out of organic friction materials, leaving a glassy, non-friction surface. Once glazed, the disc cannot be resurfaced; it must be replaced.
Another edge case involves flywheel step height. A flywheel machined for a pull-type clutch has a different step height than one designed for a push-type diaphragm clutch. Installing a push-type pressure plate on a pull-type flywheel will result in zero clamp load or an inability to bolt the assembly together. Always verify the step height (usually between 0.020 and 0.050 inches for push-type setups) with a straight edge and feeler gauge before assembly.
Pro-Tip for Break-In: A new performance clutch requires 500 to 750 miles of stop-and-go city driving to properly bed the friction material to the flywheel. Avoid wide-open-throttle (WOT) pulls, and never lug the engine at low RPMs in high gears during this period. The goal is to generate moderate, cyclical heat to cure the binding resins without exceeding the thermal threshold of the friction face.
Final Thoughts on Drivetrain Synergy
Upgrading your clutch kit is not just about chasing a higher torque rating; it is about matching the friction material, clamp load, and release geometry to your specific vehicle weight, tire compound, and intended use. Whether you are finalizing your build sheet over a pint at the Clutch Kitchen and Sports Bar or torqueing down the final pressure plate bolts in your home garage, respecting the engineering behind these components is the only way to ensure your horsepower actually makes it to the pavement. Consult the official ARP Fastener installation guides for your specific hardware, measure twice, and drive hard.